Waterproofing your RV shower walls is a great way to protect them from water damage and keep them looking like new. It’s not a difficult job, but it does take some time and effort. Here we’ll look at the best methods for waterproofing an RV shower wall, answer some frequently asked questions, and provide useful tips on how to do it effectively.
Table of Contents
Ways You Can Waterproof The RV Walls
Getting Professional Help
If you don’t feel confident enough to tackle the job yourself, then getting a professional is always an option. A professional can do the job in a fraction of the time it would take you and they’ll use the best materials for waterproofing your RV walls. They will also be able to provide helpful advice that could save you money in the long run. [1]
Using New Material On The Existing One
If you decide to go ahead and do the job yourself, then one of the simplest options is to use a new material on top of the existing walls. This could be something like wallpaper, tile or even vinyl flooring, which all add an extra layer of protection and look great too.
Before you start applying any material, make sure the walls are clean and free of dirt, dust, or any other debris. This will ensure a better bond between the new material and the wall so it won’t peel off easily. [1]
Using Water Proof Paint
If you want a more permanent solution, then using waterproof paint is an option. This is usually applied in two coats and takes several hours to dry. Once it’s dry, the walls will be completely water-resistant and look great too.
When applying waterproof paint, make sure you follow the instructions on the label carefully. Some paints will require a primer first, while others don’t. Also, make sure you use the right type of paint for your RV walls as some are not suitable for this purpose. [1]
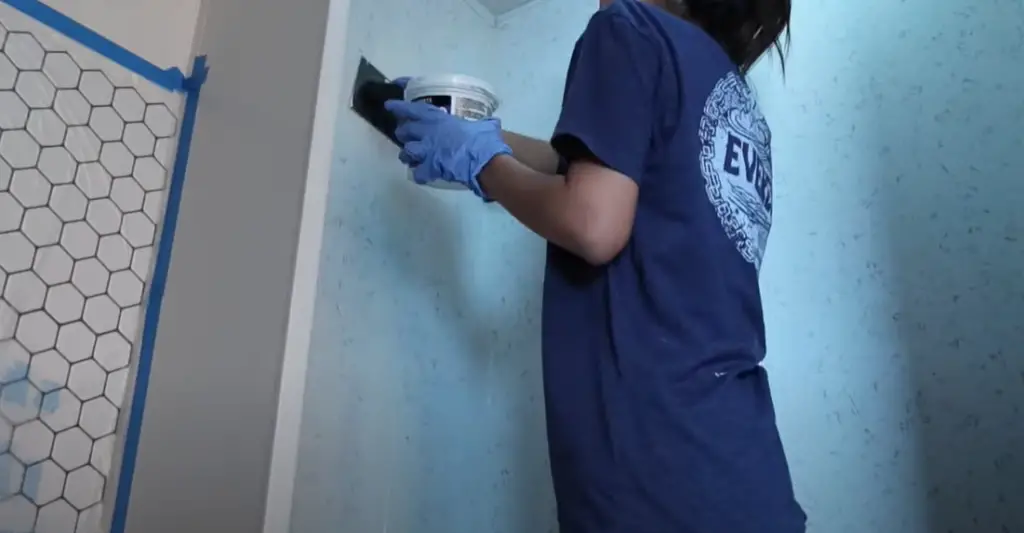
Waterproof Wall Panels
Another option is to use waterproof wall panels, which are easy to install and require less maintenance than other methods. They come in a variety of colours and designs, so you can choose one that suits your RV’s interior.
When installing these panels, make sure they’re securely attached and don’t leave any gaps between them as this could allow water to seep through. Also, make sure you use the appropriate fixings for the job and read all instructions before beginning. [1]
Acrylic Shower Pan
If you want a sleek and modern look, then acrylic shower panels are the way to go. These are made from a tough material that is waterproof and easy to clean. They can be found in various sizes, so there should be something to fit your RV walls.
When installing these panels, take extra care not to damage them as they are very fragile. Also, make sure you follow the manufacturer’s instructions for securing them in place before applying any sealant or adhesive. [2]
High Gloss Modern Wall Panels
Finally, for a modern and stylish look, high gloss wall panels are the way to go. These come in various sizes and colours, so you can choose one that fits your RV’s interior. They’re made from durable materials and require minimal care, making them an ideal choice if you want something easy to maintain.
When installing these panels, make sure you use the appropriate fixings and follow all instructions carefully. Also, take extra care not to damage the glossy surface as it will be difficult to repair any scratches or chips. [2]
Step-By-Step Waterproofing Process
Gather The Materials
Before you begin, make sure that you have all the necessary materials for the job. You will need shower wall sealant, a caulk gun, and painter’s tape. The type of sealant used depends on what type of material your RV shower walls are made from. If you’re not sure, consult with an RV expert or your manufacturer. [1]
Prepare The Location
Before you start applying the sealant, make sure to prepare the area. Clean and clear off the walls of any dirt, grime, or mould. If there is any existing caulk that needs to be removed, use a razor blade or utility knife to carefully scrape it away. Make sure all the surfaces are even and smooth before you start applying the sealant. [1]
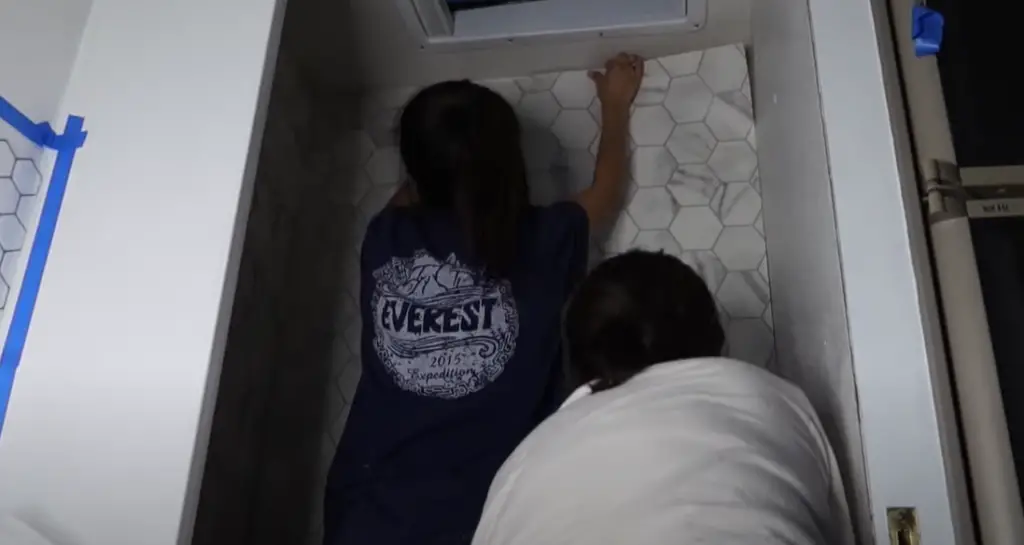
Begin Painting
Now, you’re ready to start painting. Start by taping off the edges with painter’s tape to prevent any of the sealant from seeping into adjoining surfaces. Then, use your caulk gun to begin applying the sealant along the seams between panels and walls. Use a consistent motion as you go and try to apply a thick and even layer of sealant. [1]
Apply A Second Coat
Once you’ve finished applying the first coat of sealant, wait for it to dry completely before applying a second coat. This will help ensure that your walls have a strong waterproof barrier. After the second coat has been applied, remove any excess sealant with a damp cloth and allow everything to dry thoroughly. [1]
Measure The Shower Cabin
Once you’ve applied the sealant to the walls, it’s time to move on to the shower cabinets. Measure them before you apply the sealant so that you know how much material is needed. Apply a thick layer of sealant around all four sides of each cabinet and make sure that it’s evenly distributed. [1]
Select The Material
Next, you will need to select a material for the floor of your shower. Many people choose tile because it is waterproof and easy to maintain. However, there are other options such as vinyl flooring or even self-adhesive rubber mats that can provide a durable and water-resistant surface. [1]
Installation
Once the material is selected, it’s time to begin the installation process. Follow all instructions carefully and make sure that everything is properly sealed with caulk or sealant before you move on to the next step. Make sure to check for any cracks or gaps between pieces of tile as well. Once everything is installed, allow it to dry thoroughly before using it. [1]
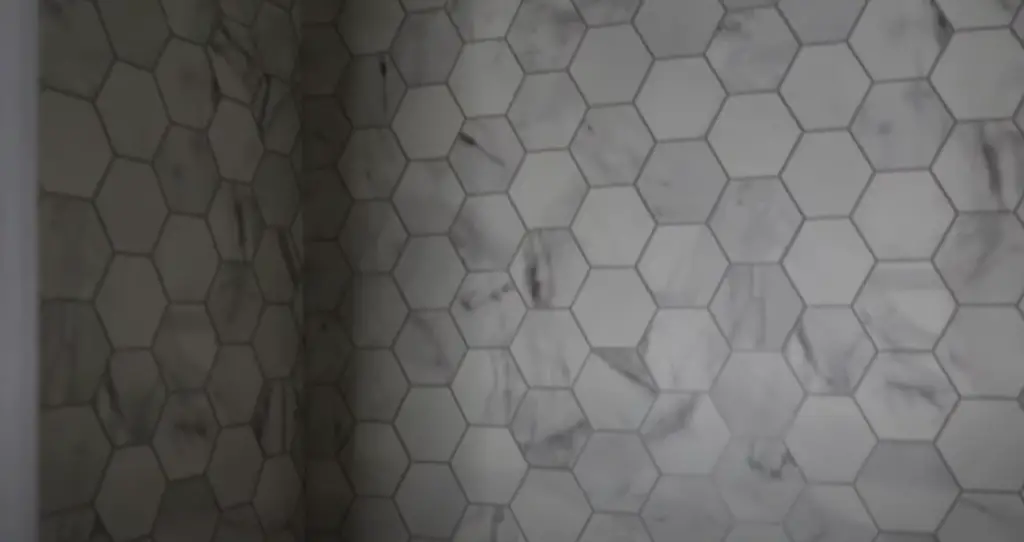
Should You Caulk Around RV Shower?
Yes, you should caulk around the RV shower walls before waterproofing. Caulk is a great way to seal gaps in seams and joints of your RV shower walls. It’s important to use a high-quality silicone caulk that will provide protection against mold and mildew growth. When applying the caulk, make sure to use a caulk gun and apply it in thin layers. You should also take the time to smooth out the caulking as you go, allowing it to dry completely before applying another layer. Once all the gaps are sealed, you’re ready to move on to waterproofing your RV shower walls!
What is The Best Caulk To Use In An RV Shower?
When it comes to sealing your RV shower walls, caulk is one of the most important steps in waterproofing. It’s essential to use a high-quality caulk that won’t crack or peel over time. The best caulks will have a flexible rubber base which makes them long lasting and able to adapt to changes in temperature as well as movement. Look for silicone caulks that are mildew-resistant and have a permanent adhesive that won’t break down over time. Be sure to read the labels on any caulk you purchase, so you know it’s designed for use in showers and will be able to withstand wet conditions.
Once you’ve chosen the right caulk, you’ll need to take the proper steps to ensure it adheres well and seals your shower walls effectively. Start by cleaning the wall surface thoroughly before applying the caulk. Next, apply a thin line of caulk along each seam and corner of your RV shower wall. Using a wet finger, smooth out the caulk so that it is even. Allow the caulk to dry for at least 24 hours before you use the shower, and then periodically check it for any signs of cracking or other damage. If necessary, apply a second coat of caulk if needed. [3]
How do You Caulk an RV Shower?
When it comes to caulking an RV shower, there are several steps that need to be taken. First, the area should be cleaned thoroughly with a mild soap and water solution. Any old caulk needs to be removed completely, as this can prevent proper adhesion of the new material.
Finally, it’s important to give the caulk at least 24 hours to set before using the shower. During this time, you should avoid getting the area wet and be sure to keep a window open for ventilation. [3]
Sealing The Gaps
One of the best ways to make sure your RV shower walls are waterproof is by sealing any gaps or cracks in them. This can be done with caulk and sealant, available at most home improvement stores. You should invest in a good-quality product so you don’t have to worry about it washing away after a few weeks. To apply it, first clean the area thoroughly with a damp cloth to remove any dirt or debris. Then, squeeze some caulk into the gap and spread it evenly along the surface using a putty knife. Once it is completely dry, you can use a sealant to make sure everything is sealed up tight. Make sure you let it dry completely before you use your shower. [1]
How To Seal Walls?
The first step in waterproofing your RV shower walls is to seal them using a high-quality sealant. Start by cleaning the surface with a mild soap and water solution, then use a putty knife or caulk gun to apply an acrylic based sealant around the seams of each wall panel. This will help form a barrier between the shower wall and any water that may get inside. Make sure to apply a generous amount of sealant in order for it to be effective. [1]
FAQ
What should I use to waterproof your shower walls?
There are a variety of products available that can be used to waterproof your RV shower walls. The most popular and effective options include liquid rubber sealants, fiberglass reinforcing tape, epoxy coatings, and spray-on waterproofing membranes.
Depending on the type of wall material you’re covering (fiberglass, drywall, etc.), your choice of waterproofing material will vary. Be sure to read the product labels and follow directions carefully to ensure the best results.
What is the cheapest way to waterproof shower walls?
One of the most cost-effective ways to waterproof shower walls is to use a fiberglass reinforcing tape. This type of tape is designed to be applied directly onto the wall surface and offers excellent adhesion, as well as protection against water damage and mold growth.
Do shower walls need to be waterproofed?
Yes! Waterproofing your shower walls is essential in preventing water damage and mold growth. Not only will it make your RV look nicer, but it will also help ensure a clean and safe environment for yourself and your family.
What is the best shower caulk for an RV?
Silicone caulk is a great option for waterproofing your RV shower walls, as it is highly durable and flexible. It has excellent adhesion to both wet and dry surfaces and won’t crack or shrink over time. Additionally, silicone caulk is resistant to mildew formation and can be painted if desired.
Is silicone better than caulk for showers?
Silicone and caulk have different uses when it comes to waterproofing your shower walls. Caulk is a great choice for sealing around fixtures, while silicone is better suited for filling in large cracks and gaps. Both products offer excellent protection against water damage and mold growth, so the best option will depend on the area you’re trying to seal.
Should I use silicone or caulk for a shower?
It really depends on the area you’re trying to seal. Caulk is best used for sealing around fixtures and filling in small cracks, while silicone is better suited for larger areas or gaps. Both products offer excellent protection against water damage and mold growth, so it’s important to choose the right product for the job.
What happens if you don’t caulk shower?
If you don’t caulk your shower walls, water can easily seep through any cracks or gaps in the surface and cause damage to your RV. Not only can this lead to costly repairs, but it can also create a hazardous environment that may put your family’s health at risk. It’s always best to take the necessary steps to waterproof your RV shower walls and prevent water damage.
What can I use instead of silicone in the shower?
If you don’t want to use silicone in your RV shower, another option is fiberglass reinforcing tape. This type of tape is designed to be applied directly onto the wall surface and offers excellent adhesion, as well as protection against water damage and mold growth. Additionally, it’s easy to apply and won’t crack or shrink over time.
How long does silicone last in a shower?
Silicone caulk can last for many years when applied correctly and taken care of properly. It’s important to make sure you apply the caulk evenly and monitor the area for any signs of wear or damage. With proper care, your silicone caulk should last for several years.
Useful Video: Vinyl Flooring on Shower Walls | TRAVEL TRAILER REMODEL | EP. 20
Conclusion
Waterproofing your RV shower walls is a simple task that can have lasting benefits. By following the necessary steps, you can be sure that your RV shower walls are safe from water damage and mold growth. Remember to use a quality sealant, caulk or epoxy to ensure a secure bond between the various surfaces of your RV’s shower walls. Additionally, make sure to properly clean and prepare the surfaces before applying any waterproof sealant.
By following these instructions, you’ll be able to effectively waterproof your RV shower walls and enjoy a safe and comfortable showering experience while you travel. If there are any questions that weren’t covered in this article, don’t hesitate to contact your RV dealership or a professional contractor. Good luck and happy travels!
References:
- https://www.rvcampgear.com/how-to-waterproof-rv-shower-walls/
- https://www.urbanadventure.org/how-to-waterproof-rv-shower-walls/
- https://thecampingadvisor.com/rv-shower-caulking/

Leave a Reply