Are you ready to conquer the challenge of removing carpet from under your RV slide-out? It can seem like a daunting task, but with this step-by-step guide, you can do it with ease! It will provide you with all the information and tools necessary to ensure that the removal process is quick and effective – everything from what kind of material your carpet is made out of, to how best to pull up and remove those stubborn staples! So don’t let yourself be intimidated by this project – if you follow along with this guide, your RV slide-out will soon be carpetless in no time!
Table of Contents
What is RV Slide Out?
RV Slide Out is a feature available on many recreational vehicles, motorhomes and campers. This feature allows the user to extend their living space without having to park in a larger spot or buy an additional unit. With the RV slide-out feature, users can simply use their existing vehicle to create more room for activities and amenities such as an extra sleeping area, kitchen, or even an entertainment area. This feature is especially popular among those who frequently travel and need more space than a traditional RV can offer.
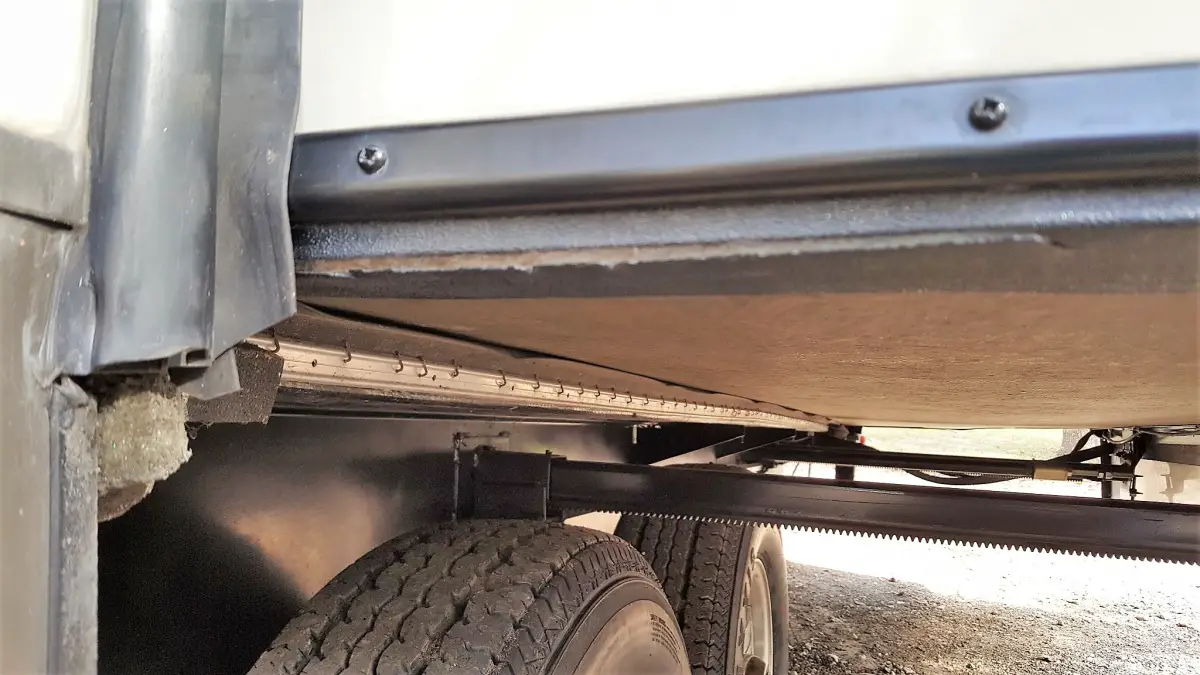
One of the most important aspects of any RV slide-out is its proper maintenance to ensure that it’s in safe working condition at all times. Regular inspection and lubrication are necessary to prevent potential issues from developing and to keep the slide-out functioning properly. Additionally, owners should be sure to check that all seals and gaskets are in good condition and replace any that have been damaged. It’s also important to make sure the slide-out is properly retracted when not in use, so that the vehicle’s weight is evenly distributed and no unnecessary strain is placed on the components. With proper maintenance, an RV slide-out can provide a lot of extra living space and convenience for those who need it.
In addition to being a great way to increase the amount of living space when traveling, an RV slide-out also provides another level of safety and security for those on the road. Many units come equipped with special locks and seals, helping to prevent theft and damage. Additionally, the extra space created by the slide-out makes it easier to store items safely while still allowing easy access when needed. This can be especially helpful for those who are frequently on long trips or in remote locations. With all these benefits, an RV Slide Out is a great addition to any recreational vehicle [1].
Why to Remove Carpet From Under RV Slide Out?
When an RV is parked, there are many aspects to consider when checking for potential damage. One of the areas that often gets overlooked is underneath the slide-out portion of the vehicle. Removing carpet from under your RV slide-outs is essential for avoiding costly repairs and even more costly accidents — such as fire or water damage.
There are several reasons why it is important to take the time to remove all carpeting from beneath an RV slide-out. First, carpets can trap dirt and debris which can interfere with the smooth operation of the slide-out. In addition, small pieces of carpet may become entangled in the mechanics of the slide-out, creating a potentially hazardous situation.
Moreover, when the weather is damp or rainy, carpets can easily be ruined by water. Water can cause mold and mildew to develop quickly underneath a slide-out, leading to costly and time-consuming repairs. Removing carpet from under your RV slide-out prevents this kind of damage from occurring in the first place.
Finally, it’s easy for dirt and debris to become lodged in crevices beneath the slide-out. This can cause all sorts of problems, such as jams or clogs that interfere with the smooth operation of the slide-out. Removing carpet from under your RV slide-outs will help prevent these kinds of issues from occurring.
Steps to remove carpet from under RV slide out
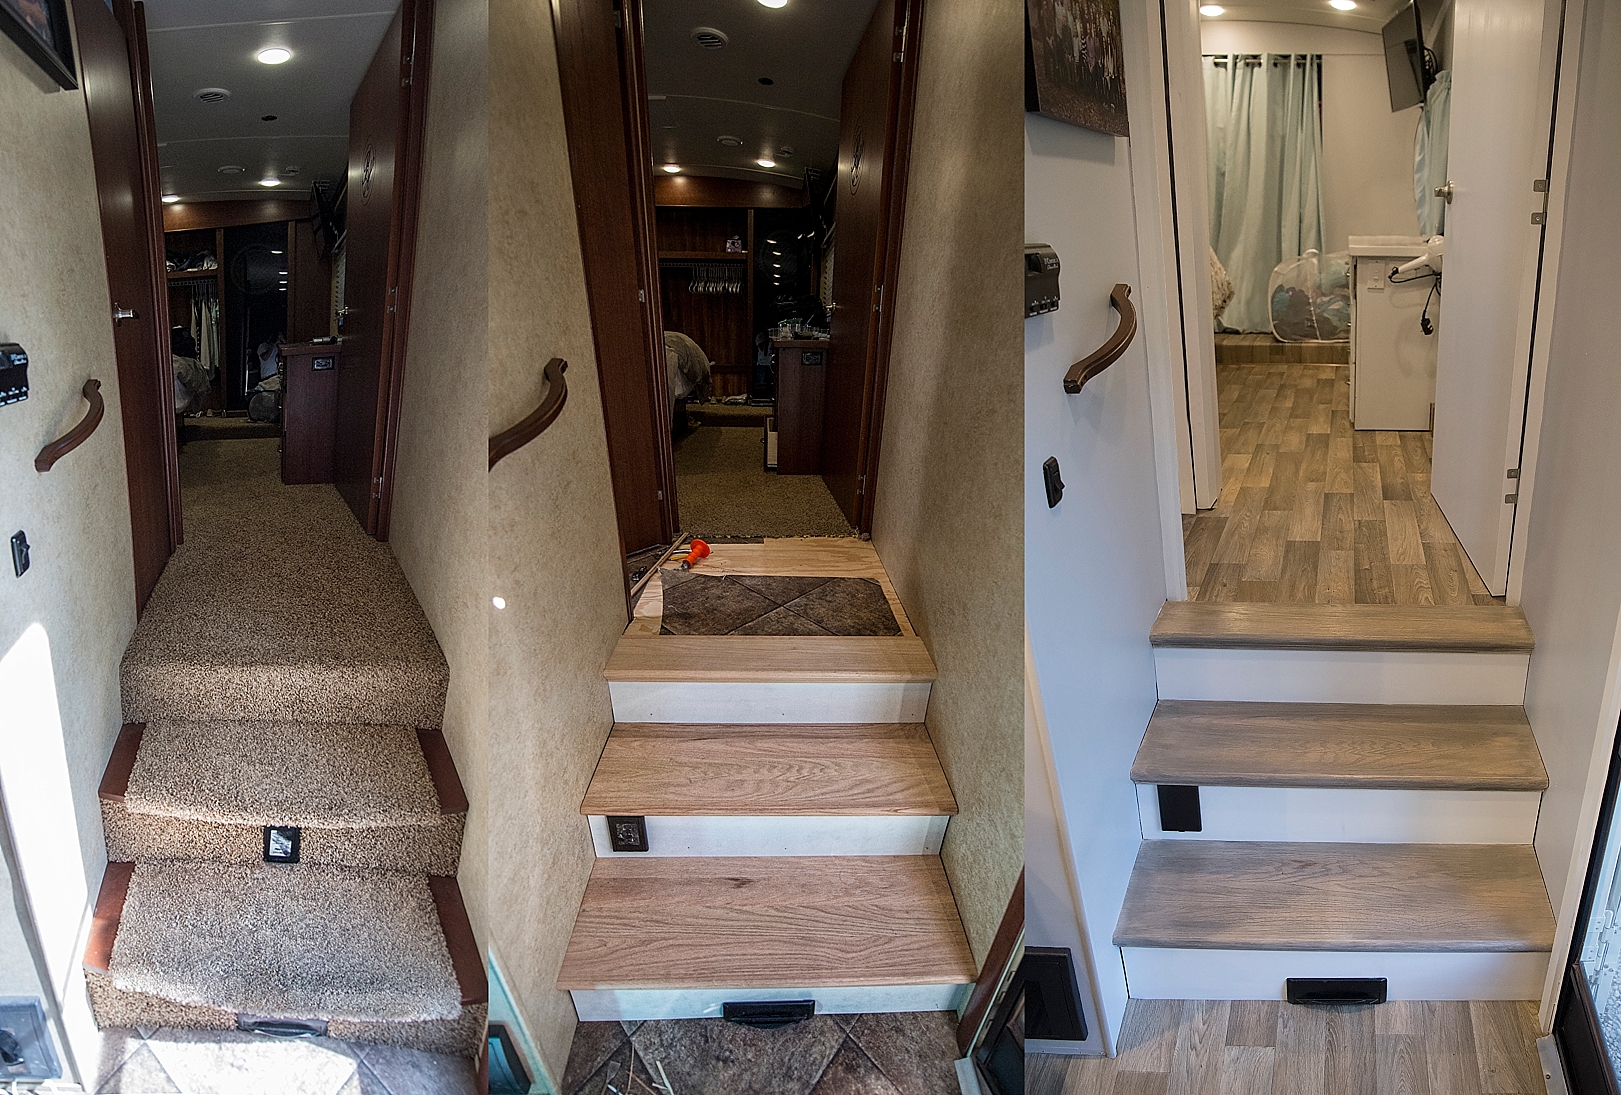
Step 1: Prepare the Space
Before beginning, make sure that you have all of the necessary tools and supplies ready to go. For this job, you will need a utility knife, flashlight, screwdriver set, measuring tape, pliers, work gloves, and safety goggles. You may also want to have on hand an old blanket or drop cloth for protection from debris. Once your supplies are ready, turn off the power to the RV slide-out and move any furniture or other items away from the area.
Step 2: Remove Staples and Nails
Using your utility knife, carefully cut around the edge of the carpet where it meets the flooring. You may need to use a flashlight to help you see inside any tight corners. Once the perimeter of the carpet is cut, start removing any nails or staples that may have been used to secure it in place. Use your pliers to pull them out and be sure to wear work gloves for protection.
Step 3: Remove Carpet
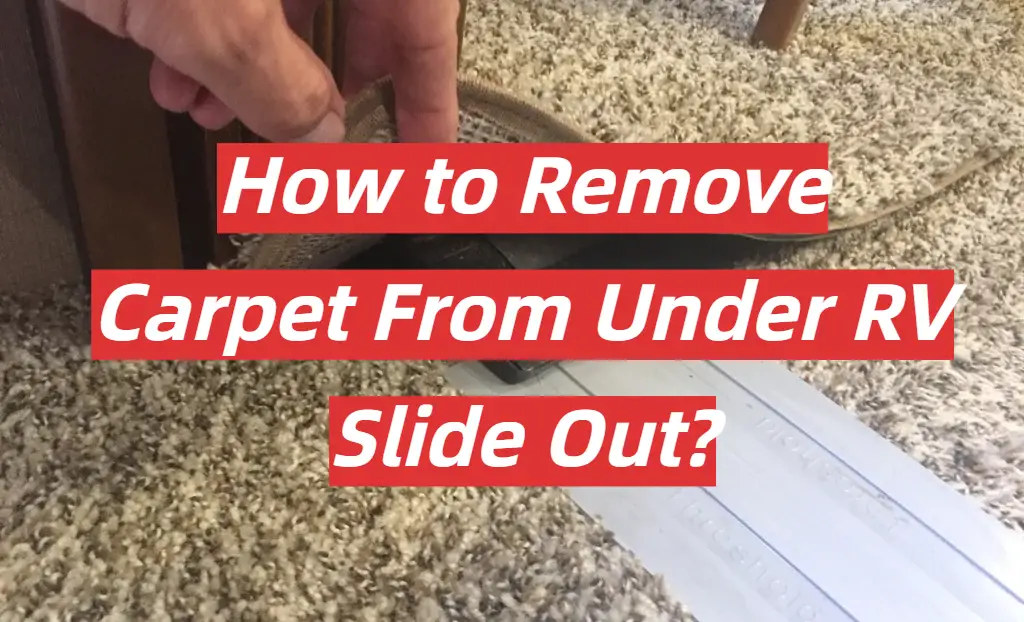
Once all of the fasteners have been removed, you should be able to easily lift and pull out the carpet. If it does not come away easily, you may need to use a screwdriver or other tool to help loosen it from the flooring. Place the dropped cloth underneath the carpet as you remove it to catch any debris or dirt that falls off during removal.
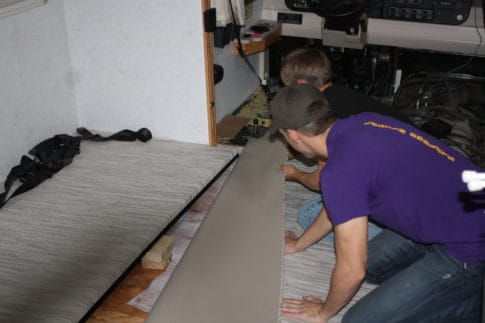
Step 4: Clean and Prepare the Floor
Once all of the carpet has been removed, check the flooring to make sure it is free from any dirt or debris. Use a vacuum cleaner or broom to clean the surface as needed. Then use your measuring tape and flashlight to inspect the area for any damage that could be caused by water leakage or other hazards. Make any necessary repairs before proceeding with installation of new carpeting.
Step 5: Install New Carpet
Once the flooring is prepped and ready, you can begin to install your new carpet. Be sure to use proper tools and supplies as recommended by the manufacturer of your chosen product to ensure a secure fit and long-lasting protection. If necessary, use adhesive or glue to help hold it in place.
Step 6: Final Inspection
Once the new carpet is installed, take a few moments to inspect the area for any loose edges or bumps that may need to be adjusted. Check all seams to make sure they are secure and use your flashlight once again to look for any potential water damage or hidden issues in tight spots. Once you are satisfied with the results, turn on the power to the RV slide-out and enjoy your updated space [2].
How to clean the carpet of my RV?
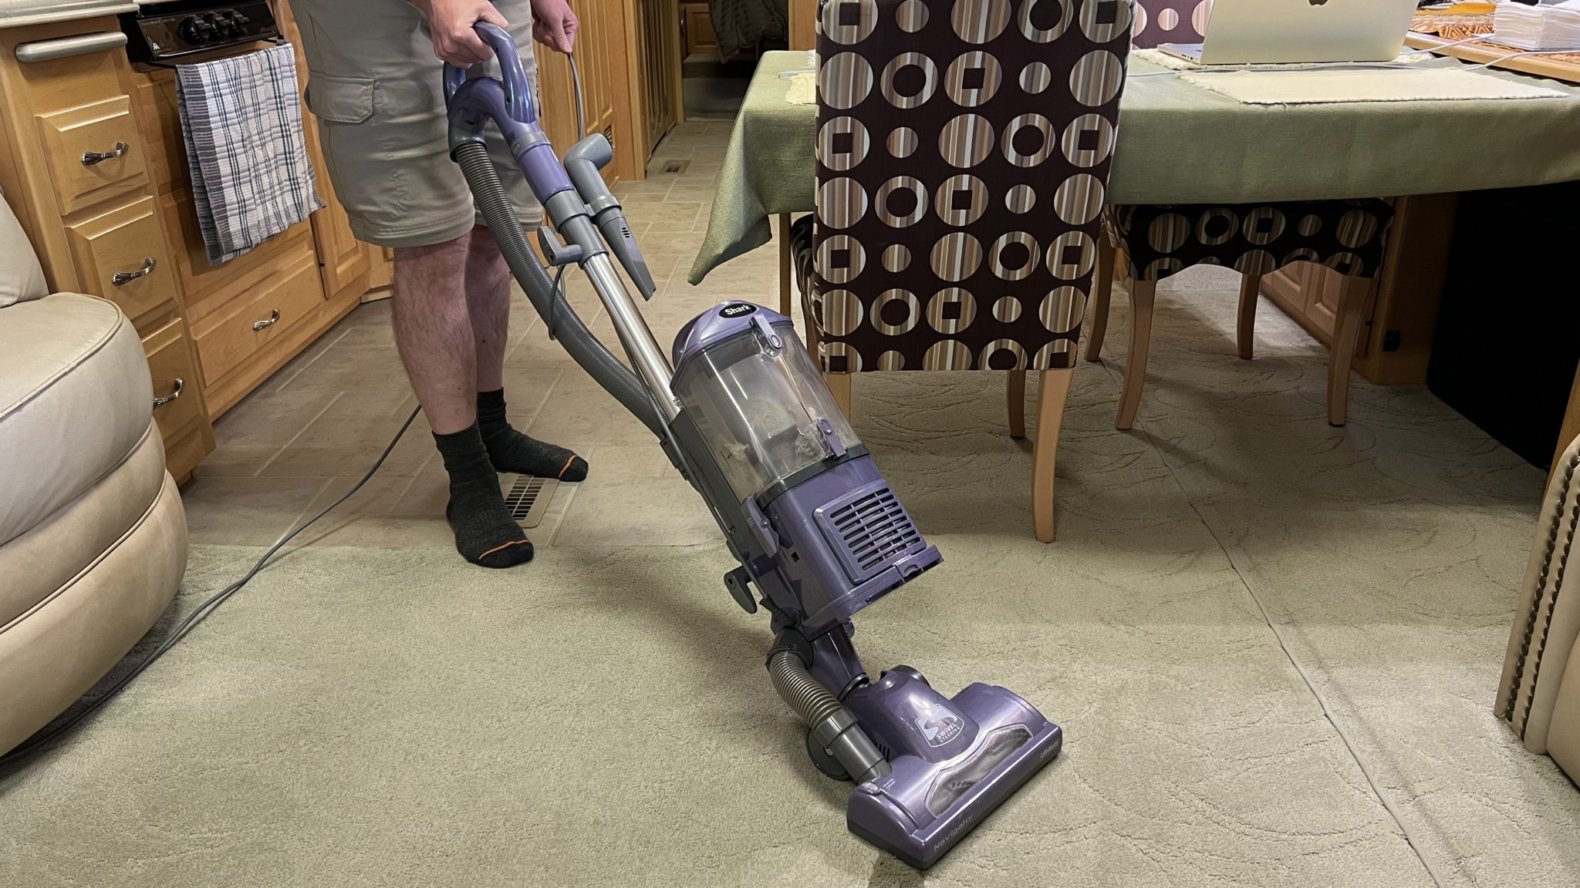
Locate the cleaning utensils
Before you start cleaning the carpet of your RV, you should first locate all of the necessary cleaning utensils. This usually includes a vacuum cleaner, a scrub brush, and some sort of detergent or carpet cleaner. Depending on the size and type of RV that you own, you may need additional items such as an extractor, special upholstery shampoo or cleaning solution, and a steam cleaner.
Homemade cleaning products
If you prefer to use natural cleaning solutions, there are several options available. A mixture of white vinegar and warm water can be used to clean carpets and upholstery. You can also mix baking soda with hot water to create a paste which is great for removing stains from carpets or fabric.
Steps for cleaning
Once you have gathered all of the necessary supplies, follow these steps to clean your RV’s carpet:
- Vacuum the carpet thoroughly using a vacuum cleaner with an appropriate attachment. This helps to remove dirt, debris and pet hair from the surface of the carpet.
- Prepare a cleaning solution by mixing detergent or other cleaning products with water in a bucket.
- Apply the cleaning solution to the carpet using a scrub brush. Make sure to pay extra attention to stains and heavily soiled areas.
- Let the cleaning solution sit on the carpet for about 10 minutes before using a damp cloth to blot it off.
- Rinse any remaining residue from the carpet with warm water.
- Allow the carpet to air dry or use a fan to speed up the drying process.
- Vacuum again to fluff up the carpet and remove any remaining dirt or debris.
Additional tips
- For tougher stains, you may need to repeat steps 2-6 several times before they are completely removed.
- When using a steam cleaner, make sure to work slowly and use multiple passes over heavily soiled areas.
- For extra protection against dirt and stains, consider investing in an appropriate carpet protector or fabric sealant.
- If you have pets, consider vacuuming the carpets regularly to prevent the build-up of pet hair and dander.
- For a thorough clean, it is recommended to have your RV’s carpets professionally cleaned at least once per year.
- Finally, keep in mind that different types of carpets and fabric require different cleaning methods, so make sure to follow the manufacturer’s instructions when possible.
By following these steps and tips, you can keep your RV’s carpets looking like new for years to come [3].
FAQ
Why is there carpet in RV slides in?
Carpet in RV slides adds a layer of insulation and helps protect the slide from water damage. Carpet also provides a softer surface, which is often more comfortable for people walking on it. Additionally, carpet can help reduce noise levels inside the RV while the slide is being opened or closed. This can be especially helpful when camping in noisy environments. Finally, the carpet provides a cozy and homey touch to the RV’s interior, making it even more comfortable for its inhabitants.
What is the best way to clean the carpet in an RV slide?
The best way to clean the carpet in an RV slide is by vacuuming regularly or spot-cleaning with mild detergent when necessary. It’s important to avoid using harsh chemicals, as these can damage the carpet and cause it to become discolored over time. If you’re dealing with a tough stain, you may need to use a heavy-duty upholstery cleaner or steam cleaning machine. Additionally, it’s important to keep the area dry by wiping away any moisture after cleaning.
Can I replace the carpet in an RV slide?
Yes, you can replace the carpet in an RV slide. You may want to consider replacing it if it is worn down or stained beyond repair. However, keep in mind that you will need to remove the existing carpet before installing a new one, so this project should only be attempted by experienced DIYers or professionals. Additionally, you’ll need to ensure that the new carpet is securely attached and fits properly.
What type of carpet should I use in an RV slide?
It’s best to choose a low-pile carpet for an RV slide. The low pile helps reduce friction against other surfaces and won’t cause the slide to stick when opening or closing. Additionally, low-pile carpets tend to be more durable and easier to clean. Finally, they are typically less expensive than higher pile options. It’s important to make sure the carpet is specifically designed for RV use as well, as this will ensure it can withstand the wear and tear of frequent in and out usage.
How often should I replace the carpet in an RV slide?
The frequency with which you need to replace the carpet in an RV slide will depend on how often it is used. If you are using the slide frequently, then you may want to consider replacing it every couple of years. On the other hand, if it isn’t used very often, then it may last longer. Additionally, you should keep an eye out for any signs of wear and tear, such as fraying or fading, which can indicate that the carpet needs to be replaced.
Are there other options besides carpet for RV slides?
Yes, there are a few different alternatives to using carpets in an RV slide. Vinyl flooring is often a popular choice as it is more durable and easy to clean. Additionally, some RV slides come with wood flooring, which can add a luxurious touch to the interior of the RV. Finally, rubber mats are another option for those looking for something more affordable and low-maintenance.
Useful Video: How to remove carpet and flooring from RV with a slide-out?
Conclusion Paragraph
Removing a carpet from under the RV slide-out requires more care and planning than standard residential carpet removal. You’ll need to be sure that the slide-out is in a secure, level position before beginning the process else you can risk damaging either your RV or the carpet itself; once this is done, however, you have all of the tools necessary to get rid of it safely and efficiently. Professional help may be required if you require specialized tools or expertise, but with the right preparation and safety measures, most people can complete the job on their own. With all that said, it is important to remember that carpet removal can be a tricky endeavor – take your time and stay safe!
References:
- https://www.thervgeeks.com/rv-slide-out/
- https://crowoutdoors.com/how-to-remove-carpet-from-under-rv-slide-out/
- https://www.rvcampgear.com/how-to-remove-carpet-from-under-rv-slide-out/


Leave a Reply