RVs are a popular way to travel, and when you’re on the road, you’ll eventually need to use an RV dump station. These stations allow you to dispose of your waste water and tanks, which is an important step in keeping your RV clean and healthy. However, using a dump station can be tricky if you’ve never done it before. In this guide, we will answer common questions and provide some tips for making the process easier!
Table of Contents
Using an RV Dump Station Is Simple
Cleaning the tanks can be done in a matter of minutes, but there are a few key steps you should follow to ensure everything goes as smoothly as possible.
First, make sure that your dump station is approved for RVs, as not all dump stations are suitable for recreational vehicles.
Next, you will want to attach the sewer hose from the RV to the station’s connection point. Ensure that the hose is long enough to allow for some extra slack in case of any tight turns or curves. Additionally, you may want to use a sealant around the connection point to keep the sewerage from leaking.
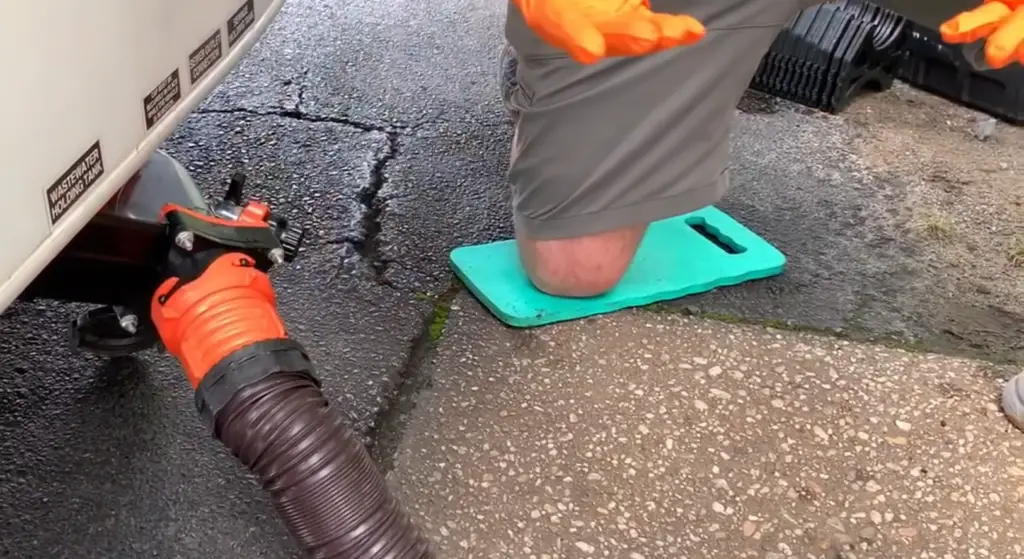
Open all the valves on your RV and begin dumping. Wait a few minutes before all of the contents have been emptied out. Once you’ve finished dumping, close all valves and make sure that no sewage is left in the tank.
What Is An RV Dump Station?
The RV dump station is a place for emptying the waste tank of your recreational vehicle (RV) or camper. It’s usually located at a campground, rest area, or other location that provides access for larger vehicles.
Many RVs come with an onboard sewage holding tank, which fills up over time as you use the toilet and other drains in the vehicle. When it’s full, you need to take the RV to a dump station to empty the tank — otherwise known as “dumping” or “blackwater dumping”.
What You Need to Use
Using an RV dump station usually requires a few items, such as:
- An RV waste tank or portable tote
- Sewer hose and attachments
- Gloved hands for handling the hose.
- Non-Potable Water Hose
- Disinfectant Wipes and Paper Towels
You can purchase a variety of sewer hoses specifically designed for RV dumping. They are typically made of PVC material and come in various lengths with either bayonet-style or threaded fittings on each end. Bayonets are preferred since they are easier to connect than threaded fittings.
Be sure you have the right size hose so it will fit onto your RV’s fitting and also to ensure that there is enough slack in the line when it’s connected. A 10-foot hose should do the trick, but you can always opt for a longer one if needed.
You’ll also need sewer connectors to attach the hose. Many campgrounds offer these connectors at their waste stations. If not, they can be purchased at most RV supply stores or online.
In addition to a sewer hose, some people choose to use a portable tote tank which is designed specifically for dumping RV wastewater into dump stations. These tanks typically have wheels on them for easy transportation as well as handles for gripping onto when lifting. The tanks come in various sizes ranging from five gallons up to 50+ gallons and are usually made out of heavy-duty plastic material so they are able to withstand the weight of the wastewater.
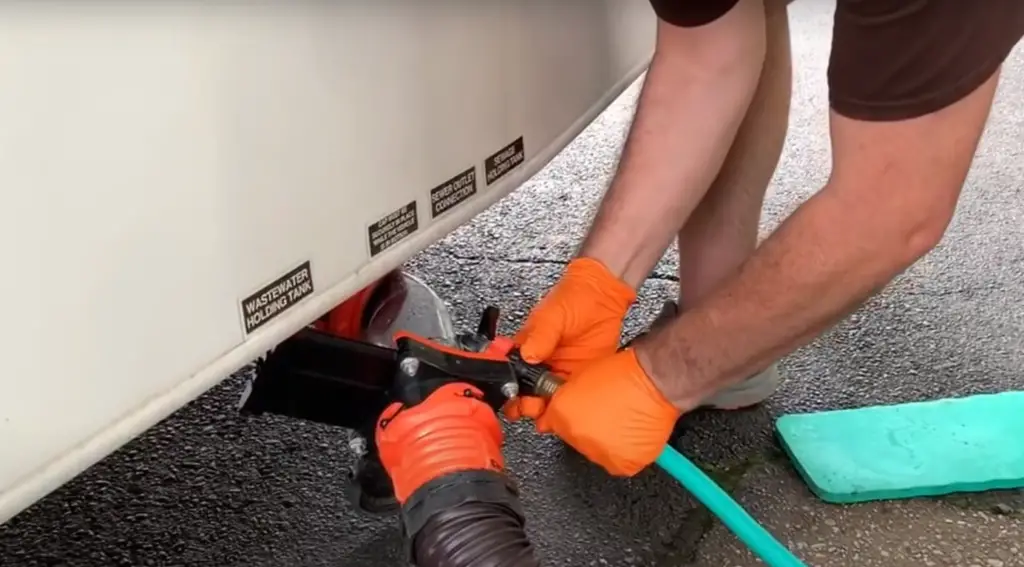
Rubber gloves are usually best for this job since they provide a good grip and hold up well against chemicals.
Finally, you’ll need a non-potable water hose for cleaning up after the dumping process.
Also consider keeping disinfectant wipes and paper towels on hand for sanitizing. And don’t forget a pair of protective glasses — just in case!
Is There a Preferred Order When It Comes to Emptying Your Holding Tanks?
Generally speaking, yes; dump the holding tanks the black tank first and the gray water second. This is because the black tank is more likely to contain bacteria and other harmful materials that could contaminate the gray water. By dumping it first, you are preventing these potential contaminants from entering the gray water tank.
Once all of your tanks have been emptied and flushed out, don’t forget to rinse off the outside of them too. This helps keep residual waste from getting onto other parts of your vehicle or splashing back up onto you. It’s also important to be mindful of what you put down the drain. Not all items are safe to dispose of, so make sure you are following any local regulations regarding what can and cannot be disposed of here.
Don’t forget to use a good quality hose or pipe when connecting the tanks. This will help ensure that everything empties out properly and that there is no potential for leaks or other issues.
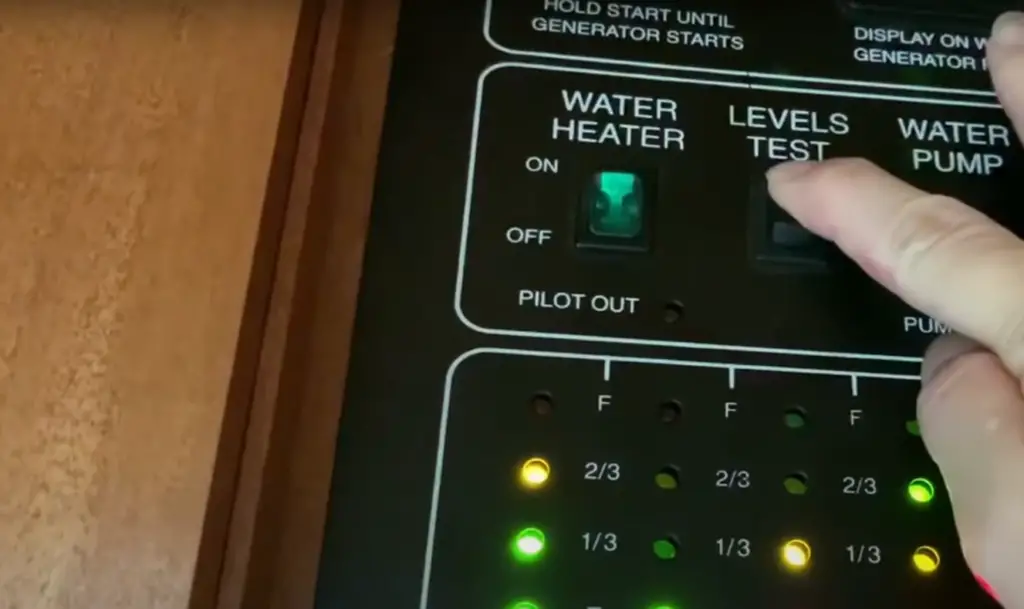
How To Use an RV Dump Station
Ensure the bl/water tank is open before approaching the RV d/station. It’s also important to have a good seal between your hose and sewer connection so no messes or odors can escape while you’re working with the tanks. Make sure to secure any loose items near the area where you’ll be connecting the sewer hose as well.
When you’re ready to begin, start by hooking up the sewer hose to the d/station’s receptacle. Then, turn on the water supply valve to allow fresh water for flushing out any solids and debris in the tank so they can be emptied safely. Open up all of your home’s valves one at a time.
Finally, disconnect the hose from its connection point and adequately dispose of it in a trash bin or other designated area nearby. Make sure to rinse off both your tanks with fresh water before leaving so you don’t leave behind any messes.
Pull Up and Line Up the RV With the Dump Station
Examine the RV is lined up straight so that it is parallel with the d/station receptacle for a good connection.
Check that all of the hoses and connections are sealed tight before dumping. If there is any leakage or disconnection, be sure to fix it right away. This will help prevent any messes or odors from escaping while you’re working on draining the tank.
Attach the Sewer Hose with Clear Elbow
An elbow allows for a better connection between the drain outlet of the RV, and the waste station’s inlet tube. Most sewer hoses come with an adapter that fits into the tank’s outlet and is then connected to the waste station’s inlet. Ensure to secure both ends using clamps, so there are no leakages during the dumping process.
Once everything is connected correctly, open the RV’s bl/water valve located near its sewage tank. To avoid any overflow or mess, go slowly when opening up the valve and keep it open until all waste has been emptied out. You may need to use a pole or some other object to hold the valve open during the process. Your RV may come with a built-in handle that simplifies this task.
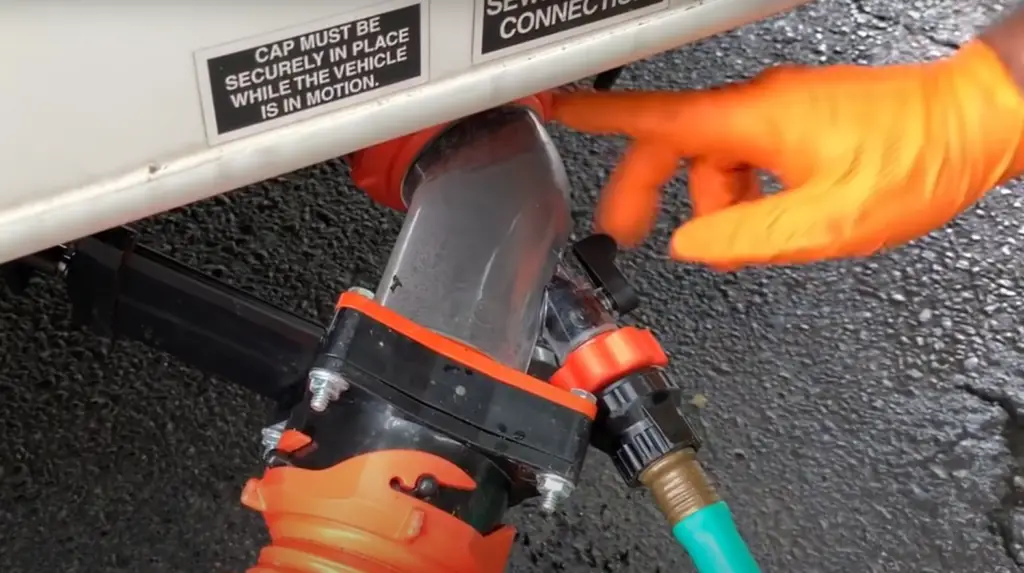
Once there is no more water or waste coming out, you can close the valve and take off your gloves. Now it’s time to rinse out your tank using clean water from the potable (drinkable) water inlet hose. This step is important as it helps eliminate any bad odors and bacteria. To do this, pressurize the flush wand by connecting its adapter to the potable water hose and then open up the valve again for a few seconds until both tanks are completely flushed out.
Secure the End of the Sewer Hose in the Dump Station Drain
There are a few more steps to take before releasing any wastewater. Ensure to firmly attach the hose to the d/station drainpipe. If it isn’t secure, some of it could leak out and create a mess around your RV.
Pull Black Tank Valve
When you’re ready to start draining your tanks, open up the valve first. This will let out all of the wastewater from your black holding tank into the d/station septic system. Make sure that the hose is securely attached so that no wastewater leaks out; if it’s not secure, wrap a few heavy-duty rubber bands around it to make sure it stays in place while you are emptying the tank.
Flush Black Tank and Dump It
This can help keep the tank clean and ensure that it is properly emptied of all wastewater before being put away for storage. To do this, To ensure your hose is free from all waste and contamination, simply open up the bl/water valve one final time to allow a few gallons of clean water run through it until any residue has been thoroughly flushed away.
Pull Gray Tank Valve
Open up the gr/water valve and let out all of the wastewater from this tank as well. Once everything has been drained, close off the valve and detach any attachments from the d/station drainpipe.
Finally, ensure that all of your valves are tightly shut before detaching any hoses or other attachments from the dump station itself. This will help ensure that no spills occur while you are putting away your tanks for storage.
Rinse Gray Tank
At this point, your tanks should be completely emptied and ready for storage. If desired, you can flush out the tank until all remnants of waste are removed. Once this is done, close off the valve and detach hoses or attachments from the dump station drainpipe. Your tanks should now be clean and ready to be stored!
Make sure to attach all hoses securely before draining your tanks, double-check that all valves are tightly shut after emptying them, and if desired rinse out your tanks with a few gallons of fresh water. Once you are done, simply detach any hoses or attachments and store away your tanks!
Close Valves and Disconnect Hose from RV
Once you have filled your holding tanks and removed any debris that may be inside, close the valves for both the gray and bl/water tanks. Make sure to check for leaking. Afterward, disconnect the hose from the RV.
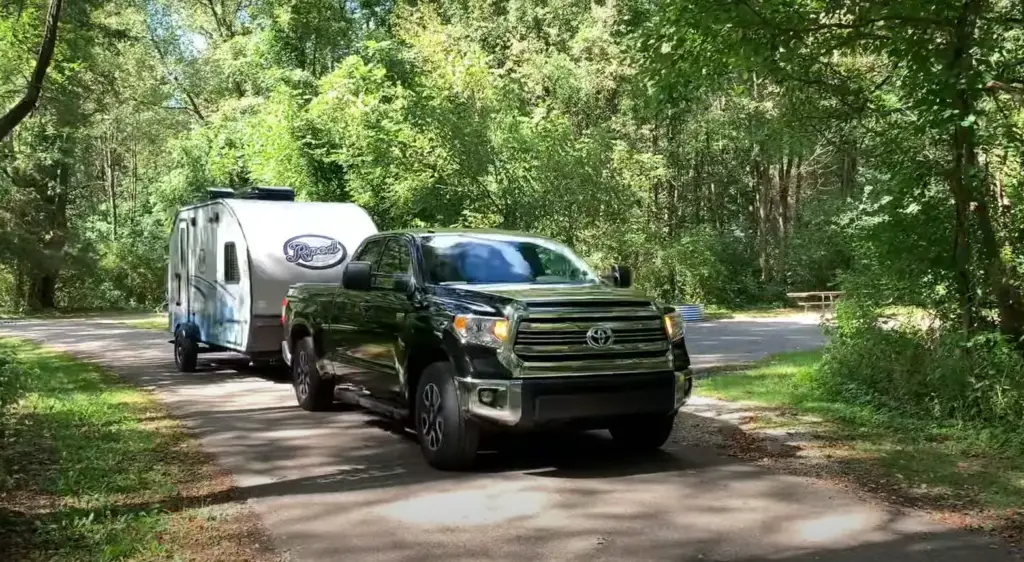
It is also important to know how long it will take for your tanks to empty, as some locations require a certain amount of time to pass before leaving the dump station. Be aware of any posted signs or regulations about the duration that one must wait for their tanks to fully empty before moving on.
Always leave the area better than you found it by putting all garbage in its proper place and disposing of any hazardous materials properly. This is important to do not just for yourself but to help maintain the cleanliness of public dump stations.
Finally, be sure to check that your sewer hose has been securely reattached and valves are tightly sealed. Make certain that the dump connection is completely closed with no chance of any leakage occurring before leaving the station.
Use Water Hose to Rinse Inside of Sewer Hose
After the dumping is completed and all necessary valves have been closed, it’s time to rinse inside the hose. This prevents any waste or soap residue from collecting inside and causing odors over time. Simply fill a bucket with water and use a garden hose to wash away any grime. If there are any spills on the ground, go ahead and give those a quick rinse too. Doing this right after you finish will help keep the area around your RV clean and hygienic in the future.
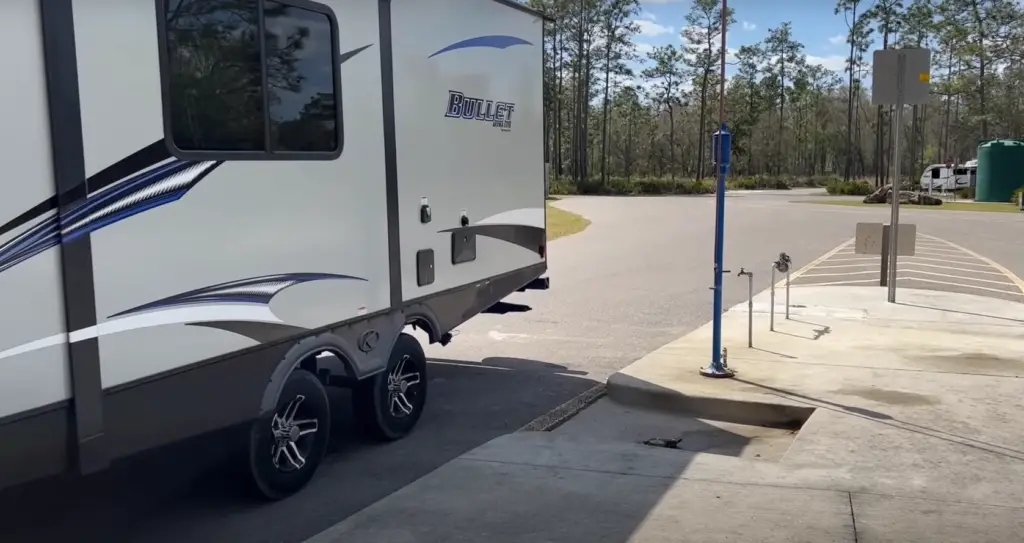
Once that’s done, secure the sewer hose back onto your RV, making sure all connections are tight. Lastly, don’t forget to put away the tools used during the dump process like gloves, hoses or other accessories. If a dump station has provided you with any cleaning supplies (like paper towels, etc), use them to clean up and dispose of them properly in the designated containers.
Put Everything Away
Now that you’ve completed the process, it’s important to put away all hoses and accessories properly. Making sure they are neatly stored will help prevent any tripping hazards or clutter in the future. Also, make sure you have disposed of the trash properly. If the dump station has a designated receptacle for paper towels and other disposal items, use them instead of littering on the ground.
Sanitize Valves and Sanitation Station
This will help maintain a hygienic environment throughout your trip and reduce any risk of bacterial contamination. To do this, use a solution made from 1 part bleach to 4 parts water and swab it around the sanitation station unit and valves.
Plan Carefully and Dump Responsibly
The process of using a d/station may seem overwhelming at first, but can become much easier with practice. Just remember to plan ahead and make sure you have all the necessary tools for the job. If you take the time to do everything properly, your RV will stay in top shape throughout your trip and you can enjoy the beautiful outdoors without worry!
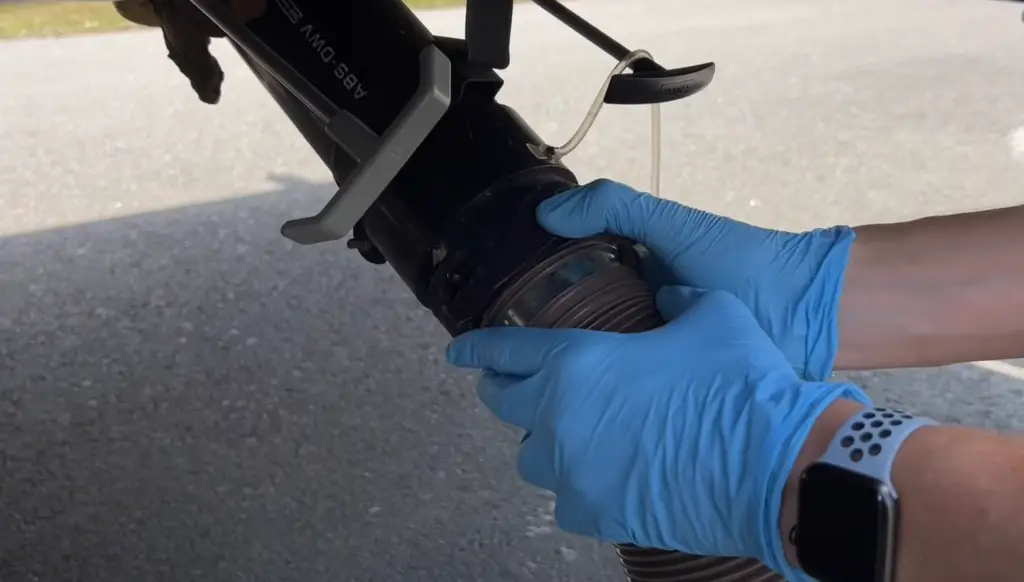
When finished, be sure to check that all valves are closed and locked securely before leaving the dump station. This will help ensure nothing is left open or spilling out onto the ground. Similarly, double-check that any supplies used during dumping are put away neatly and not left behind. Finally, it’s important not to leave a mess – clean up any spills on the ground and used supplies should be deposited properly in the designated containers. Doing this will help create a safe and clean environment for everyone enjoying the outdoors.
FAQ
How do I connect to a dump station?
Before you attempt to connect your RV’s sewer hose to the dump station, ensure that you have all the proper connections. Most RVers will carry two different types of hoses: one for fresh water and one for sewage. Be sure to use the correct hose when connecting to a dump station.
Connecting is relatively straightforward: first, pull up so that your vehicle’s sewer outlet is near the receiving end at the dump station. The receiving end should be clearly marked with a sign or label indicating which type of hose should be used. Make sure it is aligned correctly before connecting it to your RV’s sewer outlet. Once connected, open all valves so that waste can begin flowing out into the d/station.
If you find that the connection is not tight enough, use a rubber sealant or plumber’s tape to secure it in place. Once you are sure that the connections are secure and all valves are open, start filling up your RV’s tanks with fresh water until they reach their capacity levels. [2]
How do you use dump points?
Using an RV dump station is a simple process that can be completed in just a few minutes. To use a dump point, follow these steps:
- Connect the sewer hose to the RV’s waste outlet and the dump station’s receptacle. Make sure the connection is firmly secured and there are no leaks or cracks.
- Open the valve on your RV’s blackwater tank and allow it to empty into the receptacle of the dump station. You may want to open up the valve slowly at first, then increase pressure if needed, as this will help speed up emptying time.
- Once all of the contents have been emptied from your tank, close off the valve and disconnect the sewer hose.
- Make sure to rinse off the area around the receptacle with fresh water, as this will help keep it clean and sanitary for other RVers who may use it after you. You can also fill up your tank at the dump station using a garden hose if needed. [3]
Is there an app to find RV dump stations?
Yes, there are a number of apps available for finding RV dump stations. Most of these apps will provide you with details about the location, cost, and type of dump station available. Some apps also offer helpful reviews from other users so that you can make an informed decision when selecting a dump station. Read the terms before downloading any app as some may be free while others require payment. Once downloaded, you should be able to search for nearby stations or use your current location to find one close by. [4]
How do you use a dump station in NZ?
Using a dump station in New Zealand is similar to the process in other countries. Generally, you will need to drive your RV up to the station and park it so that the black water tank (the one containing sewage) hangs over the dump hole provided. Attach a hose from the RV’s tank to the d/station valve.
Next, you can open the valve and allow the wastewater to drain out until it runs clear. While doing so, be sure to check for any leaks or other issues with your waste system. If all looks good then you can close off the valve and move on to cleaning up any mess that may have been made during this process.
Once finished, make sure you disconnect the hose from your RV’s tank as well as the dump station valve. When this is done, it’s important to dispose of any wastewater properly by placing out any grey water and cleaning up any black water that may have spilled.
Finally, you should rinse off the dump hole with clean water, rinse out the hoses and tanks, and make sure everything is securely stored away before driving off. This simple process will help keep our environment healthy and ensure a safe dumping experience for all!
How do you use a dump station in the UK?
The most important thing is to remember that human waste must only be disposed of in designated sites. This may include certified or authorized camping and caravanning clubs, rural public conveniences, or specific sites approved for disposal by local councils. It’s important to check whether or not the site you plan on using is officially recognized as being suitable for disposing of your waste before doing so.
If you’re planning on visiting a commercial dump station on your travels, then research in advance. Many sites will advertise if they offer disposal services, and even provide information on the types of waste they accept.
It’s important to be prepared with all the necessary tools before you arrive at a dump station. Ensure that your water tanks are empty and clean beforehand, so that any waste is disposed of properly and doesn’t contaminate the environment or other travelers. You’ll also need a few pieces of equipment such as gloves, additional hoses, an extra sewer adapter and an emptied grey water tank – these can usually be purchased at most motorhome supply stores.
To use a dump station in the UK, follow these steps:
- Park your vehicle as near as possible to the designated area.
- Connect your RV’s waste hose to the appropriate receptacle or pipe, with the valve open.
- If necessary, empty your grey water tank first, then begin disposing of wastewater from your black tank.
- Once finished, flush the hose and connection points with clean water for at least two minutes to ensure all traces of waste are removed.
- Disconnect the hose and make sure it is properly stored away.
- Lastly, dispose of any used gloves and cleaning materials correctly in an authorized bin nearby or take them home with you for disposal at a later date. [5]
Following these steps will ensure that you use a dump station safely and responsibly while on the road!
Useful Video: Dump Station for RV – 5 RV Dumping Station Tips for Beginners
Conclusion
Using an RV dump station is a necessary part of camping or traveling with an RV. They can be found in many places, from campgrounds and rest stops to RV parks. Knowing how to use one correctly is important for keeping your vehicle and the environment clean and safe. Before using a dump station, ensure that you have a fresh tank of water, the right hoses and connections, as well as any other items needed for successful dumping. Remember to flush the black and gray tanks thoroughly afterwards. Clean up any messes made during the process, follow state laws about disposing of wastewater, and discard used gloves properly. With these tips in mind, you’ll be ready to tackle any dump station with ease!
References
- https://www.getawaycouple.com/rv-dump-station/
- https://rvlife.com/how-to-use-an-rv-dump-station/
- https://www.4wdingaustralia.com/camping/dump-points/
- https://www.rvezy.com/blog/best-rv-apps
- https://www-thervgeeks-com.webpkgcache.com

Leave a Reply