RVs are a great way to travel and see the country, but they also require a lot of maintenance. The importance of regularly sanitizing your RV’s fresh water tank can easily be overlooked; however, it is an essential task for maintaining the proper functioning of your vehicle. In this article, we will provide all the necessary information!
Table of Contents
How to Sanitize RV Fresh Water Tank?
Sanitizing your recreational vehicle’s fresh water tank is a crucial component of keeping the vehicle in top-notch shape. Although it might seem intimidating, it can be done easily and safely with the right supplies and a bit of know-how. Here are the steps for sanitizing:
Gather Supplies
Collect the necessary materials to disinfect and purify the water tank: two gallons of vinegar, a bucket, a funnel, and rubber gloves. You can purchase all these items from your local hardware store.

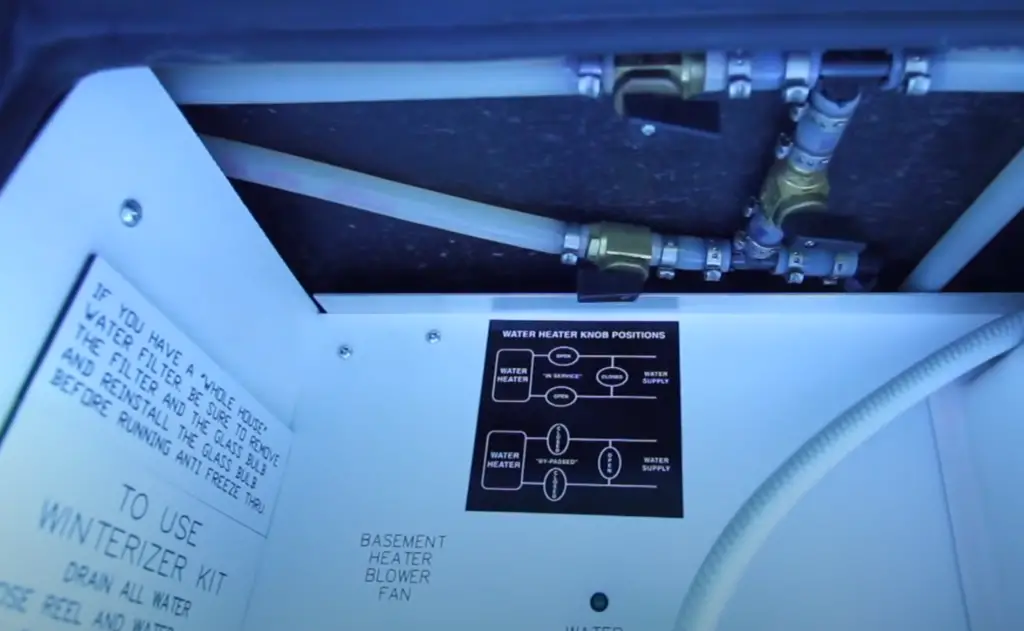
Turn Off Water Heater
After turning off the heater and all related waterlines, it’s time to start cleaning the water tank for preventing any contaminated water from getting into the heater and other areas of your RV during the cleaning process. It’s best to reference your specific model’s manual as each one differs slightly.
Disconnect Hoses
This includes both the inlet hose which supplies water to the tank, and the outlet hose which drains out of it. If either of these hoses is left connected, you run the risk of contaminating your newly-sanitized tank.
You should also take this opportunity to inspect your RV’s hose lines for any potential damage or leaks. It’s important that all hoses are free from cracks, holes or other signs of wear and tear before being used again with a clean tank. If necessary, replace them with new ones before proceeding with sanitization.
Flush Out the Water: Eliminate Grey and Fresh Water Tanks for a Cleaner Home
Start by disconnecting any hoses that are attached to the RV’s water outlets. Then open up the valves for each tank so that all of the remaining water can be drained out. If necessary, use a siphon hose or pump to speed up this process and ensure that there is no standing water left in any part of your RV’s plumbing system.
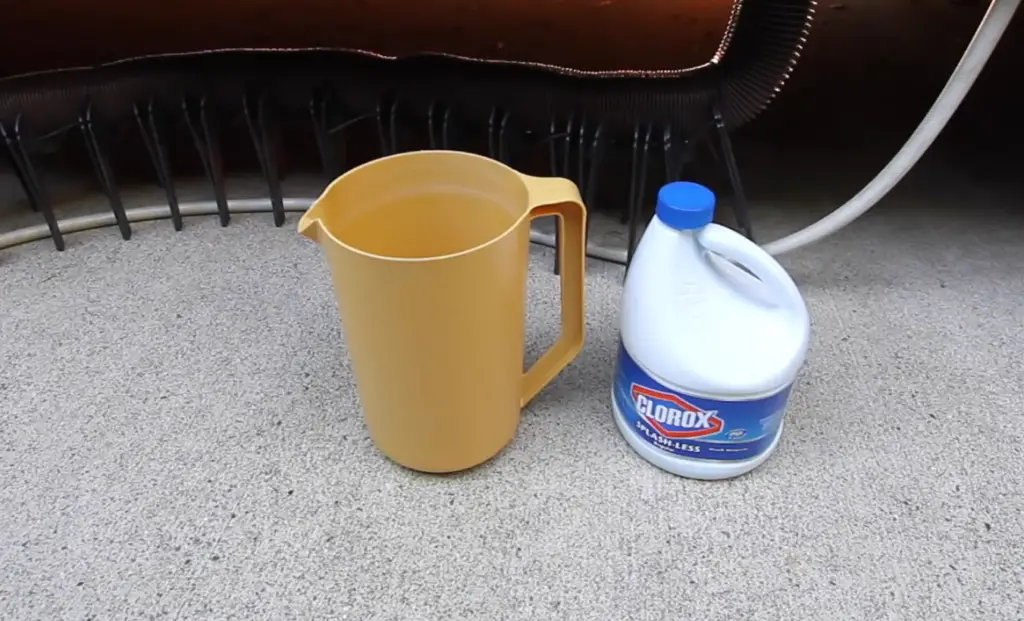
Add Bleach to Water Tank
Fill the tank with cold water until it is about half full. Add 1/4 cup of bleach for every 15 gal of water. This means that if the tank holds 30 gal then you will need to add a total of 1/2 cup of bleach, and so on. Once the correct amount of bleach has been added, fill the rest of the tank with water.
Allow Bleach Solution to Sit
During this time period, make sure to give it a good slosh every so often. This will ensure that all areas of the water tank have been exposed to and been treated with the sanitizing solution.
After several hours, dump out the bleach mixture by running all associated faucets until they are clear of any remaining solution. This step is important because you don’t want any leftover traces of bleach or other sanitizer chemicals!
Drain the Water Tank and Rinse
Ensure you are wearing protective gloves when handling chemicals such as bleach and other sanitizing agents. You will want to start by attaching a hose to the drain valve. This is usually located at the bottom of the tank near where it joins your RV’s frame or axles. Carefully open up the drain valve until you hear water running out from within your freshwater tank into the attached hose.
Next, attach the hose to a faucet and to the drain valve. This will create a flow from the outdoor faucet that runs through your freshwater tank and out the valve. This is referred to as flushing or back-flushing your RV’s freshwater tank. Once you have done this for at least 5 minutes, all residual bleach should be washed away.
Clean the Outside of the Water Tank
Now that you’re done with the inside of the tank, it’s time to clean the outside. This step is just as important as cleaning the inside because bacteria and dirt can build up on the surface over time.
Start by scrubbing down any visible areas of buildup with a soft brush and soapy water. Afterward, rinse off any remaining soap with cold clean water. [1]
If you want an extra layer of protection for your tank, consider using a mild bleach solution diluted in lukewarm water. Simply spray this solution onto the exterior surface of the tank and then wipe away with a dry cloth or rag.
How to Maintain a Clean RV Fresh Water Tank
Sanitizing
Routinely sanitize the tank as a precautionary measure for maintenance. If you don’t have a schedule, it’s important to sanitize it at least once every 6 months. Sanitizing the tank helps to prevent bacteria and other contaminants from growing in the water supply.
When it comes to sanitizing your water tanks, there are two effective methods: bleach or chemical sanitizers. Both are safe for use in RVs.
Use a Water Softener
A softener can remove mineral deposits from the walls of the tank and make sure that any remaining bacteria are eliminated. This is especially important for people who live in areas where hard water can be a problem. The softeners reduce the buildup of scale, which can cause nasty odors and build up on other surfaces inside your RV’s freshwater system. It’s important to follow the manufacturer’s instructions and change out cartridges every 6 months or so, as they become less effective over time. Finally, keep in mind that it might take several days before you see results, so be patient!
Use Filters/Purifiers/Sterilizers
A great way to ensure the water stays clean and sanitary is to invest in a filter, purifier or sterilizer.These products will keep contaminants from entering your tank and make sure the quality of the water you are consuming is up to par with safe drinking standards. When it comes time to replace your filters, make sure to do so regularly as recommended by the manufacturer. Some popular filters on the market today provide effective bacteria removal that leaves behind a refreshing taste without any lasting chemical odors.
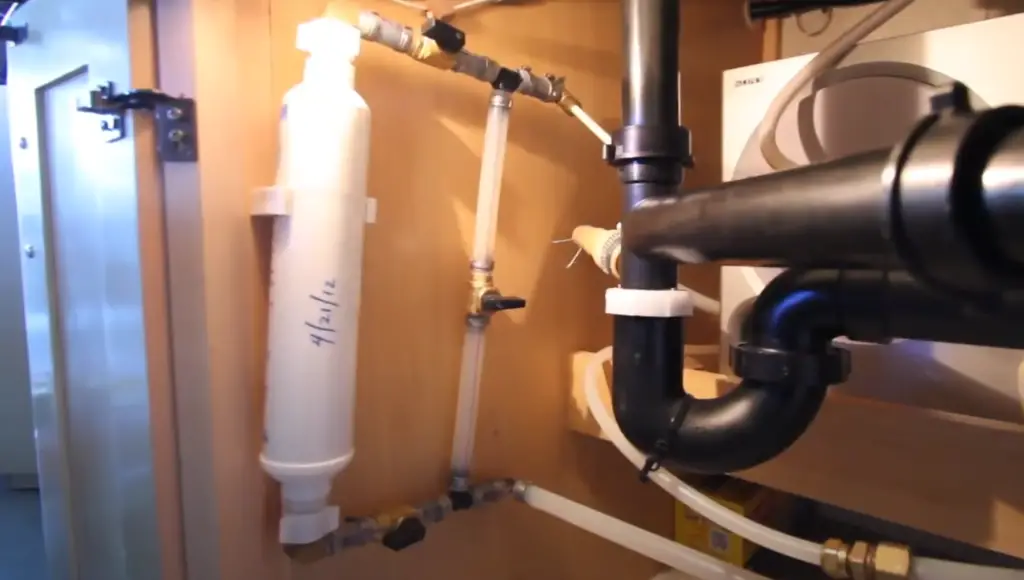
Regularly Change Filters
Regularly changing the water filters in your RV is an essential part of being able to maintain a healthy and sanitary water tank. Depending on the filter you have, it could require a change every couple of months or once a year. Make sure that you read the instructions in your filter’s manual for proper maintenance and cleaning procedures.
It’s also important to make sure that you are using high-quality filters. These types of filters can help reduce contaminants such as sediment, rust, dirt, and other particles from entering the water tank. This can help keep it free from any bacteria or other dangerous microorganisms that could contaminate your drinking water supply.
Additionally, flush out your filter periodically with a water hose or RV-safe cleaner. This can help remove any buildup of residue from the filter and ensure that it is still working correctly. [2]
If you’re unsure of what type of filter to use in your RV, make sure to consult an expert who knows about these types of products. They will be able to provide advice on the best filters available and recommend a specific product based on your unique needs.
FAQ
Can I put bleach in my RV fresh water tank?
The answer is yes! Use one cup of bleach (5% chlorine solution) for every 15 gal of water capacity in the tank. It is important to fill the tank with a fresh supply of water before adding the bleach. Once the bleach is added, run all the faucets until you smell a faint chlorine odor and then turn off the faucets and let it sit overnight. Afterwards, drain the water and rinse the bleach with clean water before refilling it with potable drinking water from a safe source. [3]
How do I put sanitizer in my RV fresh water tank?
You need to ensure that the tank is completely emptied of any water. Once the tank is empty, you can pour in the recommended amount of sanitizer. The amount of sanitizer will depend on the size and type of the water tank; consult your RV manual for exact measurements.
Once the recommended amount of sanitizer has been added to the tank, it’s time to fill up the tank with fresh clean water. It’s important to use filtered or purified water as opposed to tap water so that there are no contaminants left behind. Once filled, close up all valves and turn off any pumps connected to the system before running your hot and cold water taps.
Be sure to leave the sanitizer and water for a few hours before draining and rinsing it out with clean filtered water. This will ensure that all of the sanitizer has been flushed away.
How much bleach do you use to sanitize a freshwater tank?
The amount of bleach for sanitizing depends on the freshwater tank size and the desired concentration. Generally, for every 10 gal of water, use 1/4 cup of bleach.
To achieve a higher concentration, increase the amount up to 1/2 cup per 10 gallons. It’s important to ensure that you don’t exceed this maximum recommended concentration as it could be harmful if ingested. [4]
Once you determine the bleach quantity, mix it with warm water before pouring it into your tank. Once everything has been mixed together, run all faucets in your RV and let sit for at least an hour. Finally, flush the tank.
How often sanitize RV fresh water tank?
Depending on the frequency of use, you should adjust your sanitizing schedule accordingly. If you only use it occasionally, then once a year may be enough. However, if you use it regularly and are filling it with untreated water, then twice a year is recommended. During the summer months, when temperatures are warmer and more likely to cause bacteria growth in stored water, you should consider sanitizing more frequently. [5]
When camping in an area with poor water quality or if camping for extended periods of time without access to potable water sources, sanitize your tank every two weeks.
Useful Video: How To Sanitize an RV Water System
Conclusion
Now you can take steps to ensure that the cleanliness and health of your water system are maintained. Begin by properly flushing out the tank with a safe cleaning solution such as vinegar or baking soda, followed by treatment with a quality bleach-based cleaner. Finally, fill the tank up with fresh potable drinking water in your RV.
Regular maintenance and cleaning of the RV’s fresh water tank will help prevent any potential contamination or other issues from arising within the system, keeping both you and your family healthy while on the road. With these simple tips in mind, you should be well on your way towards maintaining a safe and clean water system for your RV.
Reference
- https://gudgear.com/how-to-sanitize-rv-fresh-water-tank/
- https://www.mortonsonthemove.com/sanitize-rv-water-tank/
- https://www.boondockersbible.com/knowledgebase/how-much-bleach-to-sanitize-an-rv-water-tank/
- https://www.sanantonio.gov/Portals/0/Files/health/FoodLicensing/CHLORINE-RESIDUAL-AND-TANK-SANITATION-LOGSHEET.pdf
- https://www.jdpower.com/rvs/shopping-guides/how-to-sanitize-rv-water-tank