Are you and your trusty RV feeling a little worse for wear? Don’t panic! It’s time to take matters into your own hands and bring your beloved home on wheels back to life. This step-by-step guide will demystify the process of repairing RV delamination, ensuring that your ride is as good as new in no time. So, grab your toolkit, put on your DIY hat, and let’s embark on an adventure that will breathe new life into your road warrior companion. Get ready to say goodbye to those unsightly bulges and hello to smooth and sleek surfaces. So, dive right in and discover the secrets to conquering RV delamination like a pro!
Table of Contents
What Is RV Delamination What Causes It?
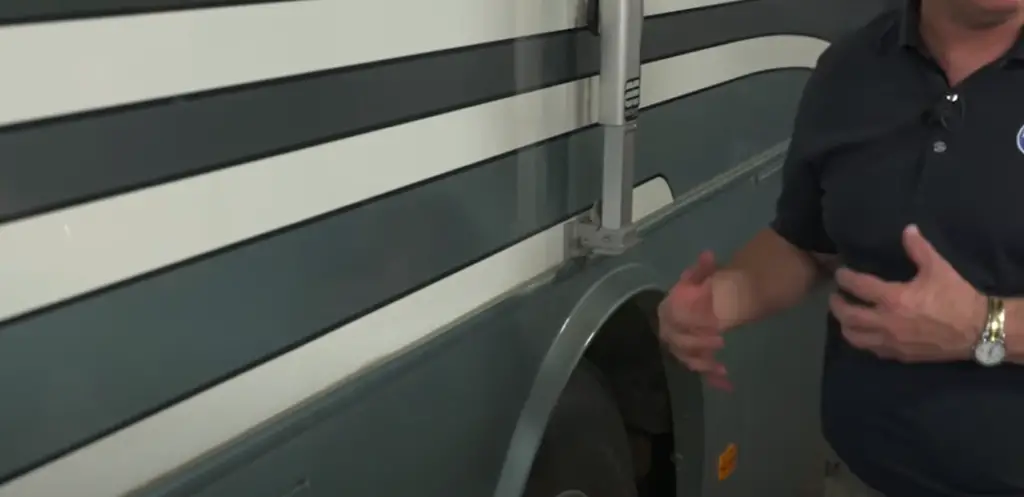
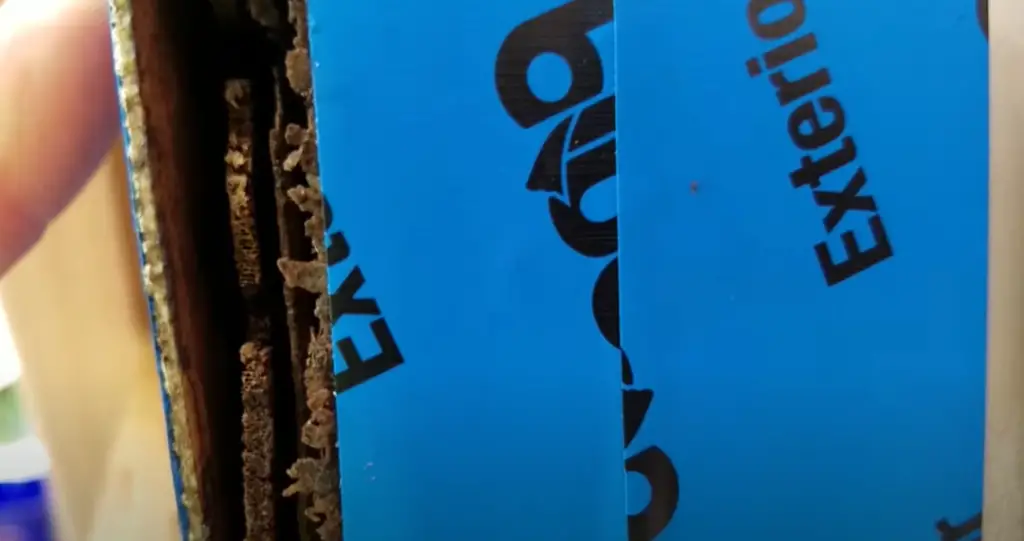
RV delamination is a concerning issue that occurs when the layers comprising an RV’s exterior walls start to separate. This separation can be attributed to a variety of factors, including prolonged exposure to extreme temperatures, water damage, impacts from road debris, improper installation, or the use of substandard materials.
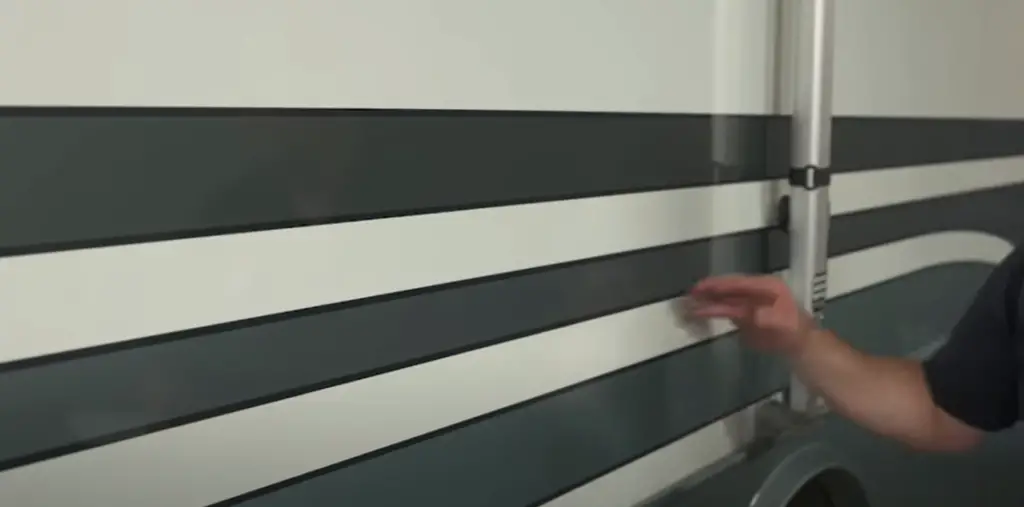
Recognizing the signs of RV delamination is key to identifying the issue early on. Keep an eye out for the following common indicators: warping or buckling of the wall surface, cracking, peeling, and fading of the paint, separation of expansion joints, bubbling along the walls, as well as water stains on the ceiling or floors.
By being vigilant and taking swift action, you can safeguard your RV against the detrimental effects of delamination and ensure its longevity and value for years to come [1].
Tips to Stop RV Delamination
RV delamination is a common issue among motorhome owners and, if left unchecked, can lead to expensive repairs. Fortunately, there are several preventative measures you can take to help keep your RV in tip-top shape. Here are a few tips to help prevent RV delamination:
- Regularly inspect the exterior of your RV for signs of damage. Look for cracks, chips, or other abnormalities in the exterior surface. If you find any, be sure to have them taken care of promptly by a professional.
- Carefully inspect all windows and doors for sealant that has dried out or become brittle over time. It’s important to replace any worn-out sealant as soon as possible.
- Make sure you keep your RV waxed and polished regularly to help protect it from the elements.
- Keep your RV well-ventilated and dry during storage. It’s best to store an RV indoors or in a covered area when possible, but if that’s not an option, make sure your RV is covered and avoid areas of high humidity.
- When you’re towing, be sure to maintain a safe speed and avoid sharp turns that could cause your RV to sway or bounce too much. This can lead to excessive stress on the exterior walls of your RV, which could lead to delamination over time.
- Regularly inspect the interior of your RV for any signs of moisture or water damage. If you find any, it’s important to get the problem fixed as soon as possible to minimize any further damage.
- Periodically inspect the roof of your RV for cracks or other signs of damage. A damaged roof can lead to water seeping into the walls and causing delamination.
- If you’re ever in doubt, don’t hesitate to call a professional for advice or an inspection of your RV. They’ll be able to identify any potential problems before they become serious issues and help you take the necessary steps to keep your RV in good condition.
Taking the time to properly care for and maintain your RV can help prevent the issue of delamination from ever occurring. By following these simple tips, you’ll be able to keep your RV in top shape for many years to come!
If you do find yourself dealing with delamination, however, there are still steps you can take. Professional repair services are available and can often fix the problem without needing to replace the entire wall or section of your RV. Keep in mind that delamination repair can be expensive, however, so it’s always best to take preventative measures whenever possible [2].
Fixing Delamination on Your RV
How to Fix Delamination on Your RV
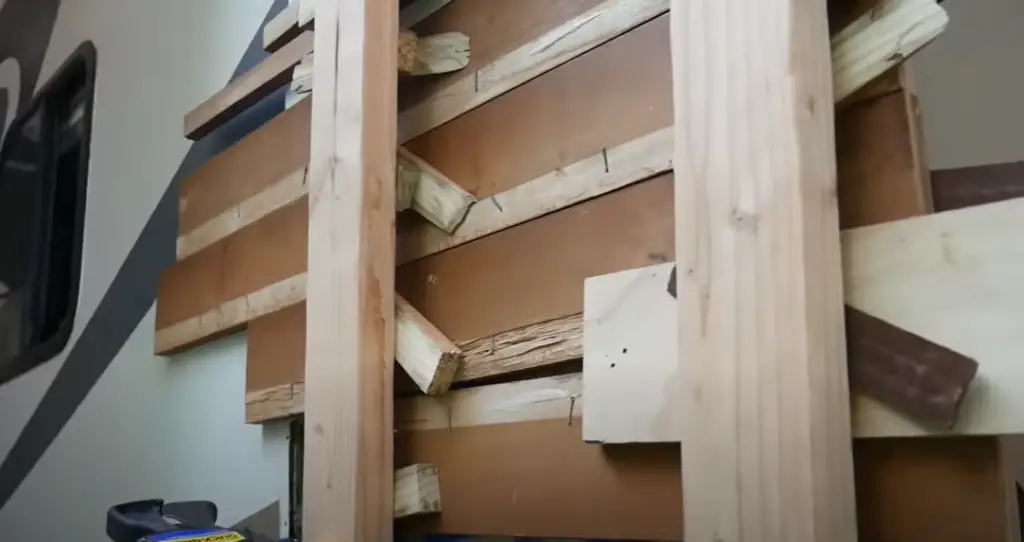
Delamination is a common problem among recreational vehicle owners. It occurs when moisture gets between the layers of fiberglass and causes them to separate, resulting in visible cracks on your RV’s exterior. Fortunately, with the right approach and supplies, you can easily repair delamination damage on your own.
The first step to fixing delamination is to identify the source of water, whether it be a leaky roof or window seal. Fixing any leaks should always take priority before attempting to repair delamination damage.
Once you’ve addressed any water leakage issues, it’s time to tackle the delamination. Begin by cleaning and drying the affected area thoroughly. After that, cut off any excess material with a sharp knife, leaving a smooth edge.
Next, use a fiberglass repair kit to patch the damaged area. You should be able to find one at your local auto parts store or online. Follow the instructions on the package carefully and use protective gear when working with fiberglass resin.
Once you have patched up the delamination damage, leave it alone for several days so the resin can fully cure. After it is cured properly, you can apply a matching paint color to blend in with the rest of your RV’s body.
By following these simple steps, you can easily repair delamination damage on your own and get back on the road in no time! Be sure to check for signs of water leakage regularly to prevent any further damage.
How Much Does It Cost To Fix RV Delamination?
The cost to repair delamination on your RV can vary significantly depending on the amount of work needed. Generally, you should expect to spend at least a few hundred dollars to fix any delamination damage, plus the cost of tools and supplies such as fiberglass resin and protective gear.
It’s important to note that if the water leakage issue is not addressed first, the repair may not hold and more costly damage could occur. To ensure that your repairs last, it’s best to consult a professional for any necessary repairs.
Should You DIY or Call a Pro?
If you have the skills and tools to do it, then a DIY approach is often the best way to go. On the other hand, if your RV’s delamination damage is extensive or you’re unsure how to proceed, it’s always best to call in a professional. They can properly inspect for water leakage issues before tackling any repairs and provide reliable advice on how to best proceed.
No matter which route you take, repairing delamination damage on your RV is a necessary step in maintaining its condition and keeping it safe on the road. With the right approach and supplies, you can easily stay ahead of any issues and keep your vehicle in top shape for years to come [3].
Tips for Preventing Delamination on Your RV
To help prevent delamination damage in your RV, there are a few simple steps you can take, each with some additional details.
First and foremost, it is crucial to regularly inspect your RV’s roof and other seals for any cracks or signs of wear and tear. Pay close attention to areas that are prone to damage, such as the corners and edges. By promptly identifying any issues, you can prevent them from escalating and causing further damage.
Additionally, ensure that gutters are properly installed and effectively draining water away from your vehicle. Well-functioning gutters prevent water from pooling on the roof or sides of your RV, which can result in delamination. Regularly check and clean the gutters to avoid blockages and ensure optimum performance.
Furthermore, make it a habit to check for water leakage regularly. Inspect all seals, windows, and doors for any signs of moisture intrusion. By addressing any issues promptly, you can mitigate the risk of water damage and subsequent delamination. Remember, prevention is always better than cure, especially when it comes to protecting your RV.
Taking the time to perform these simple checks and maintenance tasks can save you from costly repairs in the future. By prioritizing the care of your RV and addressing any water leakage issues right away, you significantly reduce the risk of delamination. This proactive approach, combined with regular maintenance, will help keep your vehicle on the road for many enjoyable years to come!
FAQ
Can RV delamination be fixed?
Yes, RV delamination can be fixed. With the right tools and materials, it’s possible to repair RV delamination with relative ease. You’ll need fiberglass and resin, a roller, sandpaper, and other common tools such as a utility knife and screwdriver. A good step-by-step guide will help you to easily complete the job. Be sure to use the highest quality materials available, as they’ll make a big difference in the result. Additionally, it’s important to follow manufacturer instructions carefully and take into consideration any safety measures that apply. With careful preparation and attention to detail, you should be able to successfully repair RV delamination and restore your vehicle’s structural integrity.
How much does it cost to repair RV delamination?
The cost of repairing RV delamination depends on the extent of the damage and the materials and tools you use. In most cases, you can expect to spend around $200-$500 for the supplies required to fix a typical case of delamination. However, if you’re dealing with extensive damage that requires specialized materials or tools, the cost may be higher. It’s also important to factor in labor costs if you choose to hire a professional for the job.
What is the best way to prevent RV delamination?
The best way to prevent RV delamination is by ensuring proper maintenance and upkeep of your vehicle. Make sure that you take the time to regularly inspect your RV for signs of wear and tear, such as dings, rust spots or sagging. Additionally, be sure to take steps to protect your vehicle from extreme temperatures and harsh weather conditions. Finally, inspect the RV’s sealant regularly and make repairs or replacements as necessary. By following these simple tips, you can help keep your RV in top condition and reduce the risk of delamination.
Where can I find a professional to help with RV delamination repair?
If you’re looking for a professional to help with RV delamination repair, the best place to start is your local RV dealership or service center. They should be able to recommend qualified technicians in your area who specialize in this type of work. You could also check RV-related websites for recommendations and reviews, or ask your friends and family if they know of any good repair services. It’s important to do your research before making a decision, as the quality of work can vary significantly from technician to technician.
What is the best way to fix RV delamination?
The best way to fix RV delamination is by using a combination of fiberglass and resin. First, you’ll need to prepare the surface by cleaning it thoroughly and removing any rust or debris. Once the surface is ready, you can begin applying the fiberglass and resin mixture. Make sure to press firmly as you apply the mixture so that it adheres to the surface. Once the mixture is dry, sand down any excess with a fine-grit sandpaper and use a roller to smooth out any bumps or uneven areas. Finally, seal the area with a water-resistant coating for extra protection. With these steps completed, your RV’s delamination should be successfully repaired!
What are the common causes of RV delamination?
RV delamination is typically caused by age and exposure to the elements. Over time, sun exposure can weaken the bond between the outer layer of fiberglass and the underlying frame. Additionally, changes in temperature and humidity levels can cause moisture to accumulate in the sealant, leading to deterioration and eventual delamination. Improper maintenance is also a common cause, as failing to keep the RV in good condition can weaken the bond between its components. Finally, physical impacts like collisions or hail storms can also lead to delamination. By being aware of these potential causes, you can help reduce your risk for delamination and ensure that your RV remains in good condition for years to come.
What glue to use for RV delamination?
The best glue to use for RV delamination is a fiberglass and resin mix. This type of adhesive has been specifically designed to bind the surface material (fiberglass) with the underlying frame, creating a strong bond that can resist moisture and extreme temperatures. Additionally, it’s easy to apply and won’t leave any residue or marks on the surface. Be sure to follow the manufacturer’s instructions carefully for best results. With the right glue and proper preparation, you should be able to fix RV delamination with relative ease.
Useful Video: How to Fix RV Delamination
Conclusion Paragraph
To repair RV delamination, it is important to take the necessary steps to identify and fix the underlying issue correctly. Proper diagnosis of RV delamination is essential for a safe and successful repair. Utilizing specialized tools, proper techniques, and quality materials can help extend the life of your RV. By following these steps, you can successfully perform a delamination repair on your own without relying on a professional RV service. With the proper preparation and tools, you can restore your RV to its original condition in no time.
References:
- https://www.thervgeeks.com/rv-delamination/
- https://www.mortonsonthemove.com/rv-delamination/
- https://www.doityourselfrv.com/rv-delamination/