It’s no secret that RVing is a popular pastime. What might be a secret to some is how to bend RV corner trim like a pro. In this comprehensive guide, we will answer all of your questions and give you some tips to make the process go as smoothly as possible. Whether you’re just starting out or you’ve been RVing for years, this guide is for you!
Table of Contents
Purpose of the Corner Trim in the RV
RV corner trim is a type of L-shaped molding that is used to provide a finished look to the corners of your RV. It is typically made from aluminum or vinyl and can be either straight or curved. Corner trim can be found in a variety of colors and styles to match your RV’s décor.
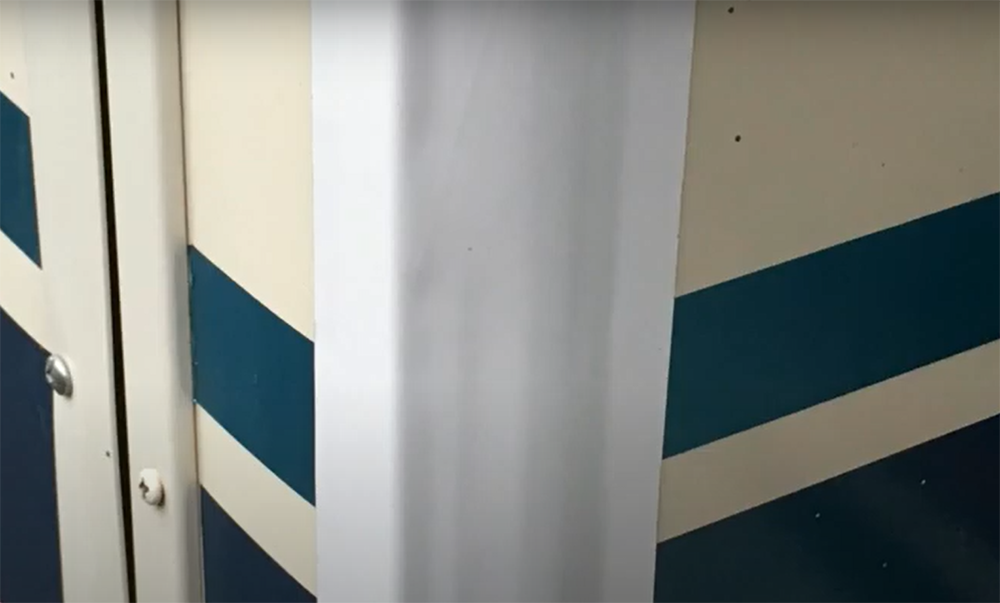
Prevents water from entering your car
It can also help to prevent leaks in your RV’s roof by providing an additional layer of protection against moisture and debris.
In addition to its waterproofing properties, corner trim can also provide some insulation for your RV. By creating a barrier between the outside elements and the interior of your RV, the trim can help to keep your vehicle cooler in summer and warmer in winter.
Aesthetics
Another purpose of RV corner trim is to provide a finished look to the exterior of your vehicle. The trim can help to cover up any gaps or seams in the construction of your RV. It can also add a touch of style and sophistication to the overall appearance of your vehicle.
Many people choose to install corner trim on their RV for purely aesthetic reasons. If you are looking for a way to customize the look of your RV, then installing corner trim may be the perfect solution.
Protects corners of your vehicle from impact damage
In addition to its aesthetic appeal, corner trim can also help to protect the corners of your RV from impact damage. By installing trim on the edges of your vehicle, you can help to reduce the risk of dents and scratches.
If you take your RV off-road or travel on rough roads often, then corner trim can be an essential part of protecting your investment. [1]
Why Would You Want to Replace the Corner Trim in Your RV?
There are several reasons why you might want to replace the corner trim in your RV. One reason is that the existing trim may be damaged or worn and you will need a new one.
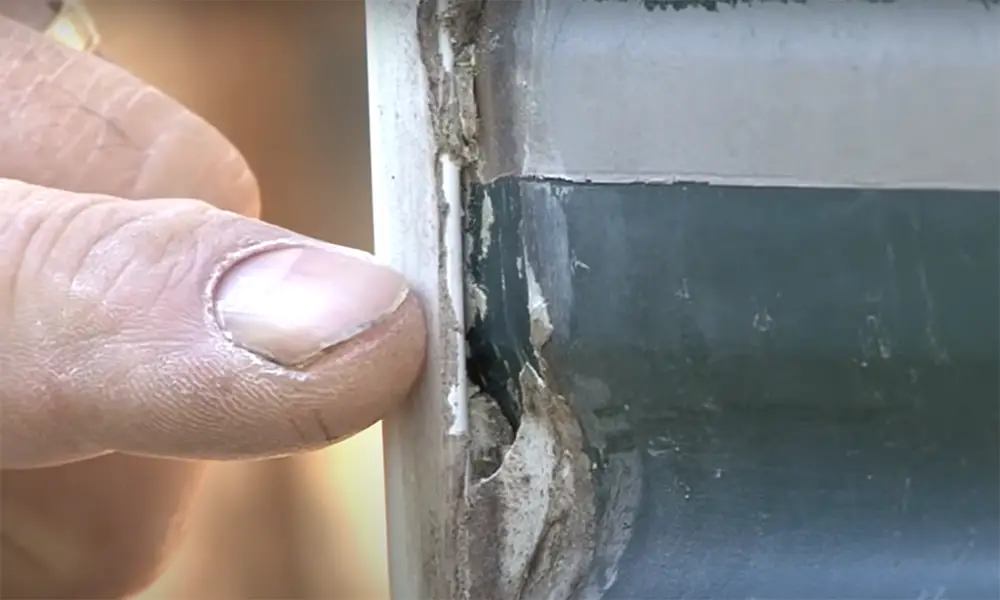
RV trims can get damaged for many reasons. They can become cracked or chipped from impact, or they may fade or discolor over time. RV trims are rust-resistant but that does not mean they are immune to damage.
Another reason you might want to replace your RV’s corner trim is if you are looking to change the look of your vehicle. If you are tired of the existing color or style of trim, then replacing it with a new one can be a great way to give your RV a fresh new look.
Finally, you may also want to replace the corner trim in your RV if you plan to upgrade to a higher-quality trim material.
The new trim might not necessarily match the walls of your RV the same way your old one did, but as long as it’s a minor difference, it can be fixed by bending the corners. [2]
How Do You Bend a RV Corner Trim?
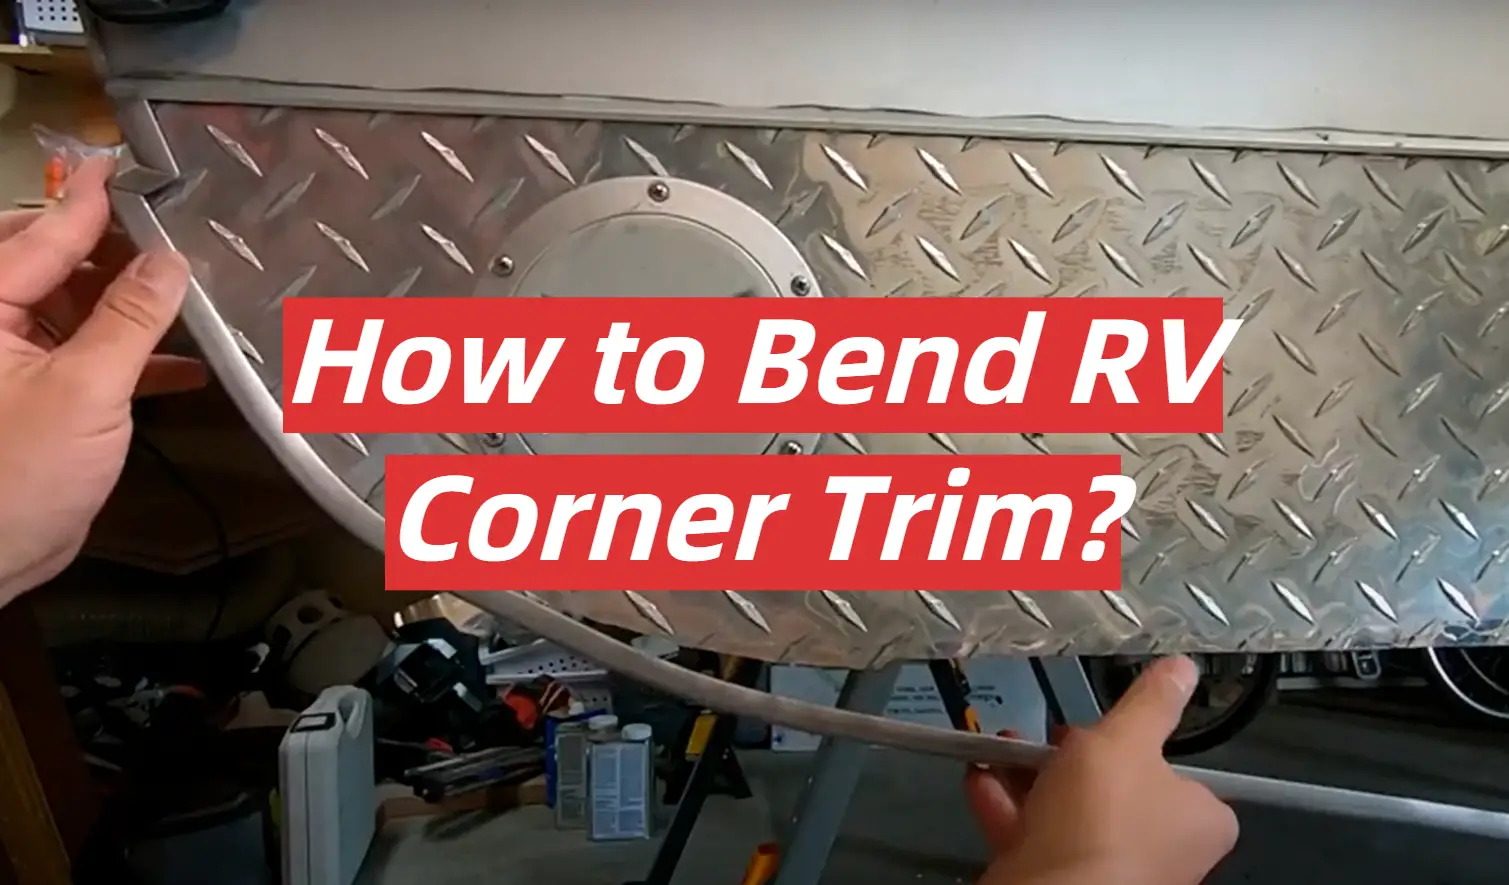
So, you’ve decided to replace the corner trim on your RV. But how do you bend it? The process of bending RV corner trim is not as difficult as it may seem. In fact, with a little patience and the right tools, most anyone can do it.
There are two methods that can be used to bend RV corner trim: the heat gun method and the mallet method. In this article, we will focus on how to bend RV corner trim using both of these!
Prepare the tools you will need
The first step is to gather the tools you will need for the job. For this project, you will use it.
RV trim
Obviously, you will need RV corner trim for this project. You can purchase RV corner trim at most RV parts stores or online retailers. Be sure to measure the length and width of the trim before you buy it to ensure that you get the correct size.
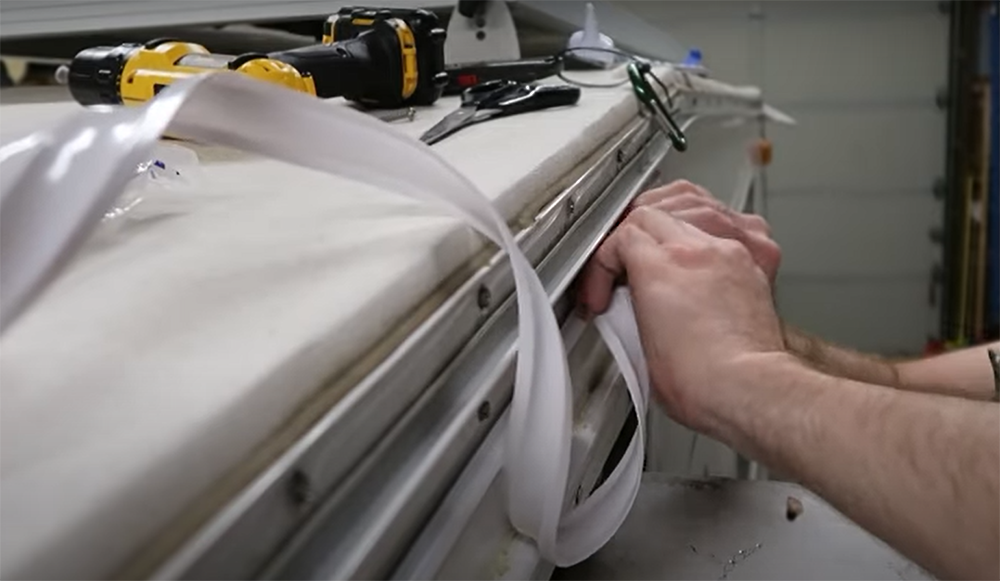
Rubber mallet
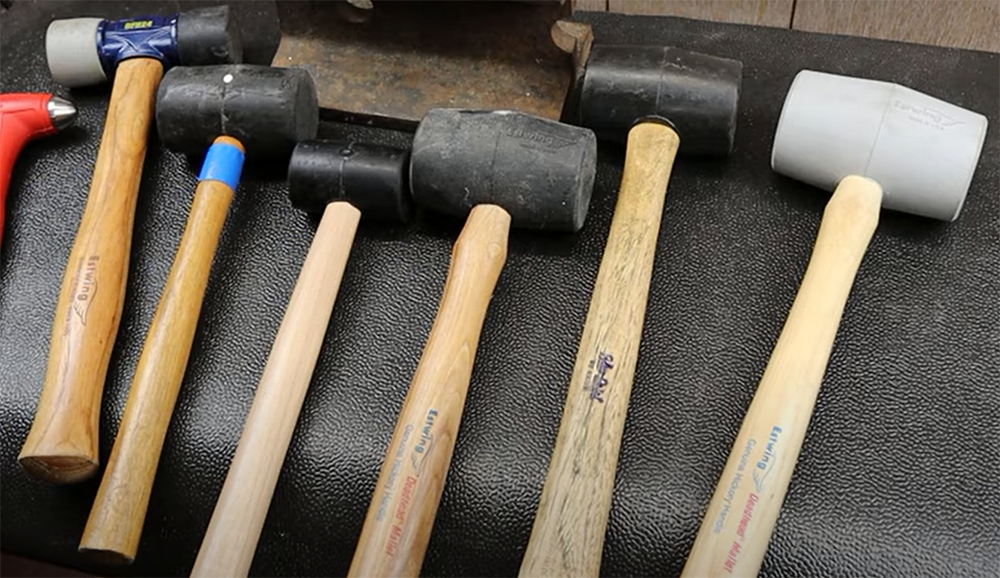
You will need a rubber mallet to gently tap the trim into place. Do not use a metal hammer, as this could damage the trim.
A rubber mallet is a soft-headed hammer that is typically used for striking wooden or plastic objects. It is designed to minimize damage to the struck object and to prevent marring.
Sealant
After you have bent the trim into place, you will need to apply a sealant to the joints to prevent water from seeping in. You can purchase RV sealant at most RV parts stores or online retailers.
Sealants are used to fill gaps and cracks in order to prevent water damage. They are available in a variety of formulations, including silicone, latex, and acrylic.
When selecting a sealant for this project, be sure to choose one that is compatible with the material of your RV corner trim. For example, if your trim is made of aluminum, do not use a latex-based sealant as it will not adhere properly.
Rough brush
You will need a rough brush to clean the surface of the trim before you apply the sealant. A stiff-bristled brush or scrubber pad is ideal for this task.

A rough brush is a type of brush that has stiff bristles. It is used to clean surfaces by removing dirt, grime, and other debris. Stiff-bristled brushes are typically made of nylon or polyester. They are available in a variety of sizes and shapes, including round, flat, andangled.
Screws and screwdriver
You will also need screws and a screwdriver to attach the trim to the RV. Be sure to use screws that are long enough to go through the trim and into the underlying support structure.
It doesn’t matter which screws you use in most cases, but self-tapping screws are incredibly convenient for the job. Self-tapping screws are designed to create their own threads as they are driven into place; this eliminates the need for pre-drilling pilot holes. [3], [4]
Remove the old trim
After you have gathered the tools and materials you will need, the next step is to remove the old trim. This can be done with a screwdriver or a power drill.
Remove all of the screws that hold the old trim in place. Once the screws have been removed, gently pull the trim away from the RV. If the trim is glued or otherwise attached, use a putty knife or similar tool to pry it loose.
With the old trim removed, you should now have a clear view of the underlying support structure. This is what you will be attaching the new trim to. Inspect this area for any damage or decay; if necessary, repair it now before proceeding. [1], [2], [3]
Clean the support structure
Once you have inspected and repaired the underlying support structure, it is time to clean it. This will ensure that the new trim adheres properly.
Use a vacuum to remove any dust or debris that has accumulated over time. You should also use a stiff-bristled brush or scrubber pad to remove any dirt, grime, or debris from the surface. Clean the area thoroughly with soap and detergent, then rinse it with clean water. Once the surface is clean, wipe it down with a damp cloth to remove any remaining dust. Allow the area to dry completely before jumping to the next step.
Make accurate measurements
Now it is time to measure the area where the new trim will be installed. This step is critical; if you do not make accurate measurements, the trim will not fit properly.
Use a tape measure or ruler to determine the length and width of the area, as well as the depth. The depth measurement should be taken from the face of the support structure to the outside edge of the opening. Once you have these numbers, you may want to add a few inches to each measurement to allow for errors.
To ensure that your new trim is installed correctly, it’s best to use masking tape to create a template, or simply mark the dimensions by yourself. Both will serve you as a guide. Simply measure the shape of the trim correctly and then use a pencil to mark where you will need to bend it. [2], [3]
Place the new trim
With the old trim removed and the support structure prepped, you should place your trim in the place it’s supposed to be before bending. Doing so will give you a better idea of how the finished product will turn out to be and helps you to make all the adjustments before fixing it in place.
Start by holding the first piece of trim in place against the support structure. Repeat this process for each piece of trim until the entire area is covered. Once you’re happy with the positioning, it’s time to start bending. [2], [3]
Use rubber mallet to bend the corners
Now that the trim is in place, it is time to start bending the corners. The recommended tool for this process is a rubber mallet as it’s safe to use for aluminum.
Keep in mind that aluminum is a soft metal, so it’s important not to hit it too hard, as you can damage the trim beyond repair. You should also avoid using a metal hammer or random blunt objects for this very reason. Once all of the corners have been bent, go back and check that they are level and even. [1], [2], [3]
Apply the sealant
With the corners bent, you can now attach the trim to the RV. This will help to keep the trim in place and prevent moisture from damaging it.
Use a caulk gun or similar tool to apply the sealant around the perimeter of the trim. Start by applying a generous amount of adhesive to the back of the trim. Work slowly and evenly, making sure that all gaps and seams are sealed. Then press it into place and hold it there for several minutes. Allow the sealant to dry completely before using the RV. [1], [2], [3]
Screw it in place
Once the adhesive has dried, you can now screw the trim into place for extra security. This will ensure that it stays in place, even if the sealant fails.
Use a power drill or screwdriver to drive the screws into the support structure. Start by drilling through the brackets at one corner and work your way around, making sure that each screw is driven in securely. [1], [2], [3]
Remove the sealant excesses
After the trim is installed, you may notice that there is excess sealant around the edges. This can be removed with a putty knife or similar tool. Simply run the blade along the edge of the trim to remove any excess sealant but be careful not to damage the pain cover. [1]
Bending the Trim With Heat Gun
If you don’t have a rubber mallet or you don’t want to deal with unsightly crinkles in your trim, you can use a heat gun to bend the corners.
To do this, first, set your heat gun to the low setting and hold it about six inches from the corner of the trim. Slowly move the heat gun back and forth across the corner until you see the aluminum start to soften. Repeat this process for all four corners.
Once the trim material is soft, carefully bend the corner to the desired angle. You can do this with the rubber mallet as well, just apply less force to it. Hold it in place for a few seconds and then simply allow the trim to cool completely. Be careful while using this method, as too much heat can cause the aluminum to warp or discolor. [1]
FAQ
What is a RV insert trim?
RV insert trim is a very versatile product that can be used for a variety of applications on your RV. One of the most common uses for RV insert trim is to create custom molding and finishes on the interior of your RV.
RV insert trim comes in many different colors and styles to match any decor, and it can be cut to any size or shape that you need. It is also very easy to install, so you can do it yourself without having to hire a professional.
Another great use for RV insert trim is to prevent water damage. By installing it around your windows and doors, you can create a barrier that will keep water from seeping in and damaging your RV.
Can you use a heat gun to bend aluminum RV trim?
Yes, you can use a heat gun to bend aluminum RV trim. However, you need to be careful not to overheat the trim, as this can damage it. It’s best to practice on a piece of scrap trim first, so you can get a feel for how much heat is necessary.
If you do overheat the trim, you may be able to salvage it by cooling it quickly in water. This won’t work if the trim is severely damaged, but it’s worth a try if you’re careful not to overheat it in the first place.
What kind of caulk should I use on my RV?
There are a few different types of caulk that can be used on RVs. The most common type is silicone caulk, which can be used for a variety of applications. Another type of caulk that can be used on RVs is acrylic latex caulk. This type of caulk is mainly applied to the surface prior to painting, as it helps pain to adhere better. It’s also easy to clean and iis pretty affordable.
How do you make sure the corner trim is straight?
When working with RV corner trim, it’s important to make sure that your bends are as straight as possible. To do this, you’ll need a jig saw and some sandpaper.
Start by cutting the PVC pipe at the desired angle with the jigsaw. If possible, use a sandpaper-covered block to lightly sand down any rough edges after each cut. This will help ensure that your angles remain accurate and consistent when bending around corners.
Next, it’s time to bend the corner trim into place. Start by clamping one end of your PVC pipe onto a flat surface or workbench and then carefully heat up the aluminum section with a propane torch until it is malleable – about 400 to 500 degrees Fahrenheit. Once the section becomes pliable, you can use some sandpaper-covered blocks to help you guide the corner trim into place.
What should you do if you accidentally crimp the RV corner trim?
The first step is to cut away the damaged area with tin snips. You should then clean the edges of the trim and use a file or sandpaper to smooth them out. Once they are even, you will want to apply some heat with a hot air gun or heat blower in order to soften up the plastic so it is easier to bend.
When bending RV corner trim, be sure not to overheat it as this can cause damage or warping. When using a heat gun, move constantly around the piece in order for it to evenly heat up and become more malleable.
What is the best way to install RV corner trim?
The best way to install RV corner trim is by using a combination of nails, glue and screws. Start by nailing the corners into place. Make sure that you are hammering the nails straight in so that they won’t pop out later on. Once all of the corners are nailed down, use some construction adhesive to secure them further. Wait for the adhesive to dry before drilling pilot holes in each corner and then screwing in screws for added strength. Finally, caulk around the edges of each corner trim piece for a professional-looking finish. With these steps, your RV corner trim should stay securely attached!
What are some tips for bending RV corner trim?
Bending RV corner trim is a great way to add an attractive touch to the exterior of your recreational vehicle. Here are some tips to make sure you get the best results when bending RV corner trim:
- Start with the right tools – You will need a pair of metal snips, a hammer, and a rubber mallet. Make sure that you use quality tools so that they don’t break during the process.
- Measure twice, cut once – Before cutting or bending any pieces of trim, take time to measure and verify your measurements against each other. This extra step may save time in the long run if you have made an incorrect measurement or cut on your first attempt.
How do you bend the plastic RV corner trim without breaking it?
First, measure the angle that you would like to bend the trim. Then, use a heat gun or hair dryer set on low to evenly heat up the desired area until it becomes pliable. Keep your face and hands away from the heat source as you work and wear protective gloves if needed. When the area has been heated for several minutes, carefully bend it against a metal straight edge or other firm surface at about 90 degrees. Immediately move it to a cold surface such as a metal table or countertop and press lightly until the angle is maintained. Once the plastic is cooled, you can then apply adhesive trim tape to secure the corner in place permanently.
Is there a tool that can make bending RV corner trim easier?
Yes! If you’re looking to make bending RV corner trim easier, a few tools can help. A pair of aviation snips or shears can be used to cut the aluminum to size and shape before bending. An electric power bender may also be helpful for making tight bends in the metal pieces. Finally, a manual hand brake can be used for larger pieces that need major folding or bending. With these tools at your disposal, you’ll be able to craft RV corner trim with ease!
How do you stop the RV corner trim from popping out of place?
One of the best ways to prevent your RV corner trim from popping out of place is by using epoxy adhesive. This type of adhesive is specially designed for use on metal, so it’s perfect for RV trim. Simply apply a layer of the epoxy onto both edges of the corner trim and press them together. The adhesive will create an incredibly strong bond that won’t come loose or pop out over time.
Another way to keep your RV corner trim in place is with rivets. Riveting requires a special tool, but it’s relatively easy to do yourself once you have the right equipment. Just line up the two pieces of trim and then attach the rivet through both sides using the tool. The rivet creates a strong bond that will hold the trim in place.
How can I hide the seams where my RV corner trim meets?
Once you’ve installed the corner trim, it can be difficult to hide any seams that may appear between pieces. Fortunately, there are a few easy solutions to this problem.
One way is to use either masking tape or painter’s tape directly on the seam and then apply joint compound over it. This creates an even surface that you can easily paint over once it has dried completely.
Another option is to use aluminum tape along the seam of your RV corner trim. This helps keep dirt and moisture out while also providing a neat, finished look to your trim. You can also add caulk around the edges of each piece for extra protection against water infiltration and other damage.
How do you seal an RV corner trim?
Once you have successfully bent the corner trim to fit your RV’s shape, you need to seal it in place. Just like any other type of trim, a good sealant is essential for preventing moisture and air from getting inside.
For best results, use an acrylic latex caulk or a specialized RV sealant that has proven longevity. Start by applying the product along the length of the corner trim on both sides, pushing it into any gaps or cracks with a putty knife or caulking gun. Then finish up by running a bead of caulk along the bottom edge where it meets the siding or outer wall. Make sure to press down firmly as you go so that there are no gaps between pieces of trim.
How do you use butyl tape on an RV corner?
Butyl tape is a great option for RV corner trim, as it provides a strong seal that is resistant to moisture, impact and temperature changes. When using butyl tape on your RV corner trim, you’ll need to:
- 1. Clean the surface of any dirt or debris
- 2. Cut the butyl tape to fit the desired area
- 3. Apply the butyl tape and press firmly so that it adheres to the surface
- 4. If necessary, cover with an additional layer of aluminum foil to provide extra protection from water damage
- 5. Allow the butyl tape ample time to dry before continuing with any other work in that area
- 6. Enjoy your newly sealed corners!
Useful Video: Custom R.V. Trim Bender
Conclusion
Corner trim is a great way to keep your car looking sharp and new, but it also serves an important function in terms of water protection. By using RV corner trim, you can keep the rain and snow from seeping into your vehicle and causing damage. Yet even it can get damaged and will need to be replaced at some point.
New RV corner trim might not exactly be a perfect match for your RV walls, here bending comes into play. In this article, we provided the steps required to bend RV corner trim with a rubber mallet and a heat gun. Remember that safety is always important, so be sure to use caution when bending the trim and take care not to burn yourself or damage the surrounding area. Have fun with your project!
References:
- https://www.camperupgrade.com/how-to-bend-rv-corner-trim/
- https://www.thecurveahead.net/how-to-bend-rv-corner-trim/
- https://gonecamping.net/how-to-bend-rv-corner-trim/
- https://rvselector.com/how-to-bend-rv-corner-trim/
- https://www.thedrive.com/reviews/30205/best-rv-caulks

Leave a Reply