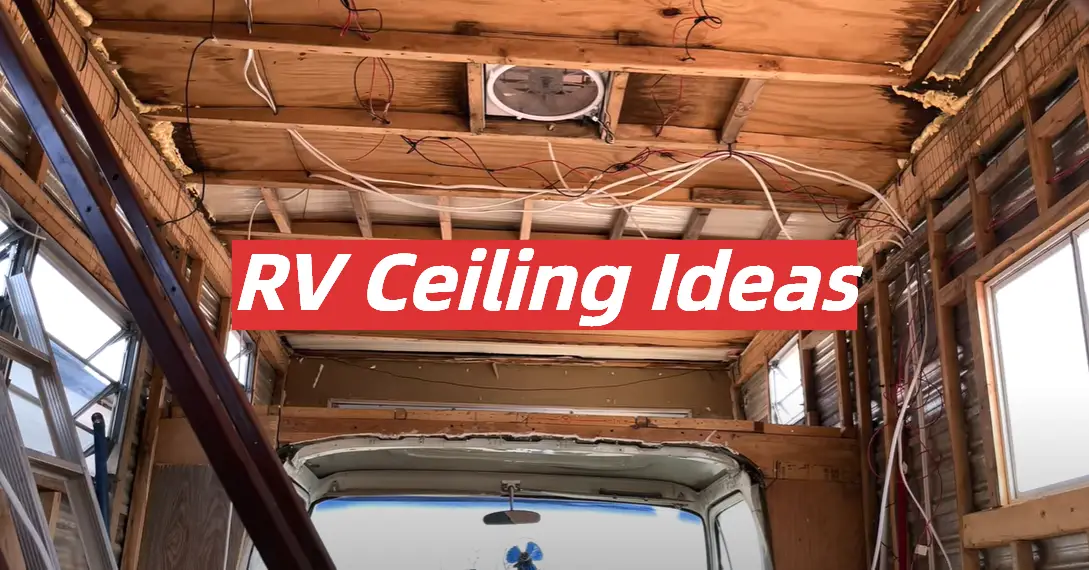
Are you looking for a way to transform your RV and give it a modern new look? This article has got just the ideas you need to spruce up your living space – creative, eye-catching ceiling ideas! There are tons of different options that range from simple color changes to intricate woodwork; no matter what style of interior design you’re into, there’s an RV ceiling idea perfectly suited for your needs. Let this comprehensive guide show you how transforming the ceiling in your RV can make a world of difference!
Table of Contents
Functionality of different RV ceilings
RV ceilings are designed to provide insulation and support for the interior of your recreational vehicle. They come in several different types, each offering unique functionality.
- Foam Ceilings: These panels are lightweight and easy-to-install options that help keep sound levels low inside the RV. They also offer some insulation against hot and cold temperatures from outside the vehicle.
- Vinyl Ceiling Boards: Vinyl ceiling boards are an economical option that can be easily maintained and wiped clean. They add a classic look to any RV interior, while still providing excellent sound insulation and thermal protection from outside temperatures.
- Faux Wood Panels: These panels look like real wood, but require less upkeep than natural wood. They’re great for adding a luxurious touch to the interior of your RV while still providing insulation and soundproofing benefits.
- Acoustic Ceilings: Acoustic ceilings provide excellent soundproofing, making them perfect for those who enjoy listening to music or watching movies inside their RV. The acoustic panels also help keep out outside noises, allowing you to relax in peace.
- Tile Ceilings: Tile ceilings are durable and easy-to-clean options that offer sound-dampening properties as well as thermal protection from outside temperatures. Plus, they come in various colors and patterns so you can customize the look of your RV interior.
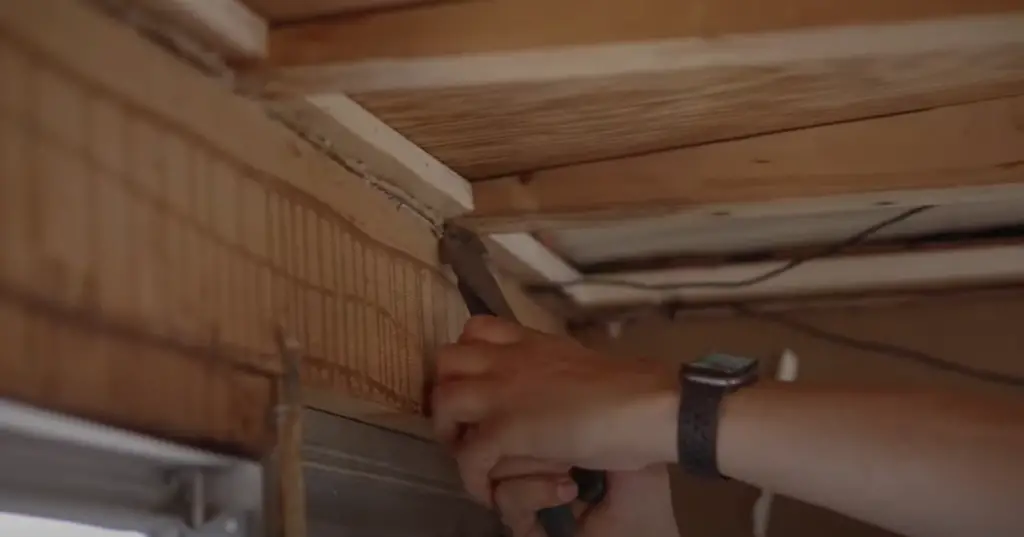
Considerations for Selecting an RV Ceiling Ideas
Water Damage
When selecting an RV ceiling idea, one of the most important considerations is water damage. It’s essential to make sure that any materials you choose are waterproof and won’t be damaged by rain or condensation. Additionally, it may be a good idea to select materials that can withstand heavy wind and other environmental conditions in case of inclement weather while camping.
Weight and Durability
The weight of your selected material is also an important factor to consider when looking for RV ceiling ideas. Not only should you think about what kind of load the material will carry within the RV, but you should also consider how much additional weight it will add to the structure itself. Make sure you look into the durability of your chosen materials, too.
Curves and Corners
It’s important to think about the curves and corners of your RV’s interior when considering ceiling ideas. You should also take into account the size of the roof, as this will affect the types of materials that can be used. Make sure you consider both the shape and size of your RV before committing to a particular material or design.
Comfort
When selecting an RV ceiling idea, comfort is also a major factor. Think about how much insulation you need to make sure that no drafts or cold spots appear in your living space. Additionally, you should look into soundproofing if necessary, as some materials can help reduce outside noise and provide for a more comfortable environment inside your RV.
Tiny Design
If you have a tiny RV, then it can be a challenge to find an RV ceiling idea that works for your space. However, there are still plenty of options available in terms of materials and designs. For instance, you could opt for lightweight paneling or tiles instead of traditional wood or drywall materials. You could also use mirrors and reflective surfaces to create the illusion of a larger space within your RV.
Budget
Another key factor to consider when selecting an RV ceiling idea is budget. Look into different materials to see what suits your price range best. Additionally, consider how much time and effort will be required in installation and maintenance so that you don’t end up overspending on unnecessary repairs down the line. The average price for materials can range anywhere between $100 and $1,000, so make sure you’re clear on what kind of investment you’re willing to make.
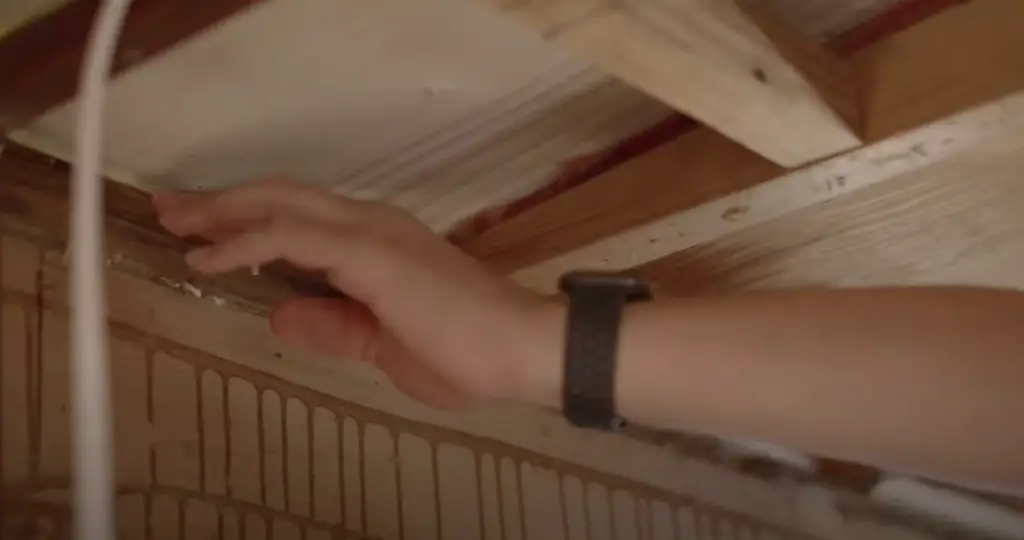
Safety
Make sure you prioritize safety when selecting an RV ceiling idea. Look into the fire rating of all materials to ensure that your RV is up to code and won’t ignite in case of any mishaps. Additionally, double-check that your chosen material is free of any toxic substances or VOCs so as not to put yourself and other occupants at risk.
Noise Control
Finally, you should think about noise control when selecting RV ceiling ideas. It’s important to choose materials that will absorb and dampen sound so that your RV stays peaceful and comfortable inside even while traveling on the road. Look into acoustic options or other soundproofing solutions for the best results. With the right material, you can enjoy a quiet ride wherever you go [1]!
Unique Ideas to Update Your RV Ceiling
Tin Ceiling Tiles
One of the most popular and unique ideas for updating your RV ceiling is to use tin ceiling tiles. Tin ceiling tiles offer a great way to add texture and visual interest to your space while also providing extra insulation from heat and cold. Tin tile can be found in many styles, colors, and patterns that will make any ceiling look amazing! You can even find faux tin tile options if you don’t want to deal with the mess of real tin. Installing these pieces is relatively easy so long as you have access to good tools such as a hammer, screwdriver, level, tape measure, etc., but you may need help from a professional if your RV has an unusual shape or dimension.
Acoustic Panels
Another option that can add a unique look and texture to your RV ceiling is acoustic panels. Acoustic panels are designed to absorb sound, but they also create a modern look and feel in any space. These panels come in various sizes, shapes, colors, and textures so you can find the perfect option for your particular needs. Installing these pieces is relatively simple and doesn’t require many tools other than a hammer, level, and tape measure.
Foam Ceiling Tiles
Foam ceiling tiles are another great way to update the look of your RV ceiling without spending too much money or time doing it. Foam ceiling tiles come in a variety of styles, shapes, colors, and textures to suit any taste or budget. Installing these pieces is relatively simple and doesn’t require a lot of tools or supplies, so you can do it yourself without a problem. The only downside to foam ceiling tiles is that they may need to be replaced more frequently than other options due to their lightweight nature.
Tongue and Groove Boards
Tongue and groove boards are another great way to update the ceiling of your RV. These boards come in different sizes, shapes, colors, and textures to suit any taste or budget. Installing tongue and groove boards is relatively easy as long as you have access to good tools such as a hammer, screwdriver, level, tape measure, etc., but you may need help from a professional if your RV has an unusual shape or dimension.
Ceiling Murals
Ceiling murals are another fun and unique way to update the look of your RV ceiling. Ceiling murals can range from simple designs such as stars or flowers to more intricate artwork. The installation process doesn’t require any special tools or supplies, but it may be a good idea to get help from a professional if the mural is particularly large or intricate.
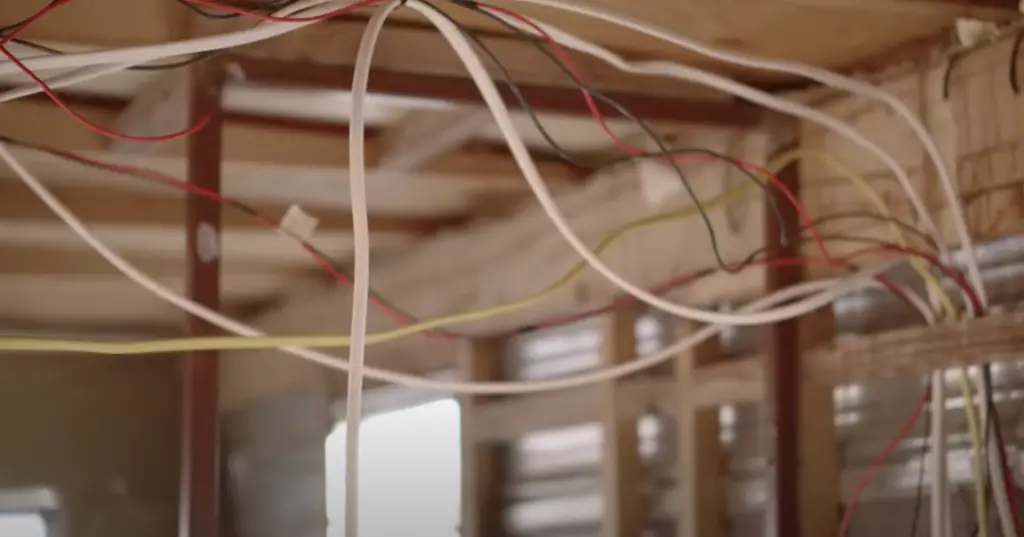
Wood Ceiling Panels
Using wood ceiling panels is another great way to update the look of your RV ceiling. Wood ceiling panels come in many styles, colors, and textures that will make any RV interior look amazing! Installing these pieces typically requires some basic carpentry skills and good tools such as a miter saw, drill, level, tape measure, etc., but you should still be able to complete the job without too much difficulty. Just make sure you use waterproof glue sealant to help protect the wood from moisture damage.
Shiplap Ceiling
A shiplap ceiling is another great option for updating the look of your RV ceiling. Shiplap boards are designed to fit together snugly, creating a seamless and modern look in any space. The installation process doesn’t require any special tools or supplies, but you may need help from a professional if your RV has an unusual shape or dimension.
Fabric Ceiling
Installing a fabric ceiling in your RV is another great way to update the look of your space. Fabric ceilings come in many different colors, patterns, and textures that will make any interior look amazing! Installing these pieces requires some basic sewing skills, but it’s relatively easy if you have access to good tools such as a sewing machine, scissors, and measuring tape.
Bamboo Grasscloth
Bamboo grasscloth is another great option for updating the look of your RV ceiling. This material comes in a variety of colors, textures, and patterns that will make any space look beautiful! Installing bamboo grasscloths requires some basic carpentry skills and good tools such as a saw, drill, level, tape measure, etc., but you should still be able to complete the job without too much difficulty.
Wallpaper
Wallpaper is another great way to update the look of your RV ceiling. Wallpaper comes in a variety of styles, colors, and textures that will make any interior look amazing! Installing wallpaper requires some basic skills and good tools such as a ruler, level, and tape measure, but you should still be able to complete the job without too much difficulty. Just make sure you use waterproof adhesive to help protect the paper from moisture damage.
Cork Tiles
Another unique option for updating your RV ceiling is cork tiles. Cork tiles come in many different colors, styles, and patterns that will add texture and visual interest to any space. Installing these pieces requires some basic carpentry skills and good tools such as a saw, drill, level, tape measure, etc., but you should still be able to complete the job without too much difficulty.
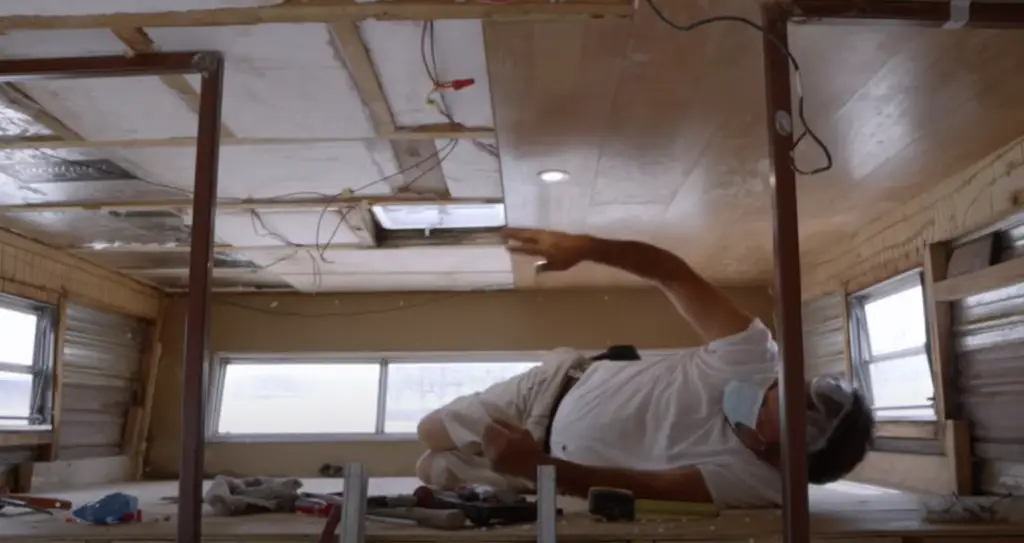
Laminate Sheet
A laminate sheet is another great option for updating the look of your RV ceiling. Laminate sheets come in a variety of styles, colors, and textures that will make any interior look amazing! Installing these pieces requires some basic carpentry skills and good tools such as a saw, drill, level, tape measure, etc., but you should still be able to complete the job without too much difficulty.
Vinyl Tiles
Vinyl tiles are another great way to update the look of your RV ceiling. Vinyl tiles come in many different styles, colors, and textures that will make any space look beautiful! Installing vinyl tiles is relatively easy so long as you have access to good tools such as a hammer, screwdriver, level, and tape measure, but you may need help from a professional if your RV has an unusual shape or dimension.
Tissue Paper
Tissue paper is another unique option for updating the look of your RV ceiling. Tissue paper comes in many different colors, styles, and textures that will make any interior look amazing! Installing tissue paper requires some basic skills and good tools such as a ruler, level, and tape measure, but you should still be able to complete the job without too much difficulty. Just make sure you use waterproof adhesive to help protect the paper from moisture damage.
Paint
Sometimes, a fresh coat of paint is all you need to update the look of your RV ceiling. Paint comes in many different colors and textures so you can find something that will be perfect for any interior. Installing paint requires some basic carpentry skills and good tools such as a roller, brush, level, tape measure, etc., but you should still be able to complete the job without too much difficulty [2].
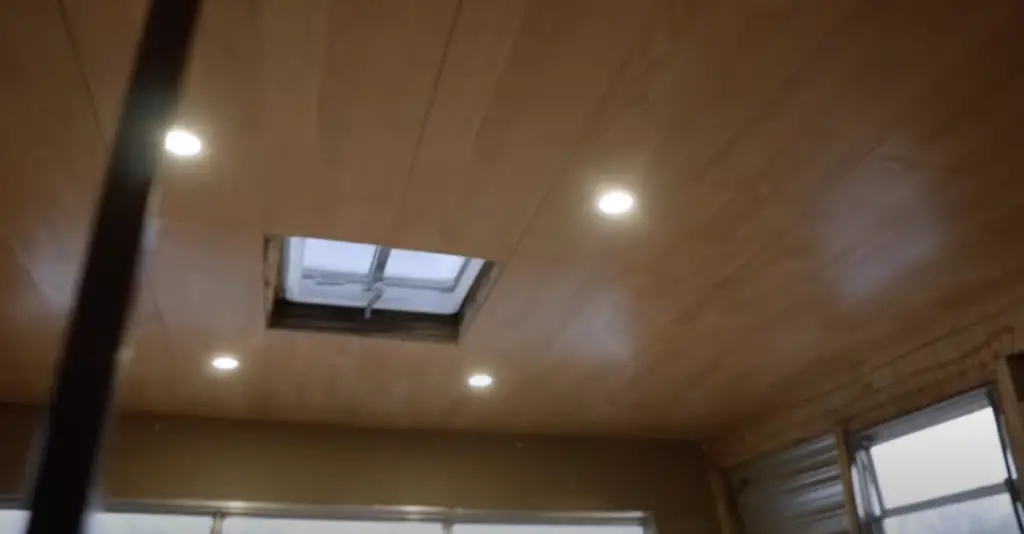
How to Tell Your RV Ceiling Panels Need Replacing?
It’s important to be aware of the condition of your RV ceiling panels as they can wear down over time. Here are a few indications that it may be time to replace your RV ceiling panels:
- Water Damage: If you notice water damage on your RV ceiling, this is one of the clearest signs that it needs replacing. The water could potentially have caused mold and mildew to form, so if you notice any discoloration or warping, make sure to replace these areas.
- Dents and Cracks: Over time, dents and cracks in the surface of your ceiling can develop which can lead to leaks or further deterioration. If you notice any dents or cracks, it’s important to take action and replace the affected panels.
- Warping: In extreme temperatures, RV ceiling panels can start to warp which can cause them to become loose or saggy. This is a sign that they need replacing to keep your RV safe and secure.
- Age: If your RV ceiling panels are more than 10 years old, it may be time for a replacement as this could mean that they are starting to weaken due to age and wear and tear. Replacing them with new, high-quality materials will ensure that you have a sturdy roof over your head for many years to come!
It’s important to remember that if you notice any of these signs on your RV ceiling panels, it’s important to take action and replace them as soon as possible. This will help keep your RV safe and secure for years to come. If you’re not sure how to go about replacing the panels, contact a professional who can help you with the process [3].
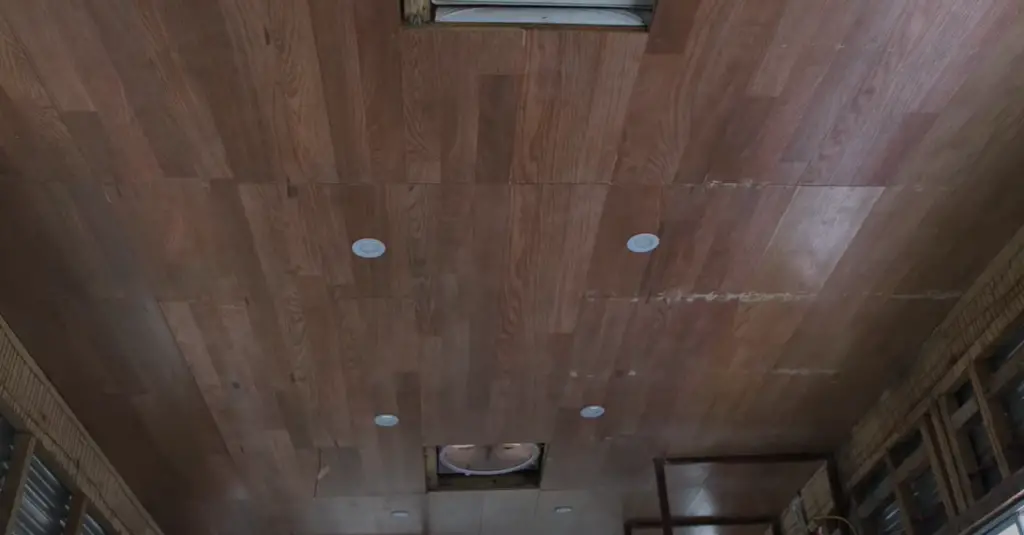
Steps to Replace Your RV Ceiling Panels
- Remove the old ceiling panels. To do this, you will need to use a screwdriver or drill to remove any screws that are holding the panel in place. Once all of the screws have been removed, carefully pull down on the ceiling panel until it comes out of its frame. Be sure to take note of how the panel was installed so you can more easily install your new one.
- Measure and cut new ceiling panels as needed. If your RV manufacturer offers pre-cut panels that fit your RV, then skip this step! Otherwise, take careful measurements of where each new panel needs to be placed and use a saw to cut them down if necessary. It’s important that they fit snugly once they are installed.
- Use a caulk gun to apply adhesive to the back of each panel, and then press it firmly into place on the ceiling. Be sure to wipe away any excess adhesive that may squeeze out around the edges of the panels so that you don’t have any unsightly drips or smudges on your ceiling once completed.
- Take care to make sure all of the seams between panels are sealed with caulk for best results. This will help prevent water from seeping through and damaging your RV over time.
- Once you’ve finished installing all of the panels, use a screwdriver or drill to secure them in place with screws as needed.
- Enjoy your new ceiling panels! Take a step back and admire the work you’ve done.
- Finally, don’t forget to clean the surface of the RV ceiling before replacing any panels. This will help ensure better adhesion and a finished product that looks great for years to come.
- If you have any questions about how to replace your RV ceiling panels, always feel free to ask for professional advice from an experienced DIYer or mechanic. They can provide tips and pointers on how best to complete this project safely and effectively.
FAQ
What should I cover my RV ceiling with?
When it comes to covering your RV’s ceiling, you have several options. First, you can choose a lightweight material such as foam or polyethylene sheets which are easy to install and relatively inexpensive. However, if you want something more long-term, consider using Fiberglass Reinforced Panels (FRP) which provide superior insulation and durability. Additionally, there are also adhesive-backed fabrics available that can be applied directly to the interior walls of your RV for added protection against moisture and mildew. No matter what type of material you choose for your RV ceiling, make sure it can withstand the weight of any items stored up top and is properly installed with enough ventilation so that condensation does not build up between the two layers. Lastly, be sure to use appropriate sealers and caulking to keep everything watertight.
What sort of maintenance does an RV require?
Regular maintenance is essential for keeping your RV in top condition and ensuring a safe and enjoyable experience on the road. To start, check all of your fluids – oil, brake fluid, transmission fluid, etc. – as well as the tire pressure and treads often. Additionally, inspect hoses for leaks or signs of wear before each trip you take to prevent any major issues from occurring while out on the open road. You should also clean the exterior of your RV regularly with mild soap and warm water to remove dirt, debris, bird droppings, sap, or anything else that could dull its appearance. Finally, take a few moments every now and then to check for any signs of rust or corrosion around your windows, doors, roof, and sealants.
What are the best accessories for an RV?
There is no one-size fits all answer when it comes to finding the best accessories for an RV. It really depends on what type of camping experience you desire and how much money you’re willing to spend. However, here are some basic items that can help make your travels more enjoyable: RV covers for protection against the elements; leveling blocks for easy setup; sewer hoses and adapters for waste management needs; solar panels or generators for power supply; surge protectors to guard against electrical surges; insect screens to keep out bugs; awnings and window shades for additional privacy and sun protection; and of course, the all-important camping chairs and grills!
How do you cover an RV ceiling?
Covering an RV ceiling is not a difficult task, but it is important to ensure the material you choose can handle the weight of any items stored up top. Generally, lightweight materials such as foam or polyethylene sheets are your best bet as they are easy to install and relatively inexpensive. If you’re looking for something more long-term, consider using Fiberglass Reinforced Panels (FRP) which provide superior insulation and durability.
Additionally, there are also adhesive-backed fabrics available that can be applied directly to the interior walls of your RV for added protection against moisture and mildew. Make sure to use appropriate sealers and caulking to keep everything watertight. Finally, don’t forget adequate ventilation between the two layers in order to prevent condensation from building up.
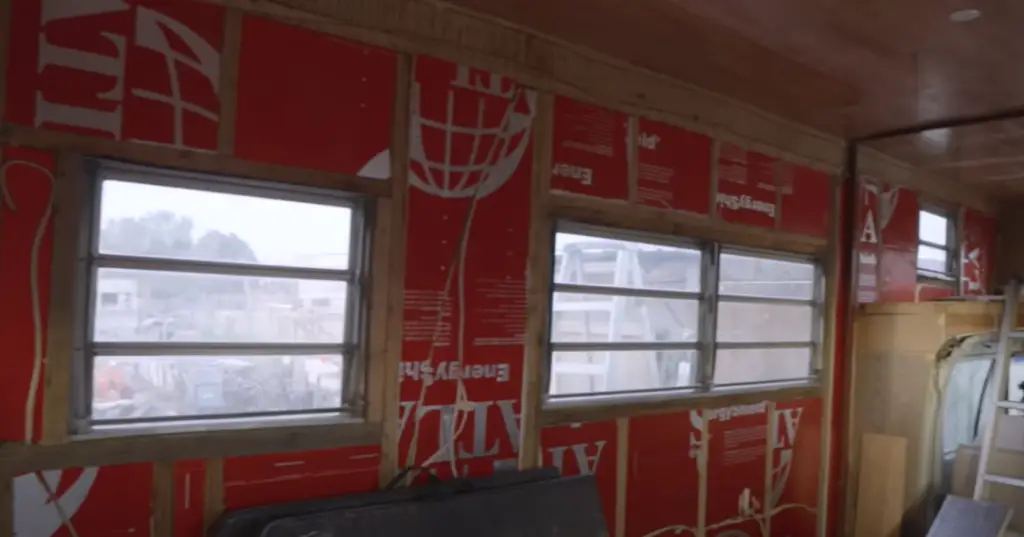
What kind of insulation is best for RV walls?
The type of insulation you choose should depend on the specific needs and usage requirements of your RV. If you are looking for something lightweight and affordable, consider using foam board insulation, which can be easily installed in any area of your RV. Another option is rigid foam insulation, which offers superior thermal resistance and protection against air infiltration but may require more advanced installation techniques. For added soundproofing benefits, fiberglass batting is a popular choice as it can be cut to fit perfectly within wall cavities. Finally, if you want maximum energy efficiency without sacrificing comfort, spray foam insulation is the best way to go. This would provide an effective seal against drafts and heat loss while also adding reinforcement to your RV’s walls.
What is the cheapest way to cover a ceiling?
The cheapest way to cover a ceiling is to use foam or polyethylene sheets. These are lightweight and relatively inexpensive materials that can easily be installed with minimal effort. However, if you are looking for something more long-term, consider using Fiberglass Reinforced Panels (FRP) which provide superior insulation and durability. Additionally, there are also adhesive-backed fabrics available that can be applied directly to the interior walls of your RV for added protection against moisture and mildew. No matter what material you choose, make sure it can withstand the weight of any items stored up top and is properly installed with enough ventilation so condensation does not build up between the two layers.
What to use for ceiling van conversion?
When converting a van into an RV, the ceiling is one of the most important areas to consider. For lightweight and affordable options, foam or polyethylene sheets are great choices as they can be easily installed with minimal effort. However, if you’re looking for something more long-term and durable, Fiberglass Reinforced Panels (FRP) are your best bet. Additionally, there are also adhesive-backed fabrics available that can be applied directly to the interior walls of your van for added protection against moisture and mildew.
Useful Video: WE PUT UP OUR CEILING! | VINTAGE CAMPER BUILD | RV RENOVATION PART 9
Conclusion Paragraph
The ceiling of your RV is an important component of your overall RV experience. It helps to keep the interior comfortable, protects from air leaks, and makes the overall design of the RV look better. With proper insulation, cleaning, and maintenance, you can ensure that your ceiling will provide many years of quality performance. So don’t forget to regularly inspect and maintain your RV’s ceiling for maximum enjoyment and protection! By following these simple tips, you’ll be sure to extend the life of your RV’s ceiling and make sure it looks great for years to come.
References
- https://www.travelswithted.com/rv-ceiling-ideas/
- https://lifeonroute.com/13-ideas-update-rv-ceiling/
- https://www.mortonsonthemove.com/rv-ceiling-panels/



Leave a Reply