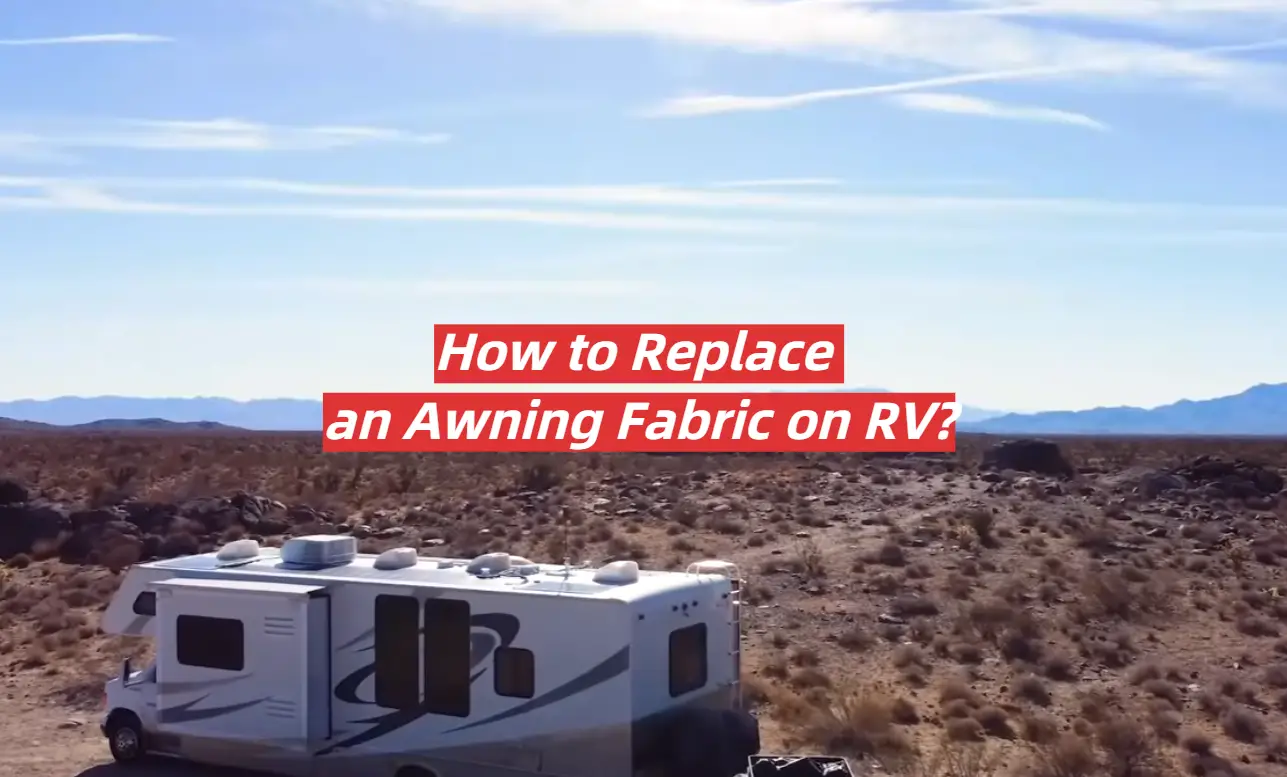
Awnings are a great addition to any RV, providing shade and shelter from the sun and rain. Over time, however, the fabric may become faded or damaged. If this happens, it’s important to replace the fabric as soon as possible to keep your awning functioning properly. In this guide, we will walk you through the process of replacing an awning fabric on your RV. We’ll provide tips on choosing the right fabric and discuss how to install it properly. Let’s get started!
Table of Contents
How to Replace RV Awning Fabric
Replacing the fabric on your RV awning is a relatively easy process that can be completed in a few hours. The first step is to remove the old fabric from the awning frame. To do this, you will need to remove the screws or bolts that are holding the fabric in place. Once the screws or bolts are removed, you can carefully pull the fabric off of the frame.
Once the old fabric is removed, you can begin installing the new fabric. Start by attaching one end of the new fabric to the awning frame. Use screws or bolts to secure it in place. Then, slowly roll out the new fabric until it is completely covering the frame. Once again, use screws or bolts to secure the fabric in place.
Step 1: Choose a Fabric Replacement
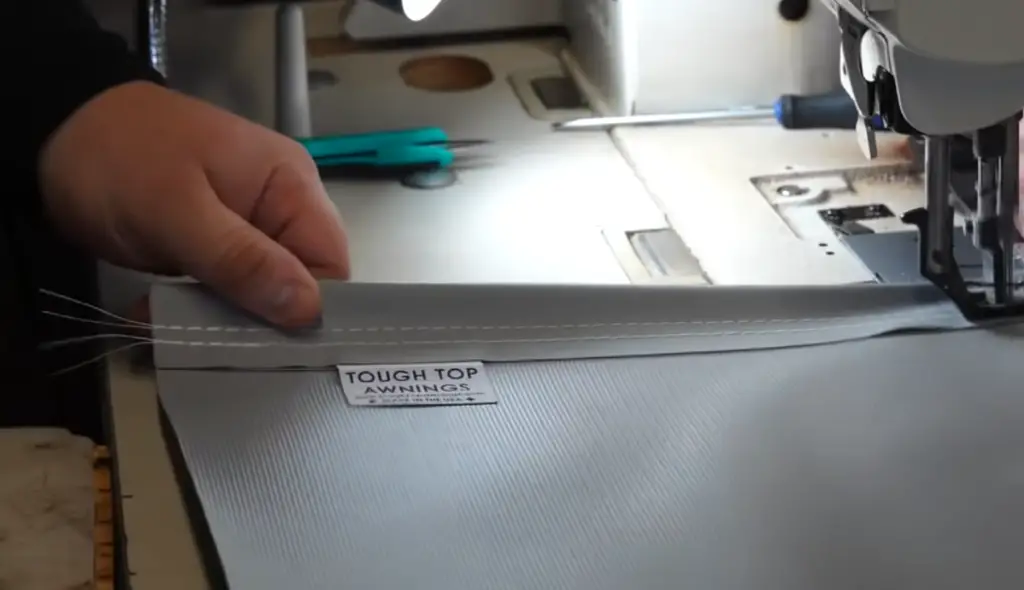
The first thing you need to do is choose the right fabric for your RV awning. There are a variety of different fabrics that can be used for RV awnings, so it is important to choose one that will best suit your needs. For example, if you live in an area with high winds, you may want to choose a fabric that is designed to resist tearing or damage from wind.
Once you have chosen the right fabric, you will need to purchase it. The amount of fabric you need will depend on the size of your RV awning. Be sure to measure the awning before you purchase the fabric so that you know how much to buy.
Acrylic
It is durable and resists fading, mildew, and UV rays. Acrylic fabric is also easy to clean and maintain.
Vinyl
It is very durable and will last for many years with proper care. Vinyl fabric is also easy to clean and maintain.
Step 2: Loosen the Awning Bolts
Now that the awning is unrolled, you need to take off the old fabric. To do this, you’ll need to loosen the awning bolts. These are usually located at the top of the awning roller tube.
There will be two sets of bolts – one on each side of the roller tube. Use an adjustable wrench to loosen these bolts until they’re loose enough to remove by hand.
Once both sets of bolts are loosened, you should be able to gently pull the old fabric off the awning frame.
Top of arms
On the RV awning, there are two arms that go out to support the awning. These arms are held in place by pins or screws at the very top. You must first remove these nails or screws in order to remove the old fabric.
Put the pins or screws back in place and use an adjustable wrench to tighten them. Be careful not to overtighten them, as this could damage the awning frame. With the arms back in place, you can now start reattaching the awning bolts.
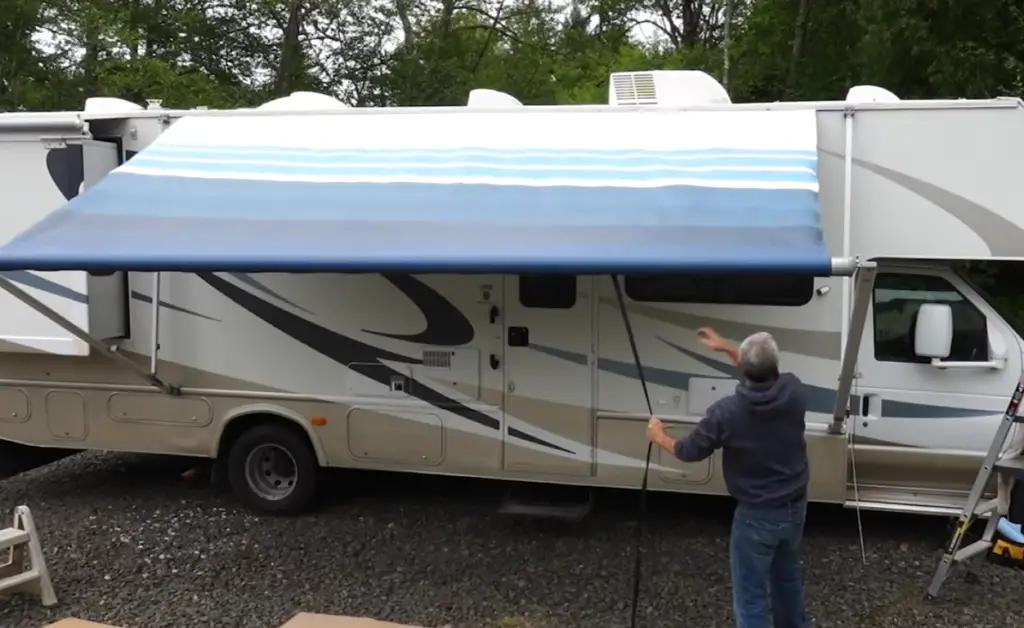
Tighten these until they’re snug, but be careful not to overtighten them. Once both sets of bolts are tight, you can give the awning a gentle tug to make sure that the new fabric is securely in place. And that’s it! You’ve successfully replaced the awning fabric on your RV.
Fabric channel
In some cases, the awning might have a fabric channel that the fabric slides into. To remove the old fabric, you’ll need to first remove the screws or bolts holding the channel in place.
With the old fabric removed, you can now start attaching the new fabric. Begin by gently pulling the new fabric over the awning frame. Ensure that it’s tight and there are no wrinkles or folds in the fabric. Once you’re satisfied with how it looks, you can start reattaching the channel.
Bottom of arms
The RV awning has two support arms. The bottom of the arms are secured by pins or screws. To remove the old cloth, you’ll need to unseat these fasteners or screws.
Use an adjustable wrench to loosen them until they can be removed by hand. Be careful not to lose them, as you’ll need to put them back in later. With the pins or screws removed, you should now be able to gently pull the old fabric off the awning frame. If it’s stuck, you can use a putty knife or something similar to gently pry it loose. Be careful not to damage the awning frame in the process.
Step 3: Remove the Awning
The next step is to remove the awning. This can be done by removing the screws that hold it in place. Once the screws are removed, you can carefully take down the awning. Be careful not to damage the awning as you remove it.
If you have an RV with a slide-out, you will need to disconnect the awning from the slide-out before you can remove it completely. To do this, simply unzip the fabric at the top of the slide-out and then disconnect the awning arms from the brackets on your RV.
Once your awning is removed, you will need to measure the fabric so that you can order a new one that fits properly. To do this, simply measure the width and length of the awning fabric.
Step 4: Remove the Arm
There are several screws and nuts holding the arm braces in place. You will need to remove all of them before proceeding. Be sure to put all the hardware in a safe place so you don’t lose it.
Now that the arm braces are off, you can start removing the fabric. There will be two layers of fabric, so be sure to remove both of them. Start at one end and work your way down. Once both layers are removed, you can proceed to step five.
Step 5: Release the Tension
Start by releasing the tension on your awning. To do this, you’ll need to find the tension adjustment knob or lever and turn it counterclockwise. This will allow you to remove the old fabric without too much difficulty.
If you can’t find the tension adjustment knob or lever, don’t worry – there are other ways to release the tension. One method is to simply pull down on the awning until it’s loose enough to work with. You may need a ladder for this, depending on the height of your RV.
Another way to release the tension is to loosen the bolts that hold the awning in place. This will take some time, but it’s worth it if you can’t find the tension adjustment knob.
Once you’ve released the tension, you can start working on removing the old fabric.
Step 6: Remove the Cap/Spring Assembly
Now that the fabric is loose, it’s time to remove the cap/spring assembly. This can be a little tricky, but with a little patience, you should be able to do it.
Start by removing the screws that hold the spring assembly in place. There are usually two screws, one on each side. Once the screws are removed, you should be able to pull the spring assembly out.
With the spring assembly removed, you can now remove the cap. The cap is usually held in place by a small clip or pin. You may need to use a flathead screwdriver to pry it off.
With the cap removed, you should now have access to the rollers. These are what allow the awning to roll up and down. You will need to remove the rollers in order to replace the fabric.
To remove the rollers, start by removing the retaining clip. This is usually a small piece of metal that holds the roller in place. Once the clip is removed, you should be able to pull the roller out.
You will need to repeat this process for each of the rollers. Once all of the rollers are removed, you can now move on to Step Seven.
Step 7: Unroll and Mark the Fabric
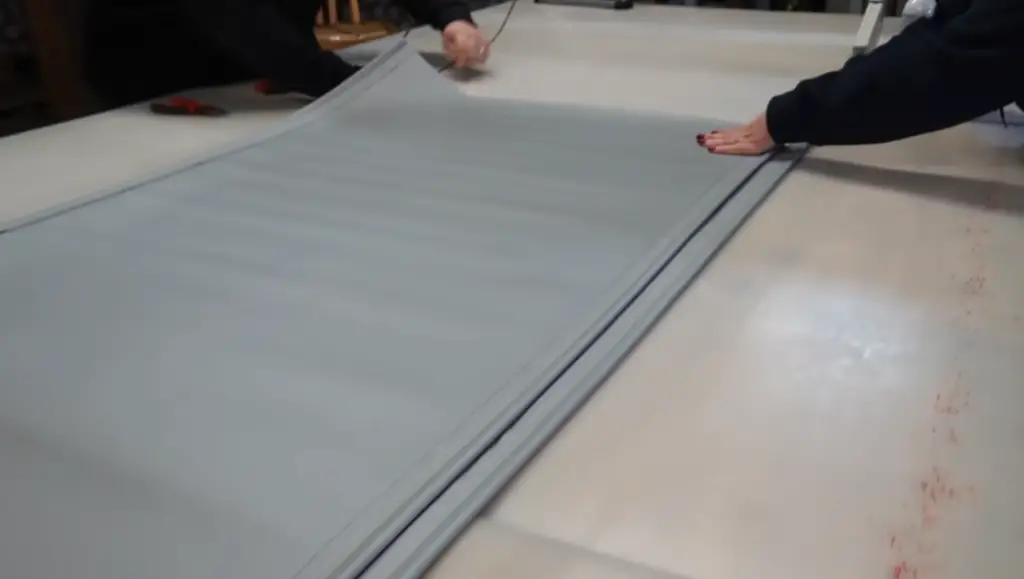
Now it’s time to unroll your new awning fabric and lay it out on the ground. Make sure the side that will face up when the awning is installed is facing down. Then, use a measuring tape to measure from the front of the awning roller tube to the back. Next, mark this measurement on the fabric with chalk or a marker. Do this at both ends of the fabric. Now you’re ready to cut!
Use scissors or a sharp knife to cut along your marked lines. Be careful not to cut too close to the lines – you’ll want about an inch of extra fabric on each side in case of any mistakes. Once your new piece of fabric is cut out, it’s time to move on to the next step.
Step 8: Replace the Fabric
Now that you’ve removed the old fabric, it’s time to install the new one! Start by attaching the fabric to the awning roller tube. Then, stretch the fabric over the frame and secure it with the provided spline. Use a spline roller to ensure that the spline is properly seated in the groove.
Next, trim off any excess fabric before re-installing the end caps and arms. Finally, test out your new awning by opening and closing it several times. That’s it – you’ve successfully replaced your RV awning fabric!
Step 9: Put the Awning Back Together
Now that you’ve replaced the awning fabric, it’s time to put the awning back together. Start by attaching the arms to the awning roller tube. Make sure that the arms are in the correct position before tightening the screws. Next, attach the awning fabric to the awning roller tube. Start at one end and work your way around. Once you’ve attached the fabric, you can now start rolling up the awning.
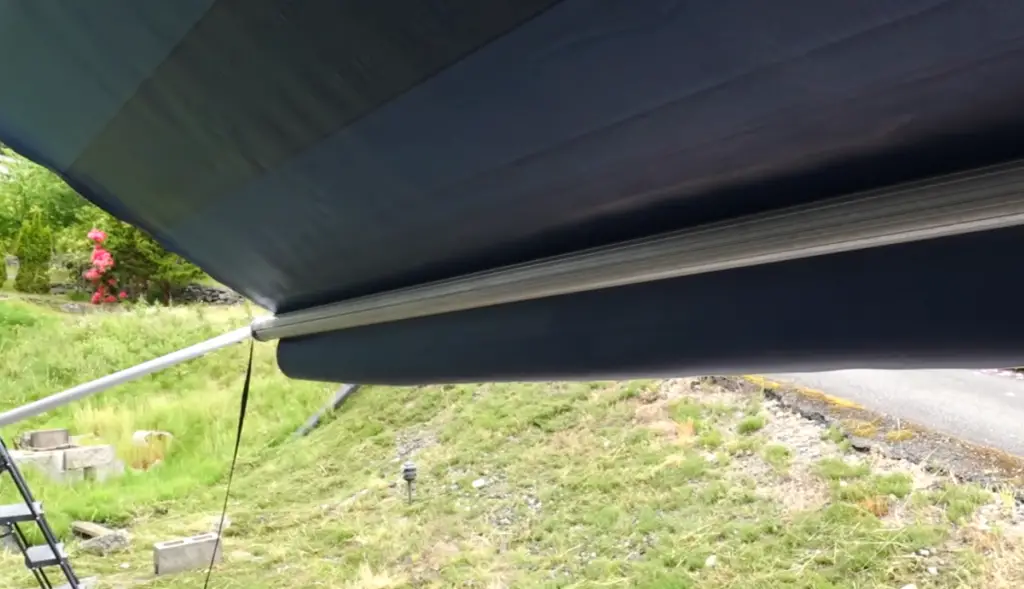
Once you have rolled up the awning, you can now secure it in place with the straps or rope. Now is also a good time to check that all the screws are tightened and that there are no loose parts. Once you’ve done all of this, you can now enjoy your new awning!
Step 10: Replace the Awning on the RV
The next step is to replace the awning on the RV. This can be done by taking out the old awning and putting in the new one. Make sure that you measure the awning before you put it in so that it will fit correctly. You may also want to put some tape on the edges of the awning so that it does not move around when you are driving. Once you have the new awning in place, you can then put the fabric over it and secure it with the snaps or Velcro. Be sure to read all of the instructions that come with your new awning so that you know how to properly install it.
Step 11: Double Check the Awning
Now that you’ve replaced the awning fabric, it’s time to check the awning one last time before you leave. Make sure that all of the bolts are tight and that there are no loose pieces of fabric. Once you’re sure that the awning is secure, you can hit the road! [1]
Step 12: Enjoy
You did it! You now know how to replace an RV awning fabric like a pro. Be sure to give yourself a pat on the back- you deserve it. Now that your awning is all set, it’s time to enjoy it. Make the most of those sunny days and beautiful views. Your hard work has paid off and you can now sit back, relax, and enjoy the fruits of your labor. Thanks for reading and happy travels!
Assuming you have followed all the steps in this guide, replacing your RV awning fabric should be a breeze. Be sure to take your time and double check each step before moving on to the next. If you run into any trouble or have any questions, feel free to reach out. We are always happy to help where we can. Until next time, safe travels!
Useful tips
If you’re like most RVers, you probably spend a lot of time outdoors. That means your awning is subject to a lot of wear and tear. Over time, the fabric will start to fade and degrade, making it less effective at protecting you from the sun and rain.
At some point, you’ll need to replace the awning fabric. This can be a daunting task if you’ve never done it before, but don’t worry! We’re here to help. In this article, we’ll walk you through everything you need to know about replacing an awning fabric on your RV.
First things first: You’ll need to purchase new awning fabric. There are a few things to keep in mind when shopping for awning fabric. First, you’ll need to know the size of your awning. Most RV awnings are either 18 feet or 20 feet long. You’ll also need to know the width of your awning. Awning fabrics are typically sold in widths of 54 inches or 72 inches.
Once you’ve determined the size of the new awning fabric, you’ll need to choose a material. There are two main types of RV awning fabrics: vinyl and acrylic. Vinyl is the more affordable option, but it’s not as durable as acrylic. Acrylic is more expensive, but it will last longer.
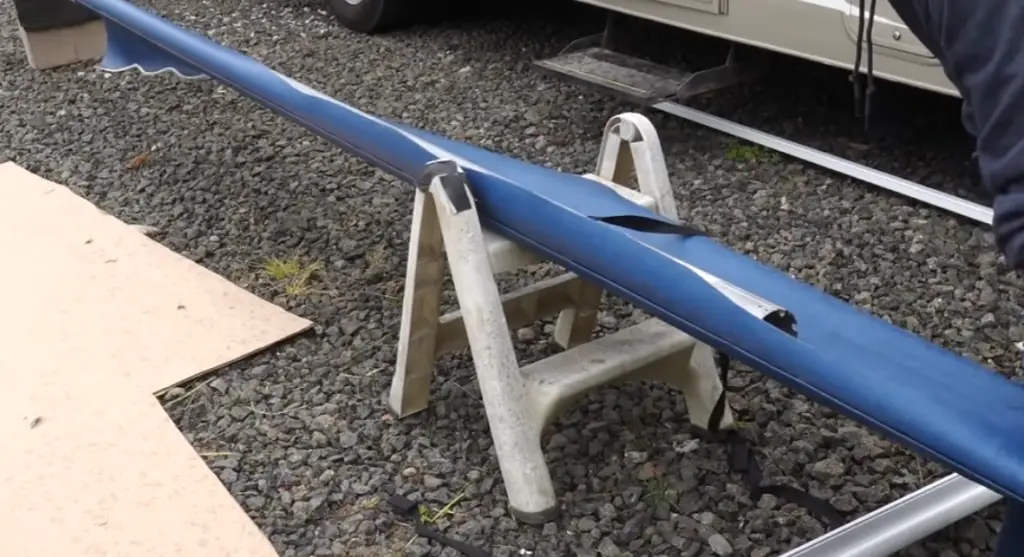
Once you’ve purchased your new awning fabric, it’s time to install it. The first step is to remove the old awning fabric. To do this, you’ll need to disconnect the awning from your RV. Once the awning is disconnected, you can carefully remove the old fabric.
Next, you’ll need to install the new fabric. Start by attaching one end of the new fabric to the awning roller tube. Once the new fabric is attached, simply roll it out and attach it to the other end of the roller tube.
Finally, reattach the awning to your RV and enjoy your new awning!
FAQ
Can you replace just the fabric on an RV awning?
The answer is yes! You can definitely replace just the fabric on your RV awning. In fact, we recommend that you do this every few years to keep it looking its best.
There are two main types of fabrics used for RV awnings: acrylic and vinyl. Acrylic fabric is more expensive but it’s also more durable and breathable, making it a good choice for hot weather camping. Vinyl is less expensive and not as durable, but it’s easier to clean and repair.
Here are some tips on how to replace the fabric on your RV awning:
- First, you’ll need to remove the old fabric from the awning frame. To do this, start by taking off the awning arms and then unscrewing the fabric from the frame.
- Once the old fabric is removed, you’ll need to measure the new fabric to make sure it’s the right size. Then, cut the new fabric to size and sew it onto the awning frame.
- Finally, reattach the awning arms and screw everything into place. That’s it! You’ve successfully replaced the fabric on your RV awning. Enjoy your new look! [2]
How do you replace a fabric awning?
The first thing you’ll need to do is remove the old awning fabric. To do this, you will need to unscrew the awning arms from the RV. Once the arms are off, you can then remove the fabric by taking out the pins or screws that are holding it in place.
Now that you have removed the old fabric, you can start installing the new one. Begin by attaching the new fabric to the awning arms. Make sure that you stretch it tight so that there are no wrinkles or sagging areas. Once the new fabric is in place, you can then put back on the awning arms and screw them into place. [3]
Can I replace the material on my awning?
Yes, you can. The process is not difficult, but it does require some time and effort. Gather a few supplies before you get started, including a new piece of awning fabric, some scissors, and a sewing machine.
Measure the old piece of awning fabric so that you can cut the new piece to size. Then, simply sew the new piece of fabric onto the awning using your sewing machine. [4]
If you do not feel comfortable Sewing the new piece of fabric, there are many companies that specialize in RV Awnings and can do it for you.
How do you replace a Dometic awning fabric?
You’ll need to replace your Dometic awning fabric if it’s damaged or simply worn out.:
- Remove the old awning material
- Remove the old awning and carefully measure and cut the new fabric
- To re-cover an awning, either sew or glue the new fabric onto the frame
- Replace the awning fabric on your RV. [5]
Useful Video: 7 TIPS for Replacing RV Patio Awning Fabric Which I Learned THE HARD WAY
Conclusion
Replacing an awning fabric on your RV is not as difficult as it may seem. With the right tools and instructions, you can easily do it yourself. This guide has provided you with all the information you need to know about how to replace an awning fabric on RV. We hope that you found it helpful and that you will be able to successfully replace your own awning fabric. Thanks for reading!
References
- https://www.etrailer.com/faq-replace-awning-fabric.aspx
- https://store.lci1.com/blog/how-to-replace-rv-awning-fabric
- https://www.sailrite.com/Retractable-Awning-Fabric-Replacement-Video
- https://www.wikihow.com/Replace-Awning-Fabric
- https://www.xtendoutdoors.com.au/blogs/tips/replace-dometic-awning

Leave a Reply