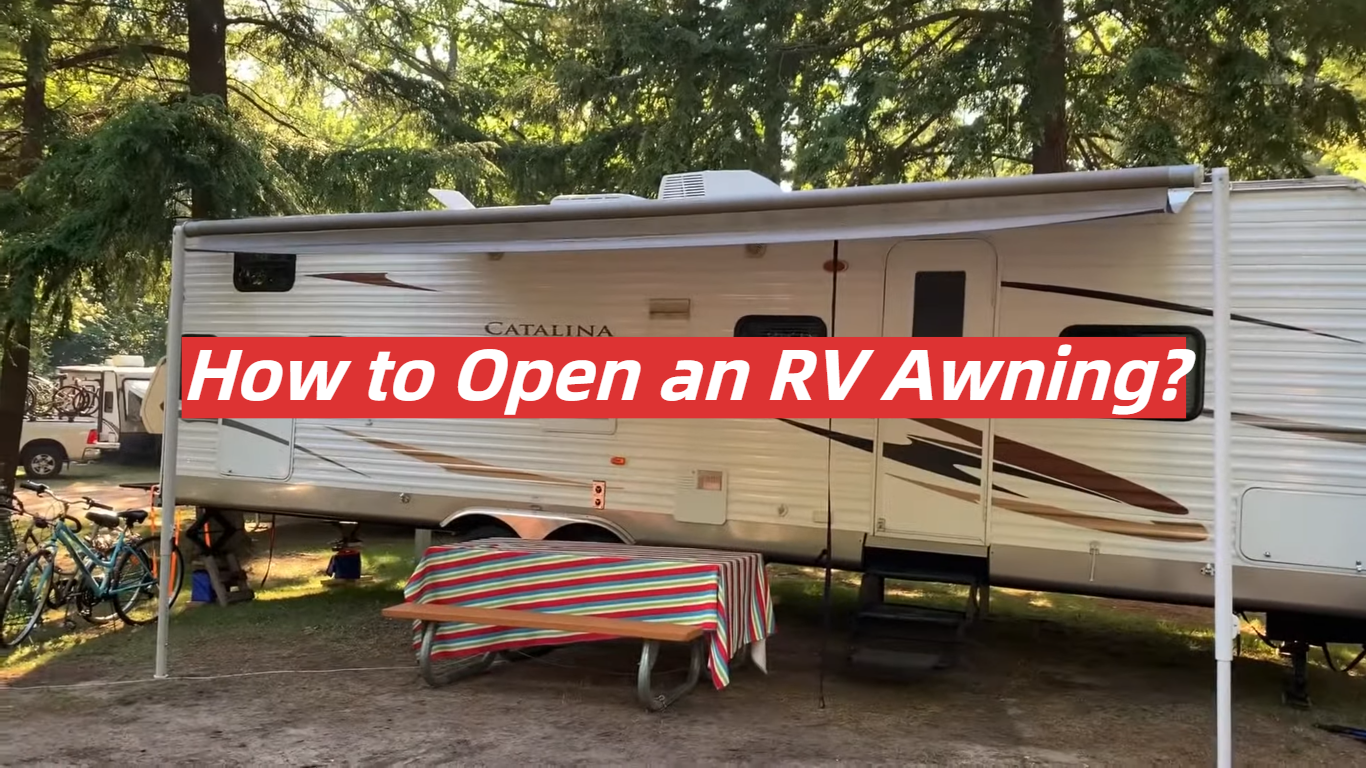
So you’ve just arrived at your campsite, and it’s time to set up camp. You pull out the awning on your RV, but find that you have no idea how to open it! This can be a frustrating experience, especially if you’re not familiar with the process. In this article, we will provide a comprehensive guide to opening an RV awning. We’ll answer some common questions and give you some useful tips to make the process easier. Let’s get started!
Table of Contents
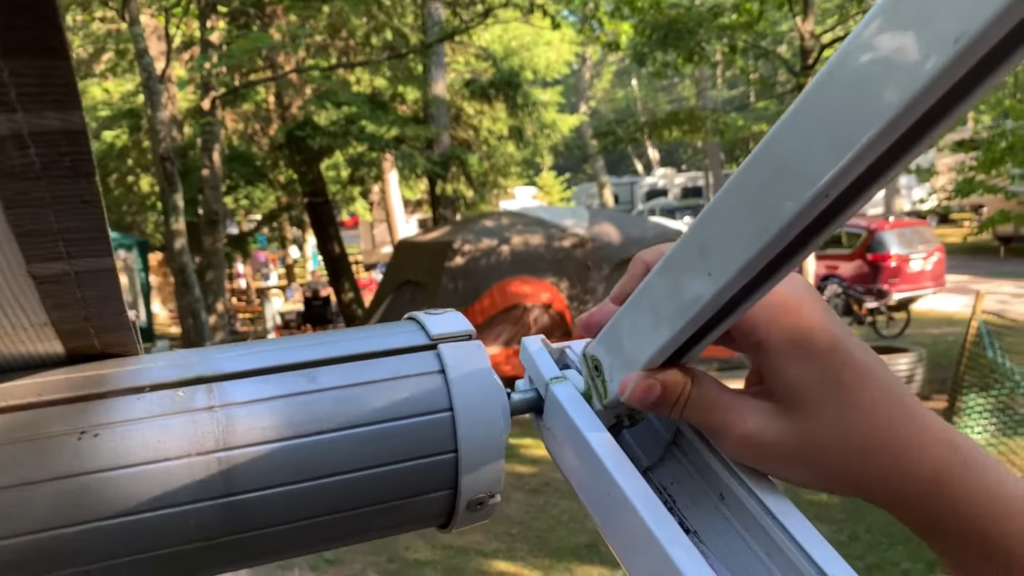
Opening An RV Awning
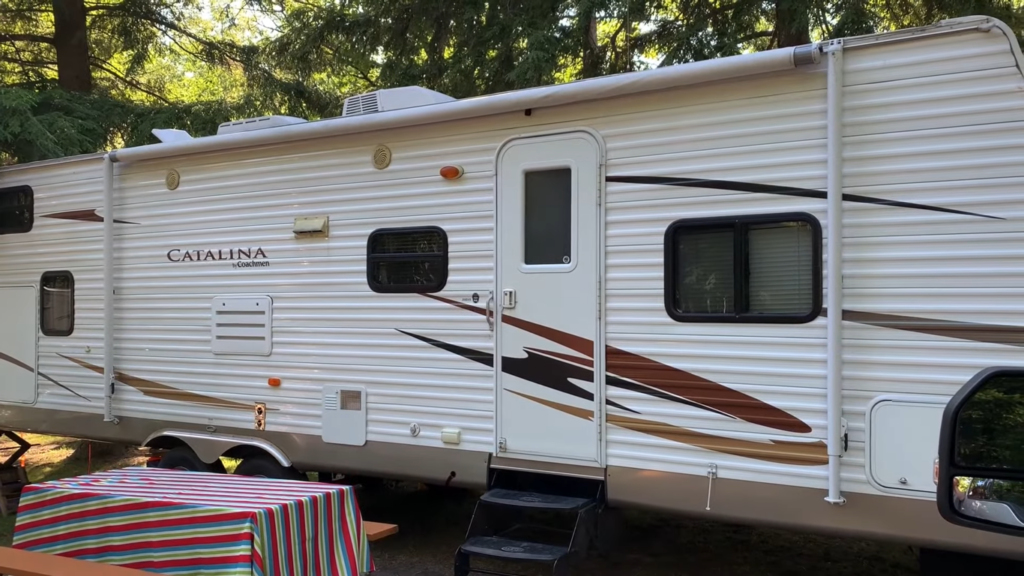
Assuming you have an awning that’s in good working order, opening it is pretty straightforward. Here are the basic steps:
Step 1: Find A Good Spot For Your RV And Get It Into Position
You’ll want to find a nice level spot to set up your RV. Once you have it in position, you can start opening the awning.
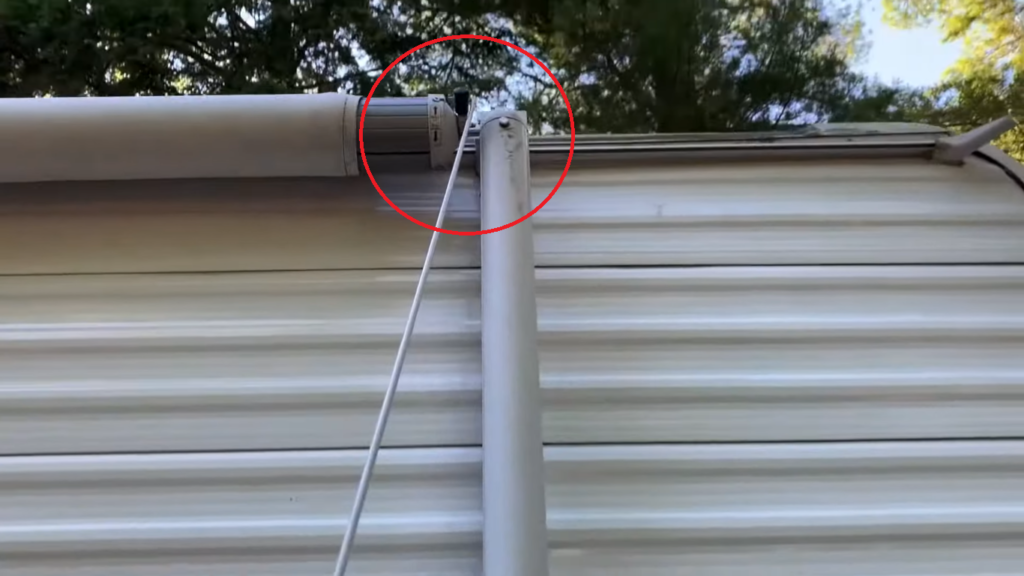
Step 2: Remove The Travel Locks And Loosen The Knobs
On most awnings, there will be some kind of travel lock that needs to be removed before you can start opening the awning. There are also usually knobs or a crank that need to be loosened before you can start opening the awning.
Step 3: Use Your Awning Rod To Unlock The Sheet
Once the travel locks are off and the knobs are loosened, you can use the awning rod to unlock the sheet. This is usually done by inserting the rod into a slot and then turning it.
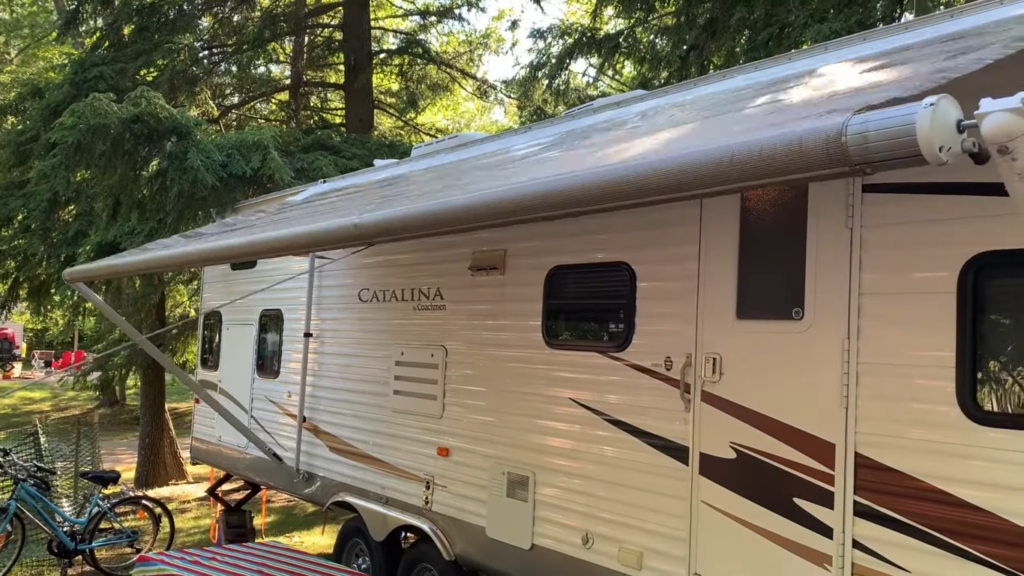
Step 4: Open The Awning Carefully
Once the sheet is unlocked, you can start opening the awning. Be careful not to let it snap open too quickly, as that could damage the mechanism. Instead, open it slowly and evenly until it’s fully extended.
If you’re having trouble opening your awning or if it seems to be sticking, there are a few things you can try:
- Try spraying some WD-40 on the mechanism. This can help loosen up any rust or grime that might be causing problems.
- Make sure that all of the locks and knobs are completely loosened before trying to open the awning.
- If the awning is still giving you trouble, you might need to take it to a professional for servicing.
Step 5: Lock The Rafter Arms Into Place
Once the awning is fully extended, you’ll want to lock the rafter arms into place. This will help keep the awning from moving around in windy conditions.
Step 6: Extend Awning Arms (If Needed)
Step 7 (Optional): Anchor The Arms To The Ground
If you’re going to be using the awning in windy conditions, you may want to anchor the arms to the ground. This can be done with some simple stakes or by tying the arms to nearby trees or other objects.
Closing An RV Awning
Closing an RV awning is just as important as opening one. Here are some tips on how to close your RV awning:
- First, make sure that the awning is dry before you start closing it. If it’s wet, it could mold or mildew.
- Second, retract the awning all the way. This will help prevent any wind from catching the awning and causing damage.
- Third, once the awning is fully retracted, tie it down with the provided straps or rope. This will keep it from flapping in the wind and potentially tearing.
Step 1: Remove Any Debris
The first step in closing your RV awning is to remove any debris that may be on it. This includes leaves, twigs, and anything else that may have blown onto the awning.
If you don’t remove the debris, it could get caught in the awning as you’re closing it. This could damage the awning or cause it to tear.
To remove the debris, simply brush it off with your hand or use a soft cloth. Be careful not to scratch the awning fabric.
Step 2: Attach Awning Arms To RV
The next step is to attach the awning arms to the RV. Most awnings will have two arms, but some may have four.
Attach the arms to the RV at the pre-drilled holes or brackets. If your awning doesn’t have pre-drilled holes, you’ll need to drill them yourself.
Once the arms are attached, make sure they’re secure by testing them. Try pushing and pulling on them to make sure they don’t move.
If they’re loose, tighten the bolts or screws that are holding them in place.
Step 3: Lower Awning Arms
Once the awning arms are attached, you can lower them. To do this, simply push down on the arms until they’re in the lowered position.
Most awnings will have stops that prevent the arms from going too low. If your awning doesn’t have these stops, be careful not to lower the arms too far.
Doing so could damage the awning or cause it to tear.
Step 4: Lower Rafter Arms
The next step is to lower the rafter arms. These are the arms that hold up the awning fabric.
To lower the rafter arms, simply push down on them until they’re in the lowered position. As with the awning arms, most awnings will have stops that prevent the rafter arms from going too low.
Once the rafter arms are lowered, you can start closing the awning.
To close the awning, simply pull on the fabric until it’s fully retracted. Make sure that the awning is fully retracted before you continue to the next step.
Once the awning is fully retracted, tie it down with the provided straps or rope. This will keep it from flapping in the wind and potentially tearing.
Step 5: Roll In The Awning
The final step is to roll in the awning. To do this, simply grab each end of the awning fabric and roll it up.
As you’re rolling up the awning, make sure that the fabric is tight. This will prevent any wind from catching the awning and causing damage.
Once the awning is rolled up, tie it down with the provided straps or rope. This will keep it from flapping in the wind and potentially tearing.
Step 6: Lock And Load
The final step is to lock and load the awning. Most awnings will have locks that you can engage to keep the awning closed.
Engage the locks and make sure they’re secure. You don’t want the awning opening up while you’re driving down the road. [1]
And that’s it! Those are the steps for how to close an RV awning. Just remember to take your time and be careful not to damage the awning.
FAQ
How do I manually open my RV awning?
To open your RV awning manually, first, locate the hand crank on the right side of the awning. If you can’t find it, consult your RV’s manual. Once you’ve found the hand crank, insert it into the square hole in the roller tube and start cranking counterclockwise. As you turn the handle, you’ll see the awning fabric start to unroll from the roller tube. Keep cranking until the awning is fully extended.
If your awning has an auto-lock feature, you’ll need to disengage it before you can start cranking. Once the lever is disengaged, you can proceed with opening the awning manually.
If you’re having trouble opening your awning, try spraying some WD-40 on the hand crank and roller tube. This will help lubricate the moving parts and make it easier to open the awning. [2]
Once you’ve extended your awning fully, engage the auto-lock feature (if your awning has one) by pulling up on the spring-loaded lever on the right side of the roller tube. This will prevent the awning from retracting unexpectedly.
How do you open a Dometic awning?
To open a Dometic awning, simply press the “Open” button on the control panel. The awning will then begin to extend automatically. Once it is fully extended, you can then use the tie-downs to secure it in place.
If you have an electric awning, you may need to hold down the “Open” button for a few seconds before the motor starts. For manual awnings, you will need to crank the handle to extend the awning. [3]
It is important to make sure that the area around your RV is clear before extending the awning. This includes making sure that there are no low hanging branches or other obstacles that could damage the awning.
Once the awning is extended, you can then enjoy the shade and protection it provides!
How do you use an RV awning?
Opening an RV awning is simple. First, find the awning’s crank handle, which is usually located on the right side of the RV near the front door. Then, insert the handle into the awning’s crank socket and turn it clockwise to open the awning. To close the awning, simply reverse the process by turning the handle counterclockwise.
If your RV has an electric awning, opening it is even easier. Most electric awnings have a switch located near the door that you can use to open and close the awning. Some models also have remote controls that let you operate the awning from anywhere inside or outside of your RV. [4]
How does a manual awning work?
The most common type of awning is manual awning. Manual awnings are operated by a hand crank that is located on the side of the RV. The hand crank is used to wind up or wind down the awning fabric.
To open a manual RV awning, first make sure that there is no tension on the awning fabric. To do this, turn the hand crank counterclockwise until you feel it loosen up. Once the tension is released, you can then start to wind up the fabric by turning the hand crank clockwise.
If your RV has an electric motor, opening and closing your awning will be much easier. Simply push a button to open or close the awning. Some RV awnings even have remote controls so that you can open and close them from anywhere inside or outside of your RV. [5]
When opening an RV awning, always make sure to extend it fully before walking underneath it. This will prevent the awning fabric from ripping or tearing. Also, be sure to keep children and pets away from the awning while it is open.
Can I leave my RV awning out in the rain?
This is a common question, and the answer is yes… and no. Technically, you can leave your RV awning out in the rain. However, we don’t recommend it because it significantly decreases the lifespan of your awning. If you must leave your RV awning out in the rain, make sure to retract it as soon as possible to minimize damage.
Another reason why you might not want to leave your RV awning out in the rain is because it can be dangerous. Heavy rains can cause strong winds that could potentially damage or even destroy your awning. So if there’s severe weather in the forecast, it’s best to err on the side of caution and bring your awning inside. [6]
At the end of the day, it’s up to you whether or not you want to risk leaving your RV awning out in the rain. Just remember that it can shorten its lifespan and be dangerous in severe weather conditions.
Useful Video: How to open your Camper awning – in 2 minutes!!
Conclusion
RV awnings are a great way to provide shade and protection from the elements while you’re out on the open road. But before you can enjoy all the benefits of your awning, you need to know how to open it properly.
Our step-by-step guide will show you how to open an RV awning in no time. Just follow these simple instructions:
- Add your content…First, remove any objects that might be blocking the path of the awning. This includes chairs, tables, and anything else that might get in the way.
- Next, locate the awning’s crank handle. This is usually located on the side of the RV near the awning.
- Once you’ve found the crank handle, start turning it in a clockwise direction. This will cause the awning to slowly start opening.
- Keep turning the crank handle until the awning is fully open. Then, lock it into place so it doesn’t accidentally close while you’re using it.
Now that you know how to open an RV awning, you can enjoy all the benefits it has to offer! Just remember to be careful in bad weather and to bring it inside when you’re not using it.
We hope this guide was helpful in showing you how to open an RV awning. If you have any other questions about RV awnings, feel free to leave us a comment below. Safe travels!
References
- https://camperfaqs.com/how-to-open-and-close-an-rv-awning
- https://www.etrailer.com/faq-open-close-maintain-RV-awning.aspx
- https://www.sunseekercaravans.com.au/customer-care/how-to-operate-a-dometic-pull-out-caravan-awning/
- https://rvshare.com/blog/how-to-use-your-rv-awning/
- https://www.petersoncanvas.com/should-you-install-a-manual-or-motorized-retractable-awning/
- https://www.getawaycouple.com/rv-awning-out-in-the-rain/