How do you measure an RV skylight? That is a question many people have when they are looking to purchase an RV. It can be confusing because there is no standard measurement for this type of window, so the measurements will depend on where it is being installed. In this article, we will discuss how to measure RV skylights and give some tips on what factors should go into your decision before purchasing one!
Table of Contents
Benefits of Adding an RV Skylight
- Additional Natural Light All Day – Adding an RV skylight to your roof will add additional natural light to the interior of your vehicle. This can be beneficial even during non-daylight hours, as it provides a good source of indirect lighting and some level of ambient illumination throughout the day. Also, it is possible to use the skylight as a means of ventilation during the night or in periods with poor visibility.
- Increased Ventilation – Adding an RV skylight can increase ventilation in your vehicle. This is especially true if the window is installed into a bathroom or shower area, which are typically enclosed areas that can get quite warm and stuffy during the summer months. By adding a skylight, you can circulate fresh air and allow heat to escape as well.
- Increased Headroom – Even though skylights are typically mounted toward the roof, they can still provide some additional head height. If you’re trying to stand up in your camper during a time of day when it’s difficult or impossible because of poor lighting conditions, adding an RV skylight might help solve that problem by allowing more light to reach the interior of your RV.
- Decreased Refrigerator Energy Usage – If your RV is equipped with an optional refrigerator installed in the living area or kitchen of the vehicle, then installing a skylight will help lower overall energy usage. By providing extra light into this enclosed space, you can allow the refrigerator to operate less frequently and for shorter periods, which will ultimately lead to a reduction in energy costs.
- Increased Natural Sunlight During Winter Months – While it might be more difficult to install a skylight in an RV during the winter months, just remember that you will get a lot more natural sunlight into your home. This can help to reduce heating costs and keep things much warmer throughout the day. While being beneficial to the environment, adding an RV skylight also has some really great benefits for your wallet. They are a quick and easy way to help decrease your energy consumption by allowing natural light into closed spaces that may otherwise rely on artificial lighting costs all day long. If you have any appliances or electrical devices inside of your RV that require a plug, you can also take advantage of the extra available power from opening up your skylight.
- Outside World View and Shiny Stars at Night – Some RV skylights can be installed to allow you to view the outside world, while others only provide a partial window. This is important because it will determine how much light and what type of lighting that your skylight provides during night hours.
- More Welcoming RV Environment – Adding a skylight can really change the interior of your vehicle and make it seem much more welcoming. This is especially true if you find yourself camping in heavily wooded areas, as it will offer some level of insulation from bugs and other wildlife outside at night.
- Additional Emergency Exit – Even if you never plan to use it as an emergency exit, adding a skylight does make your RV feel more open and provides another way of getting out in case of an emergency. You can also use the skylight as a way of providing ventilation during the night, which will help to clear out any foggy windows or hot air.
- Easier Installation – Some RV owners prefer using an electrician for installation because it’s just too difficult to do yourself. However, if you are able-bodied and have some knowledge of the installation process, it can be completed in a matter of hours without too much difficulty.
How to Measure RV Skylight?
RV skylights provide natural light to the cabin, making it bright and airy. They are openable for ventilating during hot weather or closed when needed. To enjoy the maximum daylighting benefit from your RV skylight, you need to know how to measure them well before ordering one online! Some basic measurements can be taken to ensure that you are buying the right size for your vehicle.
Skylights are measured in two ways: by the “rough opening” or the size of the hole that needs to be cut into your roof, and by their finished dimensions.
The rough opening will usually be slightly smaller than the finished dimensions. This is to accommodate for flashing and other materials that go around the edges of your skylight, covering up any exposed plywood or sheathing on your roof. You can find this number by subtracting about an inch from each side of the finished dimension width and height measurements.
10 Steps to Measure RV Skylight
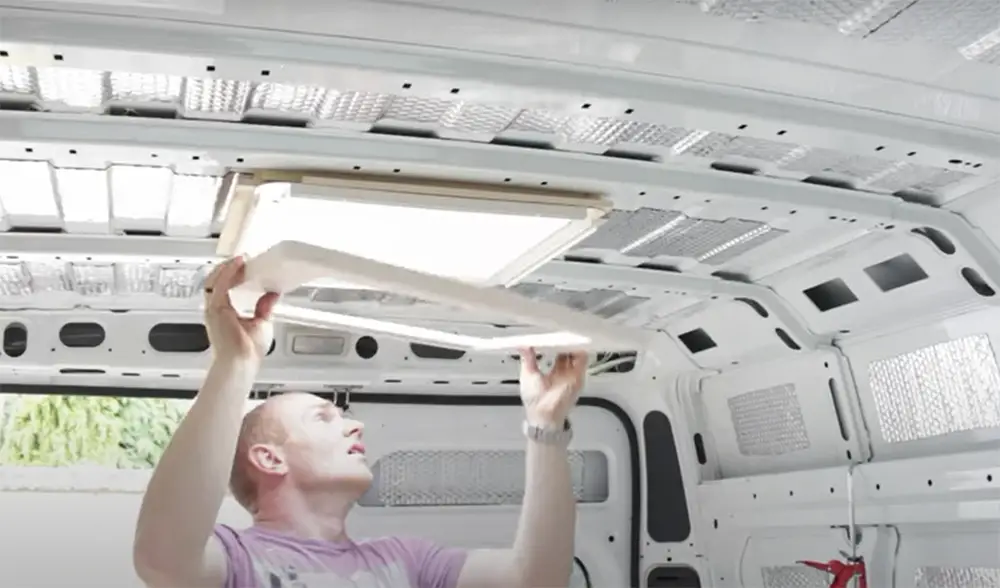
Step 1: Choose the Location Where You Want to Add Skylight.
The first step is to identify where you want the skylight. If possible, choose a place that has no sharp objects around it so that you can avoid puncturing the skylight during installation.
Step 2: Measure the Thickness of Your RV Roof
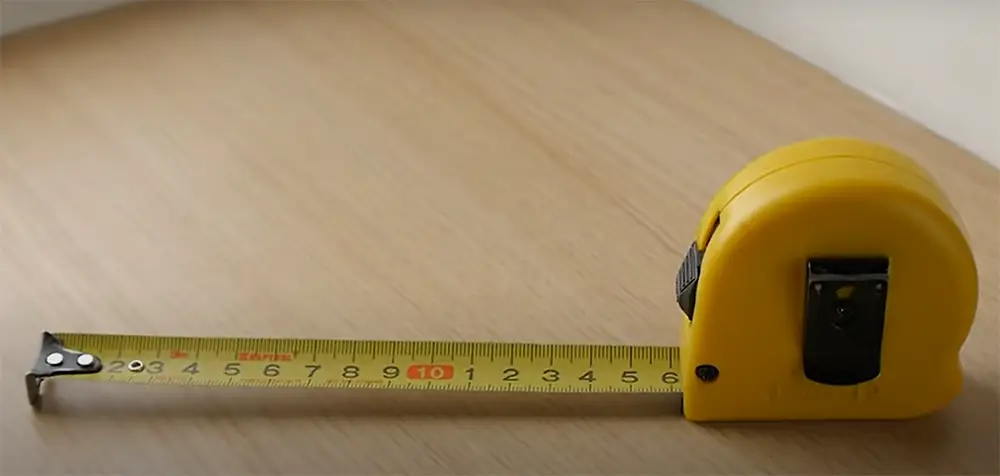
Before buying a skylight, you must know how thick your roof is. The thicker it is, the deeper skylights can be installed and vice versa. To measure the thickness of your roof, hold a measuring tape at its widest point across from one side to another inside the cabin area. This will give you an idea about what size frame will fit for this specific location on your vehicle.

Step 3: Determine How Deep Is Skylight You Want.
After determining where exactly you want to add an RV skylight now determine how deep the skylight should be. Measure from the inside of your vehicle along with the skylight frame to the outside edge of the roof, then subtract half an inch for space between it and the skylight. You can also measure down from the ceiling or floor joists if you want a flush-mounted installation instead.
Step 4: Consider Available RV Skylights Sizes.
Step 5: Choose Your Skylight Frame.
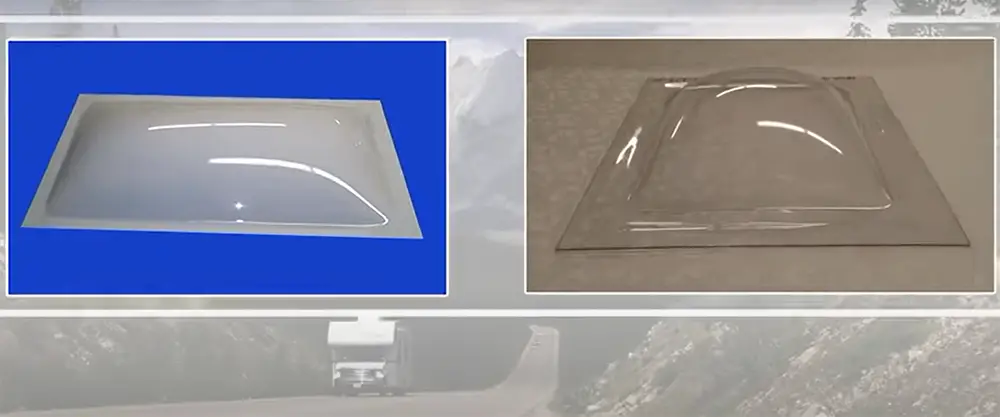
After determining the location, depth and size of the skylight you want to install in your vehicle there is a need for choosing an appropriate RV skylight frame that will fit into the space available in your roof. There are three main types of frameless glass panels: acrylic dome with pre-installed sealant tempered laminated safety glass panel and polycarbonate sheet similar to corrugated plastic material but stronger! Acrylic domes can be used inside or outside depending on the cabin environment while the other two options should only be installed indoors especially when mounted directly onto the structure without any additional ventilation system protection from moisture damage due to condensation buildup during cold weather conditions…
Step 6: Measure Your RV Skylight Frame.
Now that you know the depth, width and height of the new skylight it is time to measure your chosen frame size before ordering online! You can find manufacturer measurements on their website or give them a call directly if you are not sure about the exact dimensions for your vehicle type.
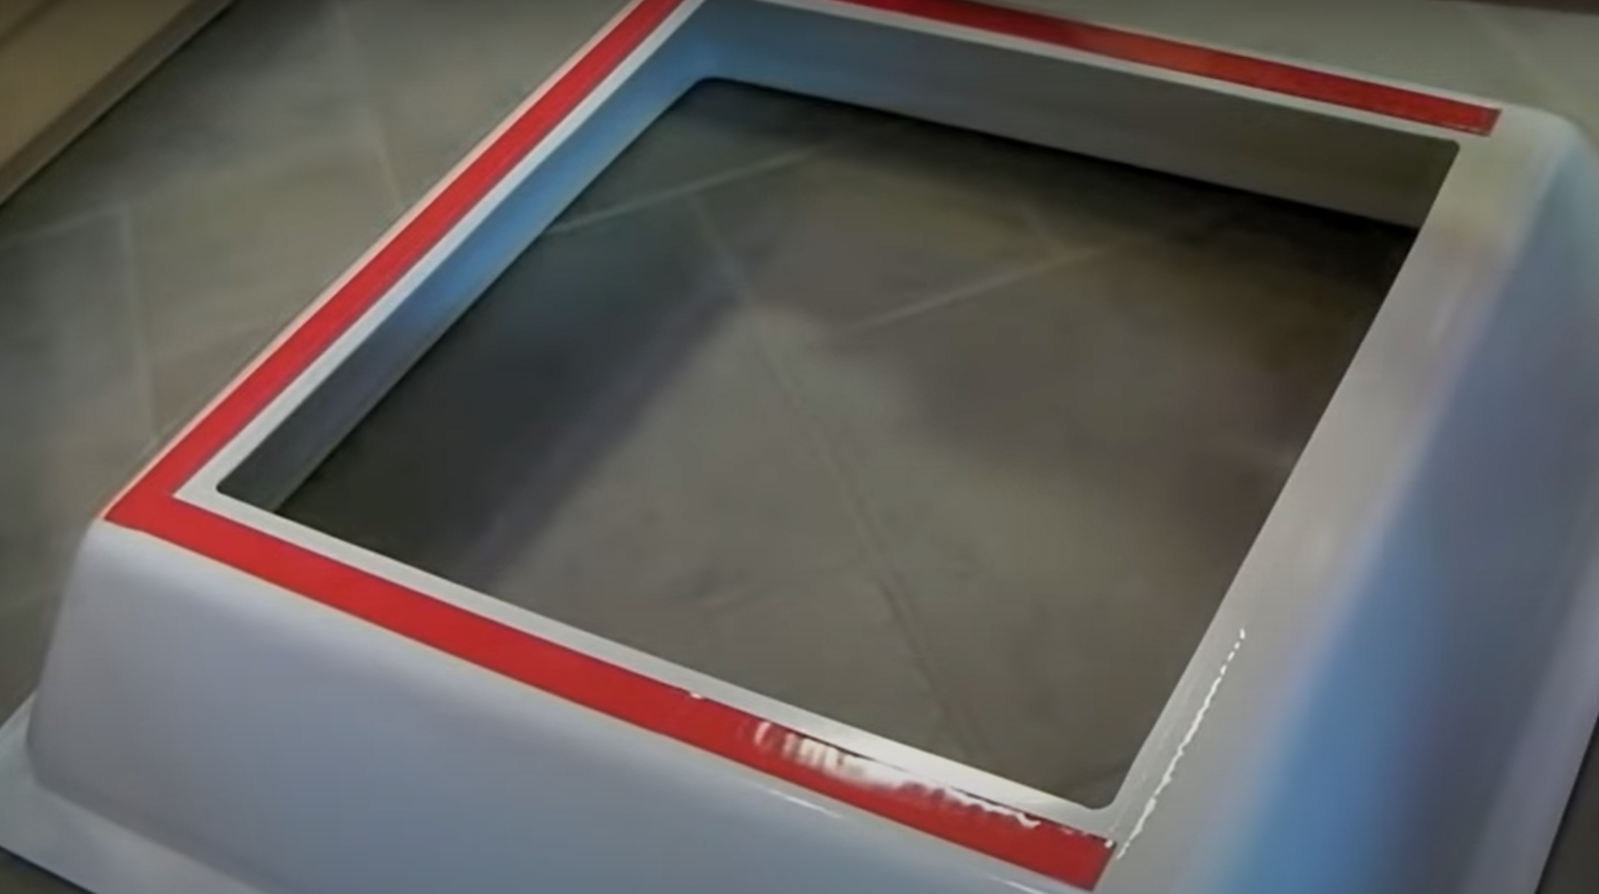
Step 7: Measure the opening of your roof by using a tape measure.
Measure one side first, then double-check along the other edge so you have both measurements on hand. Round down if necessary – but do not round up! It is better to buy an RV skylight that will fit snugly than receive one too small for installation purposes.
Step 8: Determine Your Budget.
Finally, determine how much you are willing to spend on your new RV skylight installation project! You can find quality products at a broad range of prices depending on the manufacturer and materials used. For example, the standard acrylic dome model costs around $150 while the polycarbonate sheet is a little bit pricier but offers more protection against UV exposure which means a longer-lasting skylight for your vehicle.
Step 9: Choose the RV Skylight.
You must choose the appropriate skylight that fits into your roof’s measurements and budget. The design and quality of materials can be chosen according to your needs and preferences. For instance, acrylic domes are cheaper than tempered laminated safety glass panels.
Step 10: Make sure to order your new skylight with the right measurements before installing it!
You can do this by checking out manufacturer documentation or giving them a call if you’re not 100% certain of the correct size for a specific location on the roof of your vehicle.
Follow these steps and you will be able to order the right skylight for your vehicle!
Once your new RV roof window is installed, go outside and admire your handy work! You did a great job measuring for the right size of skylights needed to get more natural light into your home without making too much of an impact upon everyone’s wallet!
Helpful Hints Before You Begin Measuring for Skylights
Many different factors determine which skylight will work best with your rig; but once these steps above are complete, it’s time to order! Here are some helpful hints on how to choose the right size:
- Make sure you have a clear and open space in your ceiling to work.
- You might need a ladder or two to get up and down easily.
- Have an assistant on hand if possible for this task, especially when measuring the skylight(s) size needed.
- Measure your ceiling height in three different places using a tape measure (or yardstick/ruler). This will help you determine whether or not you will be able to fit the skylights into your RV roof without any problems. It’s always good to double-check these measurements before proceeding with installation!
- If the skylight is not on one of the main walls, make sure all measurements are centered.
- When measuring for the skylight size needed, make sure to take into account any additional space you might want around it.
- If your ceiling is slanted in ANY way, measure at least three different spots across from each other and use the largest number when selecting a skylight. This will prevent water build-up or damage to your RV roof later on down the road!
- If you are installing multiple skylights, don’t forget to measure the center one first. The very last thing you want is to have your RV roof open and discover that you should’ve ordered a smaller/larger skylight(s) than what was originally measured.
- Once you have your measurements, take a look at the skylight options that are available to you.
- If your measurements fall outside of standard sizes, such as our 12×16″ window or 11×15″ for example, you can order them just for you!
- When measuring for a skylight, you want to measure your ceiling height as well as the width or length of the skylight. You will need both measurements in order to find out what size window is available for purchase.
- When measuring for a skylight, make sure to take into account any additional space you might want around it (the frame and exterior trim). This is especially important if we’re talking about larger sizes like those mentioned above.
- Measuring an RV skylight requires careful attention to detail to ensure it will fit properly once installed. It’s best to check all three dimensions (width/length and height) before ordering.
FAQ
What is the standard skylight size?
The most common sizes for RV are 27 inches by 30 inches or 29 inches by 36 inches. If you are looking for a replacement, it’s best to measure the old one to determine what size will fit well.
How big can I make my skylight?
There isn’t really a limit on how large or small your skylight can be. You will want to ensure that the size of your skylight is going to fit in with the rest of your RV and not look out of place or too small for everything else around it. There are a variety of options available when choosing a new one, so measuring should be easy enough if you already have what was previously there.
What are RV skylights made of?
RV Skylights are often made from acrylic or polycarbonate material with an aluminum frame to prevent rusting and corrosion if it is exposed to moisture for long periods. They can also have a screen that prevents insects, wind, rain, snow and dust from getting inside.
How do you measure a skylight for a caravan?
It’s important to make sure that the replacement is going to fit well and look nice. You’ll need a few tools for this job, including measuring tape, ruler or other measuring tools as well as a pen or pencil. Measure from side to side on your skylight frame at the widest part of it and then measure how tall the frame is from top to bottom. You can then choose a replacement that fits well with these measurements and is the same size as your old one if you have it on hand for reference.
What do VELUX codes mean?
VELUX codes are used to identify the type or style of skylight that’s being sold. They have letters followed by numbers, so you’ll need to know what they mean in order to properly choose one for your RV. For example, the skylight code “VZ-027” means that this is a standard flat roof window with an aluminum frame.
What is the rough opening for a skylight?
The rough opening is the term that’s used for how big of a hole you will need to cut into your roof in order to fit your replacement skylight.
How do you replace an RV skylight shower?
Replacing an RV skylight shower can be done by following the steps below:
- Measure the existing skylight for size and shape. This will allow you to find a replacement that fits perfectly.
- Purchase the correct sized and shaped replacement skylight from your local RV store or online supplier.
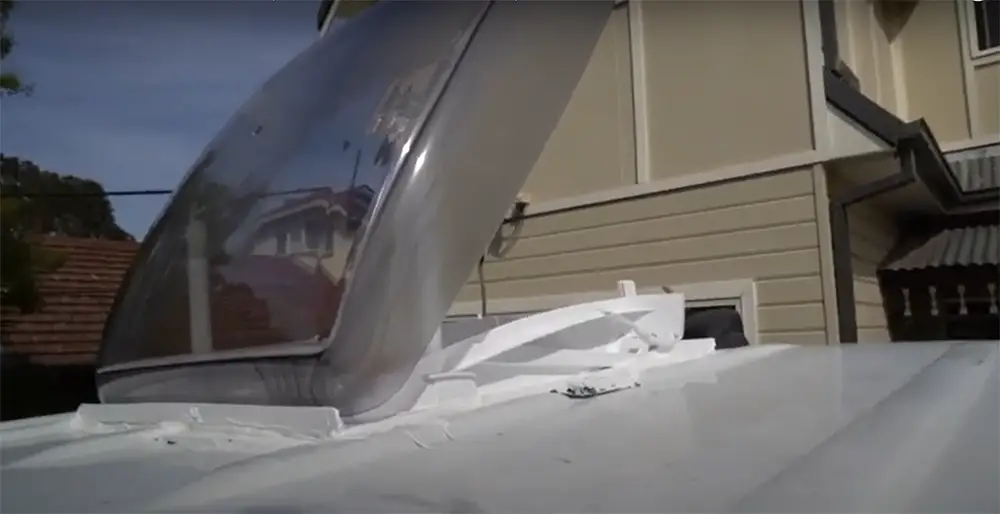
- Unscrew the screws around the outside of old skylight, gently prying it away from any sealant used to secure it in place. Carefully remove all debris using a putty knife or screwdriver blade, and clean off any remaining sealant with mineral spirits or alcohol so that new sealant can adhere properly.
How is neo angle skylight measured?
Measuring a neo angle skylight is different from measuring for a standard-angle skylight. You’ll need to measure the width, height, and size of the skylight’s opening.
To measure the width, you’ll first want to determine the center point of your skylight where the two angled walls meet. To do this, you can use a measuring tape or laser level. Once you have determined this center point, measure from one side of this point to the other side in a straight line across the entire width of the opening.
Next, measure the height of your skylight by starting near one corner and following an imaginary angled line up along one wall until it meets with the center point. At that intersection, measure the height from this corner to the center point. Repeat this process for the other side and add together both measurements to get your total height measurement.
How long does it take to replace a RV skylight?
Replacing a RV skylight is not an overly complicated process, but it does take some time and effort. On average, the entire installation process should take about an hour. If you’re experienced with these types of projects, it could potentially be done in as little as half an hour.
Before getting started, make sure that you have all of the necessary tools and materials on hand to complete the job; otherwise, you may run into additional delays along the way. Additionally, read through any instructions that come with the new skylight before beginning to ensure that everything goes smoothly during installation.
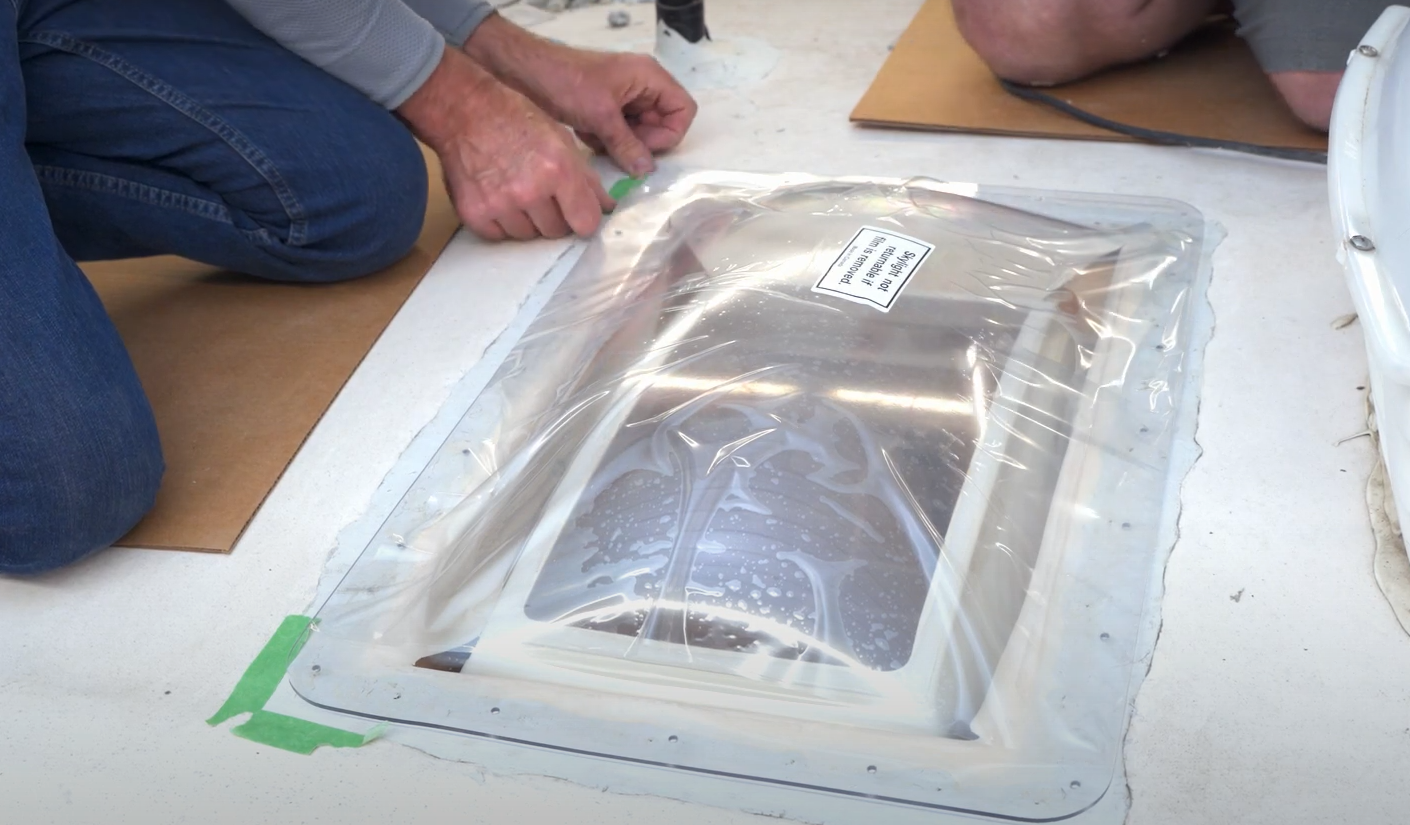
What do you seal an RV skylight with?
Before you can properly measure an RV skylight, it needs to be sealed. If the seal is broken or worn away, it won’t be as effective in keeping out the elements. Generally, a good quality silicone-based sealant should do the trick. Make sure it’s designed for outdoor use and apply a generous amount around the perimeter of the skylight. You can also add some additional support with weather stripping that fits along the edge of the skylight frame.
How do you insulate an RV skylight?
Insulating an RV skylight is a great way to make your recreational vehicle more comfortable and efficient. There are several different materials that can be used for insulation, such as foam board or bubble wrap.
To start, measure the dimensions of the skylight including height, width and depth. Make sure you also take into account any obstructions like roof vents or air-conditioning units. You will need to buy enough insulation material to cover these measurements.
Next, install a vapor barrier in between the ceiling and the skylight frame to prevent moisture from entering the walls. This usually consists of plastic sheeting attached with staples or adhesive tape.
Once the vapor barrier is in place, cut the insulation material to fit the skylight using a utility knife. Make sure there are no gaps in between the pieces and that they all have a tight fit.
Finally, secure the insulation in place with staples or adhesive tape. You may need to seal any seams between the pieces of insulation with caulk or expanding foam to make sure everything is airtight.
How do I insulate my skylight for the winter?
Insulating your skylight can help reduce drafts, save energy and provide additional protection from the cold during winter months. There are a few steps you should take to make sure your skylight is properly insulated.
First, measure the inside dimensions of your skylight for an exact fit when selecting insulation material. This will ensure that there are no gaps or air leaks around the edges of the skylight frame.
Second, select a non-combustible insulation material with an R-value (a measure of thermal resistance) equal to or greater than the U-value (a measure of how well heat passes through a building element). The higher the R-value, the better insulated your skylight will be.
Third, cut the insulation material to fit the skylight frame and secure it using adhesive caulk or construction adhesive. If necessary, you can also use foam weatherstripping around the edges of the insulation for a tighter seal.
Finally, cover the insulation with a waterproof membrane such as plastic sheeting or roofing felt. This will protect your insulation from moisture and help keep heat inside during cold winter months.
How can you tell if your RV skylight is leaking?
If you’re wondering if your RV skylight is leaking, there are a few ways to tell. The most common way to measure an RV skylight for leaks is to use a moisture meter. Moisture meters detect the presence of moisture in materials like wood or substrate and can be used to pinpoint any wet areas that may indicate a leak. You should sweep the meter over the entire skylight area, including around the edges and frame, for best results.
How much heat is lost through an RV skylight?
RV skylights are designed to provide natural light into the RV and reduce the need for electric lighting systems. However, they can also be a source of heat loss in your RV. To determine how much heat is lost through an RV skylight, you need to first measure the area of the window opening and then compare it to the total area of insulation on the roof or wall. This will give you a ratio that tells you how much of your RV’s insulation is exposed to outside air.
What should you do if your RV skylight is damaged?
If your RV skylight is damaged, the first step is to determine the extent of the damage. Depending on the amount of damage and age of your RV skylight, you may want to replace it or just repair it. In either case, you’ll need to measure your existing RV skylight before proceeding with a replacement or repairs.
Is it possible to replace an RV skylight without roofing experience?
The answer is yes, replacing an RV skylight can be done without roofing experience. The process is easy and straightforward and you only need some basic tools. You just need to measure the RV skylight properly before starting the replacement process.
Start by measuring the size of the area where the skylight needs to be replaced. This includes taking measurements of both width and length (horizontal and vertical) of the opening for your reference when purchasing a new skylight. When measuring, consider any obstructions like window frames or vents that could affect how much room you have available for a new skylight.
Useful Video: Training Series – RV Skylight Replacement
Final Thoughts
Now you know everything you need to know about measuring your RV skylight. The process is very straightforward and takes just a few minutes. You can easily do it yourself at home with the right tools, or you can hire someone to come over for this one task.
Your skylight must fit perfectly because there are many benefits of having an RV skylight installed. Even if you’re not convinced that it’s something for you, I highly suggest trying one out.
With all these benefits and how easy it is to install them yourself (or with help from someone who knows what they are doing), having a skylight installed is highly recommended! They come in many sizes so getting one that fits perfectly won’t be difficult at all if you follow this guide step-by-step! Go ahead and take out a tape measure, you’ll be surprised at how easy it is once you get the hang of it!
We hope this guide has been helpful for you. If there are any questions, comments or concerns feel free to contact us!