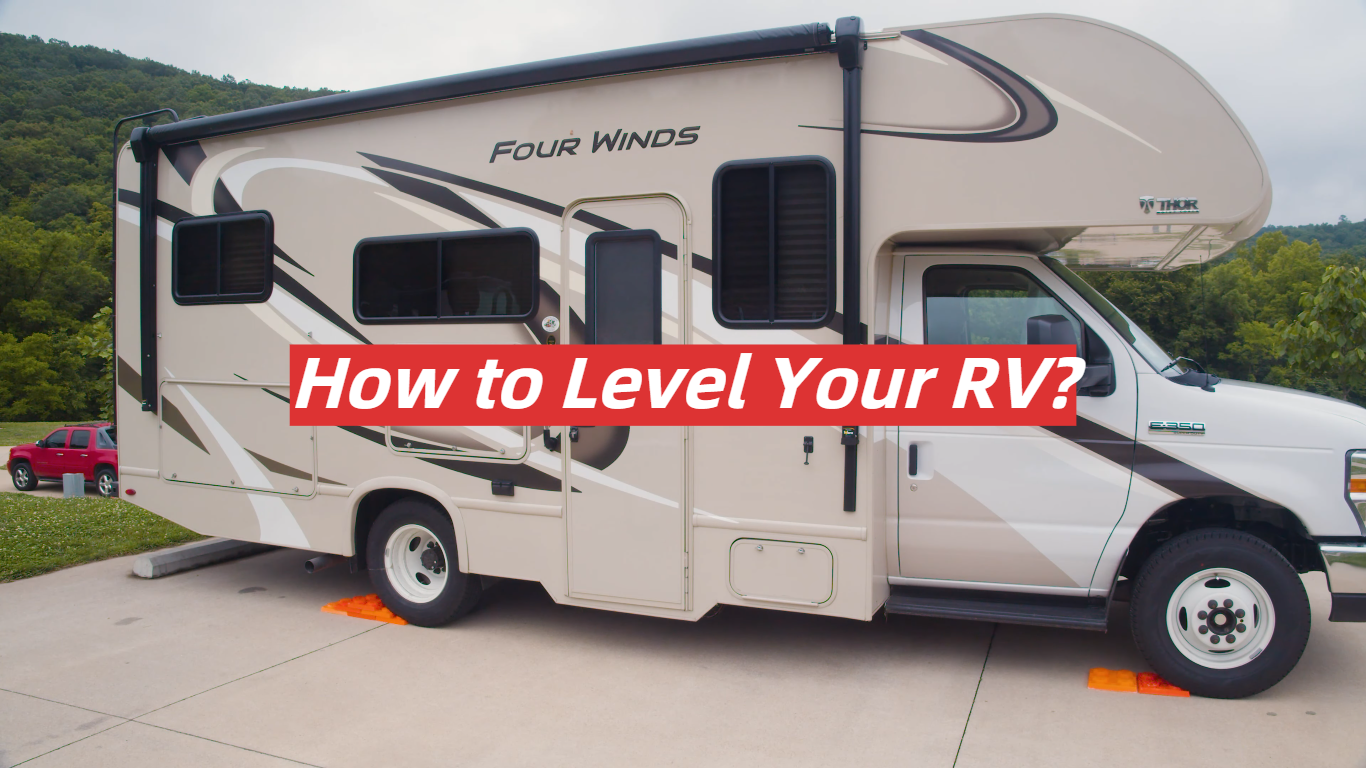
In this article, we’ll answer some common questions about leveling your RV and provide some useful tips to make the process easier. Let’s get started!
Table of Contents
Why Should You Level Your RV?
There are a few reasons why you might want to level your RV.
- First, it can make your RV feel more comfortable and homey. When you’re driving down the road, small bumps can cause things to shake around inside your RV. If everything is level, it’ll minimize the amount of movement and make your ride more pleasant overall.
- Second, leveling your RV can help prolong its lifespan. All that shaking can loosen screws and cause wear and tear on different parts of the RV. By keeping everything level, you’ll give your RV a break and hopefully avoid any serious damage down the line.
- Finally, some campgrounds require RVs to be leveled before they’ll allow you to hook up to their utilities. This is usually for the same reasons listed above – it’s more comfortable and it helps protect their equipment. [1]
Tools Needed To Manually Level Your RV
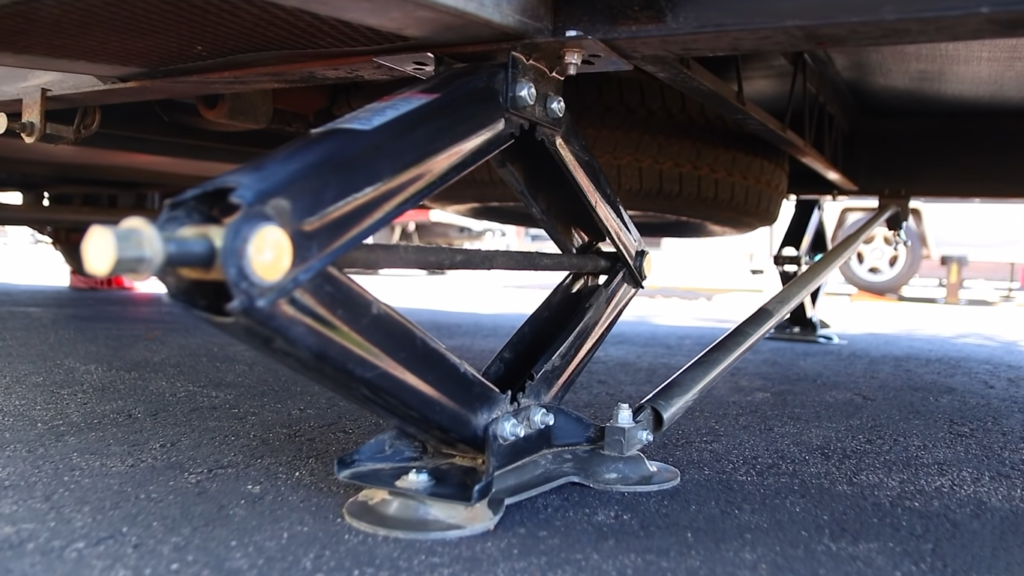
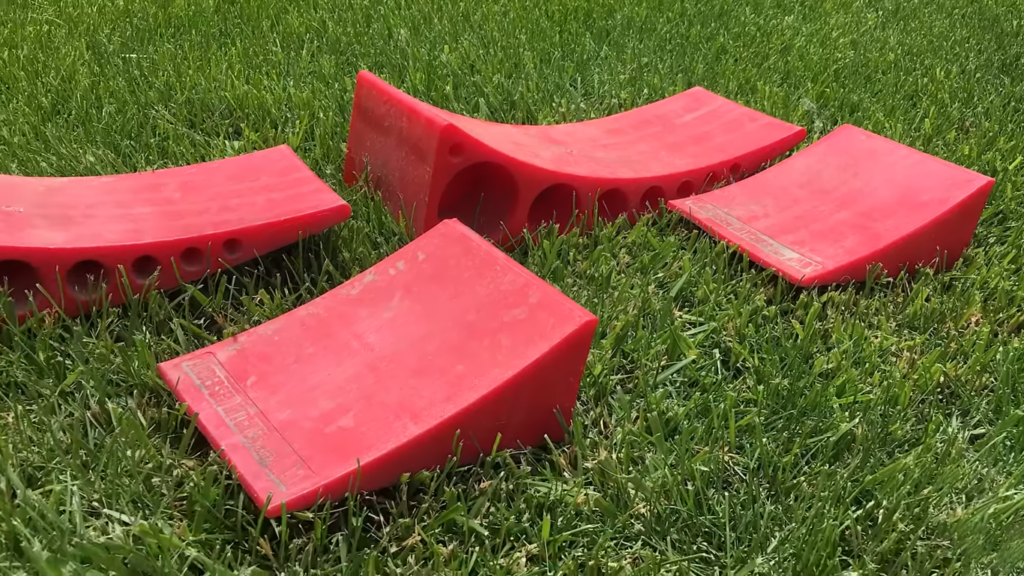
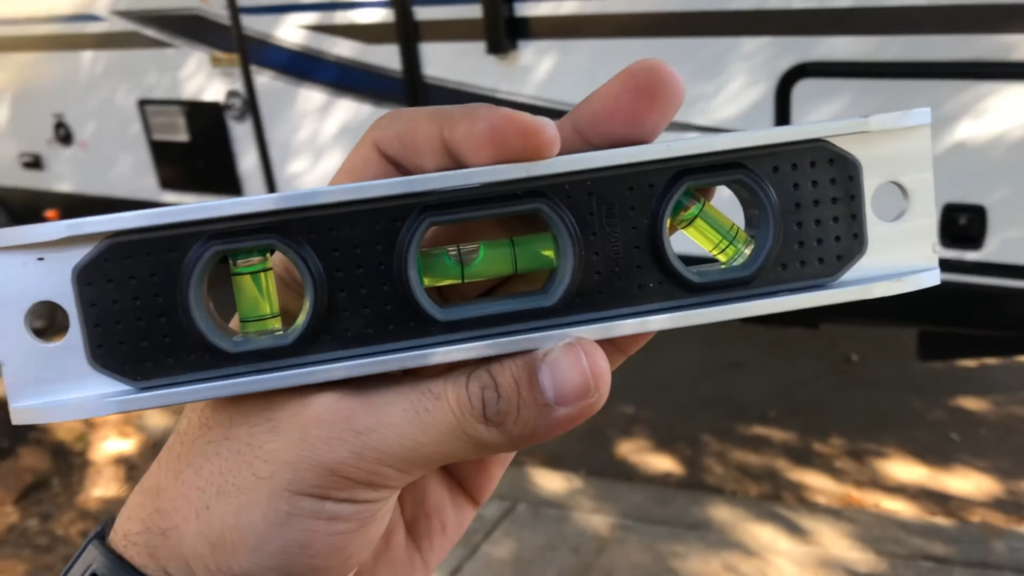
The first thing you’ll need to do is gather some supplies. You’ll need a level, chocks, and either blocks or leveling jacks. If you have an RV with slide-outs, you’ll also need to make sure that they’re all fully retracted before you start leveling.
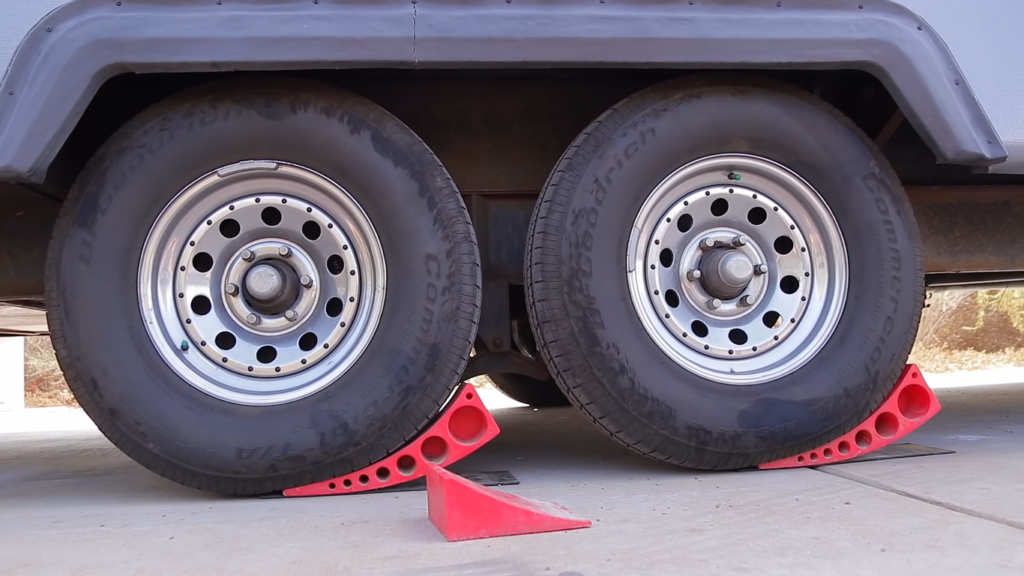
Once you have your tools, it’s time to get started. Begin by parking your RV on a level surface. If you don’t have access to a paved area, you can use leveling jacks to create a level spot for your RV. Once your RV is parked, put the chocks in place behind the tires so that it can’t roll while you’re working.
If your RV has slides, the next step is to extend them. This will give you more stability and prevent the RV from tipping while you’re working.
Now it’s time to start leveling. If your RV is level front-to-back, you can move on to leveling side-to-side. If it’s not level front-to-back, use the leveling jacks to adjust the RV until it is level.
Once your RV is level, check the chocks and make sure they’re still in place. Then put the blocks in place under the leveling jacks so that they’ll support the weight of the RV if one of the jacks should fail.
You’re now ready to enjoy your leveled RV!
How to Level an RV
If you’ve ever been RVing, you know that one of the most important things is to make sure your RV is level. If it’s not, you’ll be uncomfortable and your appliances may not work properly. So how do you level an RV?
There are a few different ways. The easiest way is with leveling blocks. You can find these at most camping stores or online. All you have to do is place them under the tires on one side of the RV until it’s level.
Another way to level an RV is by using jacks. This method takes a little more time, but it’s still pretty easy. Just put the jacks on each corner of the RV and raise or lower them until the RV is level.
If you’re at a campground that has hookups, you can also use the water and sewer connections to level your RV. Just hook up the hose to the water connection and turn on the faucet until the RV is level. Then, connect the sewer hose and let it drain until the vehicle is level.
Once you’ve leveled your RV, make sure to check the tires so it doesn’t roll away. And that’s it! You’re now ready to enjoy your comfortable and level RV. Happy camping!
Leveling a Motorhome (Class B or C RV)
If you have a motorhome (Class B or C RV), there are a few things you need to know before you start leveling it. First, always park on level ground if possible. If not, use blocks or jacks to level the RV.
Next, put out the stabilizing jacks. These will help keep the RV from rocking when you’re inside it. Once the jacks are down, lower the leveling jacks until they’re touching the ground.
To do this, find the location of your water fill and sewer drain valves. They’re usually near the back of the RV on either side. Connect a hose to the water fill valve and turn it on until the RV is level. Then, connect the hose to the sewage drain valve and allow it to empty until the RV is level.
Leveling a Travel Trailer (Towable RVs)
First, find a level spot to park your RV. If you can’t find one, use blocks or jacks to level the RV. Next, put out the stabilizing jacks.
Once the jacks are down, it’s time to level the RV. To do this, determine the location of your water fill and sewage drain valves while in the crawl space. They’re usually near the back of the RV on either side. Connect a hose to the water fill valve and turn it on until the RV is level. Then, connect the hose to the sewer drain valve and let it drain until
the RV is level.
Once your RV is level, check that all of your appliances are working properly. If they’re not, make sure that they’re turned off and then turn them back on again. With a little bit of care and attention, you can easily level your RV like a pro!
Leveling an RV is something that every RVer should know how to do. It’s not difficult, but it does take a little bit of time and effort. With these tips, you’ll be leveling your RV like a pro in no time!
Using the Auto Leveling System
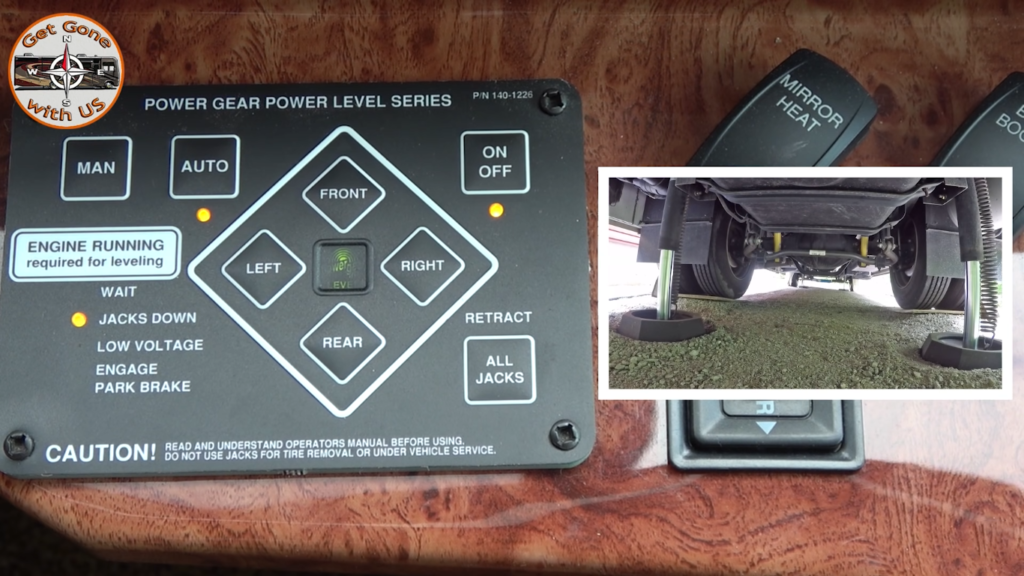
If your RV is equipped with an auto leveling system, all you have to do is push a button and the RV will level itself. However, there are a few things you need to do before you use the auto leveling system.
- First, try to park your RV on level ground. If that’s not possible, use blocks or jacks to make it level.
- Next, place the stabilizing jacks out. The goal of these tips is to help prevent your RV from rocking while you are inside it. Once the jacks are lowered, place the leveling jacks against the ground. Now it’s time to use the auto leveling system.
To do this, find the location of your auto leveling controls. They’re usually near the front of the RV on the dash. Push the button to start the leveling process. The RV will automatically level itself.
Once the RV is leveled, make sure to check the tires so it doesn’t roll away. And that’s it! You’re now ready to enjoy your comfortable and level RV. [2]

Best Practices for Leveling an RV
There are a few different ways that you can level your RV, but some methods are definitely better than others. Here are a few tips to help you get started:
- Start by finding a level spot. This may seem like common sense, but it’s actually one of the most important steps in the process. If you start on an uneven surface, you’ll likely just end up with an uneven RV.
- Use leveling blocks or ramps. These devices will help to even out your RV and make it easier to level. Just be sure to follow the manufacturer’s instructions carefully so that you don’t damage your RV in the process.
- Manually adjust your RV’s leveling jacks. If you have this type of leveling system, it’s important to know how to use it properly. Be sure to consult your RV’s owner’s manual for specific instructions.
- Use a level. This is probably the most important tool you’ll need in order to level your RV. A simple carpenter’s level will do the trick. Just be sure to place it on a flat surface before you start adjusting your RV’s jacks or blocks.
Levelers VS. Stabilizing Jacks
There are two ways that you can level your RV: with levelers or with stabilizing jacks. Levelers are attached to the RV and provide a way to easily and quickly level the RV from outside. Stabilizing jacks, on the other hand, are not attached to the RV and must be placed under each corner of the RV in order to stabilize and level it.
Both methods have their pros and cons, so it’s important to decide which one is right for you before you start leveling your RV.
Stabilizing jacks, on the other hand, are less expensive and can be left in place even when you’re not using them. This is because they don’t need to be attached to the RV in order to work. However, they can be more difficult to use, especially if you’re not used to them.
Once you’ve decided which method you want to use, it’s time to start leveling your RV. If you’re using levelers, simply extend them until they reach the ground and then turn the knob until the RV is level. If you’re using stabilizing jacks, place them under each corner of the RV and then use the crank to raise or lower the RV until it’s level.
Once your RV is level, you can then move on to hooking up your utilities and enjoying your vacation. Just remember to take your time and be safe while you’re leveling your RV. With a little bit of practice, you’ll be a pro in no time!
After You Have Parked (DON’T Unhitch Yet!)
Now that you have finally found the perfect spot and parked, it is time to level your RV. The process is actually pretty simple, but there are a few things you need to know before you get started.
The first thing you need to do is find a level spot. This may seem like a no-brainer, but it is actually harder than it sounds. If possible, try to park on grass or dirt instead of concrete or asphalt. This will give you a little more wiggle room when it comes to leveling.
Once you have found a level spot, the next step is to unhitch your RV from your tow vehicle. Once again, this may seem like a no-brainer, but there are a few things you need to keep in mind. First, make sure that your RV is in park and the parking brake is engaged. Next, disconnect your electrical and water connections. Finally, lower your leveling jacks until they are touching the ground.
Now that your RV is unhitched and level, it is time to start leveling it. The easiest way to do this is with a set of leveling blocks. You can find these at most RV dealerships or online.
Simply place the leveling blocks under each corner of your RV until it is level from front to back and side to side. Once you have the RV level, you can reattach your tow vehicle and enjoy your vacation!
Types of Camper Leveling Systems
The first thing you need to do when leveling your RV is to determine what type of leveling system your RV has. There are three basic types of systems: hydraulic, electric, and manual.
Hydraulic leveling systems are the most popular type because they are the easiest to use. Electric leveling systems are also easy to use, but they require an electrical hookup. Manual leveling systems are the most difficult to use, but they are the least expensive.
Once you know what type of system you have, you can move on to the next step: choosing a level spot.
Using Leveling Blocks
If you don’t have built-in leveling jacks, you’ll need to use leveling blocks. Leveling blocks are large, rectangular pieces of material that you place under the tires or jacks on one side of your RV to level it out. You can find them at most hardware stores or online.
To use leveling blocks, simply drive your RV onto them and position them so that they’re evenly distributed under the tires or jacks. Then, lower your RV down until it’s resting on the blocks. Once it’s in position, you can begin to level out your RV using the same process as above.
Keep in mind that you’ll need to use more than one block on each side of your RV to level it out completely. You may also need to reposition the blocks a few times to get the perfect level. But with a little patience, you’ll be able to get your RV leveled out in no time!
One final tip for using leveling blocks: be sure to put them on top of something sturdy, like a piece of plywood or a level concrete pad. This will help prevent the blocks from sinking into soft ground and becoming uneven.
Leveling A Travel Trailer With Andersen Levelers
If you have an Andersen Leveler, the process is pretty simple. Just extend your leveling jacks until they make contact with the ground, then crank them down until they’re snug. You’ll want to do this one jack at a time so that your trailer stays level as you go. Once all four jacks are in place, just lower your trailer onto them and you’re good to go!
If you don’t have an Andersen Leveler, don’t worry – the process is still pretty straightforward. You’ll just need to use some blocks or ramps to get your trailer level before you start cranking down on those jacks.
Once you’ve got your trailer leveled off, it’s time to start hooking up your utilities. If you’re not sure how to do that, don’t worry – we’ve got a whole separate article on just that topic. Stay tuned for that one, and in the meantime, Happy RVing!
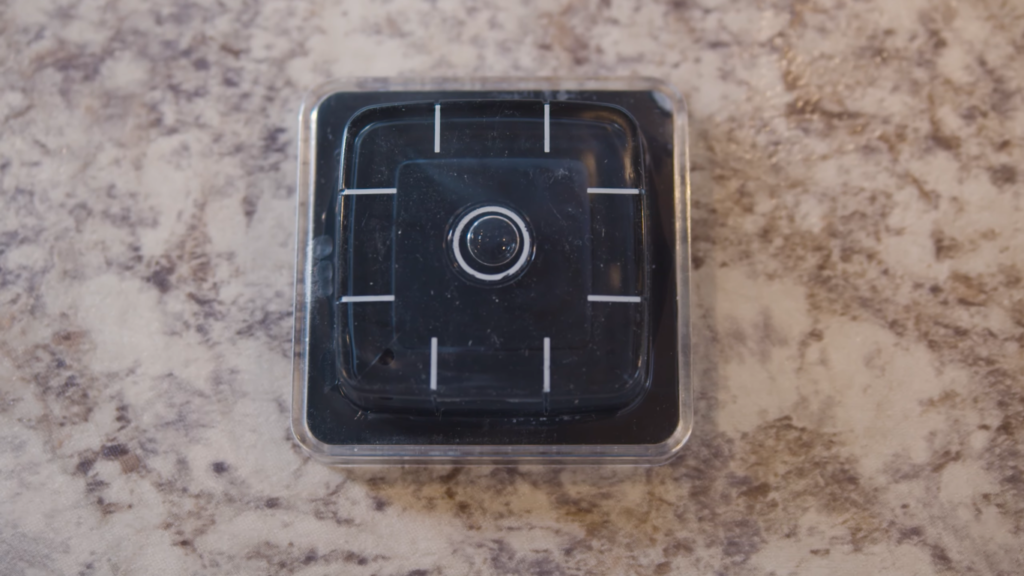
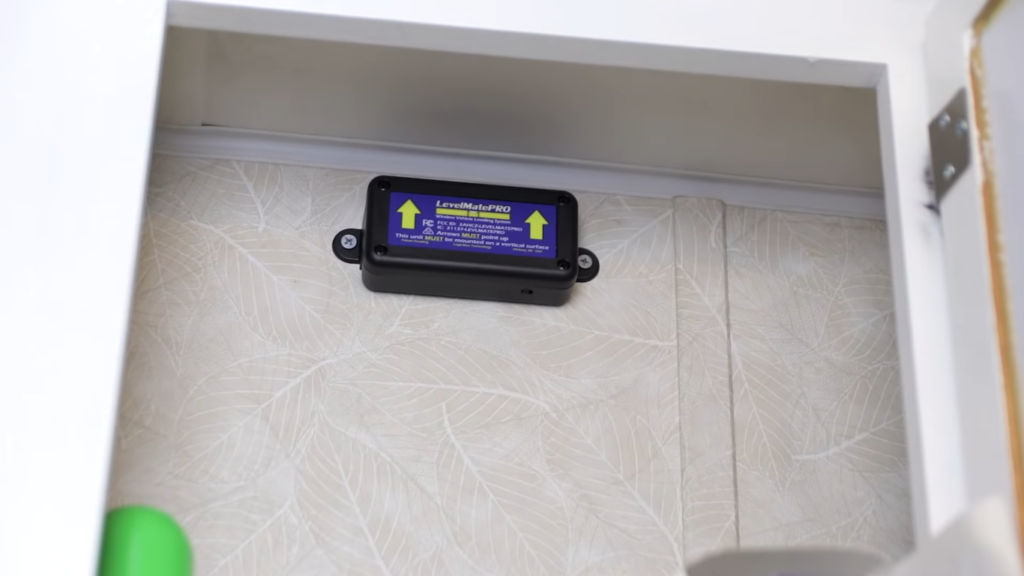
Solo Leveling: Leveling Help Using A Level Mate Pro
If you are like most RVers, you love the idea of being able to take your home on the road with you. However, one of the challenges that comes along with owning an RV is learning how to level it properly. If you have ever tried to level your RV by yourself, you know that it can be a daunting task. But don’t worry, we are here to help! In this blog post, we will answer some of the most common questions about how to level your RV and provide some useful tips to make the process easier.
So, what do you need to know about leveling your RV? First and foremost, it is important to understand that there are different types of leveling systems. The two most common types are hydraulic and electric. Hydraulic leveling systems use a series of pumps and hoses to level the RV, while electric leveling systems use a series of motors and switches.
Once you know which type of system you have, the next step is to familiarize yourself with the different parts of the system. This will make it easier for you to troubleshoot any problems that may arise during the leveling process.
The most important part of the leveling process is ensuring that your RV is level from front to back and side to side. This can be done using a variety of methods, but the most common is to use leveling blocks. Leveling blocks are placed under the tires of your RV and can be adjusted to raise or lower the RV until it is level.
Another method that can be used to level your RV is by using leveling jacks. Jacks are placed under the frame of your RV and are used to raise or lower one side at a time. This method is often used when there is an uneven surface, such as a driveway, that prevents the use of leveling blocks.
Once you have determined which method you will use to level your RV, the next step is to identify where you will place the leveling blocks or jacks. It is important to make sure that they are placed in a safe location so that they will not slip or fall over. Once they are in place, you can begin the process of leveling your RV.
The final step in the process is to check your work. Once you have leveled your RV, it is important to take a few minutes to walk around and make sure that everything looks level from all sides. If anything looks out of place, simply adjust the blocks or jacks until it is level again.
FAQ
Can You Level an RV with the Slides Out?
The simple answer is yes, you can level your RV with the slides out. However, there are a few things to keep in mind. First, make sure that all of your leveling blocks or jacks are in place and secure before you extend the slides. Second, once the slides are out, you’ll want to be extra careful not to put any strain on them – this means no sitting or standing on them, and no leaning against them when moving around inside the RV. Finally, keep an eye on the weather; if it’s windy, it’s best to leave the slides in until you’re ready to call it a day and head inside. [3]
With those caveats in mind, extending your slides while leveling shouldn’t be a problem. In fact, it can even be helpful in some cases – for example, if you need to make a minor adjustment to one side of the RV, extending the slide on that side can give you a little extra room to work with. Just use your best judgment, take things slowly, and you’ll be fine.
How do I level my RV?
There are a few different ways that you can level your RV. The most common method is using leveling jacks, which are typically operated manually or with a hydraulic system. You can also use blocks or chocks to level your RV, but this method is less common.
If you’re using leveling jacks, it’s important to make sure that they are properly positioned before you begin raising or lowering them. Once they’re in place, you can start slowly raising or lowering the jacks until your RV is level.
If you’re using blocks or chocks to level your RV, you’ll need to place them under the wheels on one side of the vehicle and then raise or lower the other side until it’s level.
How do I manually level my RV?
There are a few different ways that you can manually level your RV. The most common way is by using leveling blocks or jacks. You can also use leveling chocks, which are placed under the tires to help keep your RV level. Another option is to use a tongue jack, which is placed at the front of the RV and helps to level it from the front end. Finally, you can also use a rear stabilizer to help level your RV from the back end.
If you are using leveling blocks or jacks, you will want to place them under the wheels on either side of the RV until it is level.
If you are using a rear stabilizer, you will want to place it under the back end of the RV and slowly raise it until the RV is level. Once the RV is level, you can then move on to chocking the tires. [4]
Once your RV is level, you will want to make sure that all of your appliances are turned off. This includes your furnace, water heater, refrigerator, and any other appliances that use gas or electricity. You will also want to disconnect any hoses or cords that are attached to the RV. Once all of these things are taken care of, you can then enjoy your level RV!
Does a camper need to be perfectly level?
The quick answer is no, your camper does not need to be perfectly level in order to camp comfortably. In fact, most campgrounds are not perfectly level, so don’t worry if your RV isn’t either.
However, there are a few things to bear in mind when it comes to leveling your RV. First, you want to make sure that your RV is stable and will not rock back and forth when you move around inside. Second, you’ll want to ensure that all of your doors and windows can open and close properly. Third, if you have any slides on your RV, you’ll want to make sure they’re level so they can deploy properly.
So how do you go about leveling your RV? There are a few different methods, and which one you use will depend on your particular RV and the campground you’re staying at.
- One popular method is to use leveling blocks. These are basically small pieces of wood or plastic that you place under the wheels of your RV to level it out. You can find leveling blocks at most RV supply stores.
- Another common method is to use leveling jacks. These are metal jacks that you place under each corner of your RV and then crank until the RV is level. You can usually find leveling jacks at hardware stores or online.
- Finally, some RVs come with built-in leveling systems. These are usually electronic and can be operated with the push of a button. If your RV has a built-in leveling system, be sure to read the manual before using it so you know how it works. [5]
Are RV leveling blocks necessary?
RV leveling blocks are not necessary, but they can make the process easier and provide a more stable foundation for your RV. If you choose to use leveling blocks, be sure to select a level spot on which to place them. You’ll also want to avoid placing them too close to the tires, as this could damage your RV. [6]
If you’re just starting out with RVing, we recommend reading our comprehensive guide on how to set up your campsite. This guide covers everything from choosing the perfect spot to setting up your camp chairs and table. Trust us – it’s worth the read!
How Level Should A Travel Trailer Be?
There are a few different schools of thought on which level your travel trailer should be. Some people believe that it’s best to keep your RV as level as possible, while others say that it’s okay to have a slight incline. Ultimately, it’s up to you to decide what feels most comfortable for you and your family.
If you’re planning on doing any cooking or baking while you’re on the road, then you’ll want to make sure that your RV is fairly level. This will help ensure that your food turns out correctly.
Another thing to consider is which level your RV will be when you’re hooking it up to utilities like water and electricity. If your RV is too low, then you may have difficulty connecting to these services.
Ultimately, the best way to figure out how level your RV should be is to experiment and see what works best for you. There’s no right or wrong answer, so don’t be afraid to try different things until you find what works best for you and your family.
Is It Difficult To Level An RV Camper?
No, it’s not difficult to level an RV camper. However, there are a few things you need to know before you get started.
The most important thing is to make sure that your RV is parked on level ground. If it’s not, then leveling it will be more difficult. Once you’ve found a level spot, park your RV and set the parking brake. Then, you can begin leveling it using either blocks or leveling jacks. [7]
Useful Video: How To Level Your RV Fast And Accurate!
Conclusion
Now that you know how to level your RV, you can enjoy your next camping trip with peace of mind. Just remember to take it slow and be patient, and you’ll be able to get your RV perfectly level in no time. Happy travels!
References
- https://rvsnappad.com/blogs/news/why-you-need-to-level-an-rv
- https://blog.campingworld.com/rv-basics/level-your-rv-right-the-first-time/
- https://drivinvibin.com/2021/06/25/level-your-rv-slides/
- https://gudgear.com/how-to-level-a-camper/
- https://camperreport.com/why-rvs-have-to-be-level-and-how-to-do-it-faster/
- https://www.thervgeeks.com/do-you-need-rv-leveling-blocks/
- https://campaddict.com/how-to-level-a-travel-trailer/

Leave a Reply