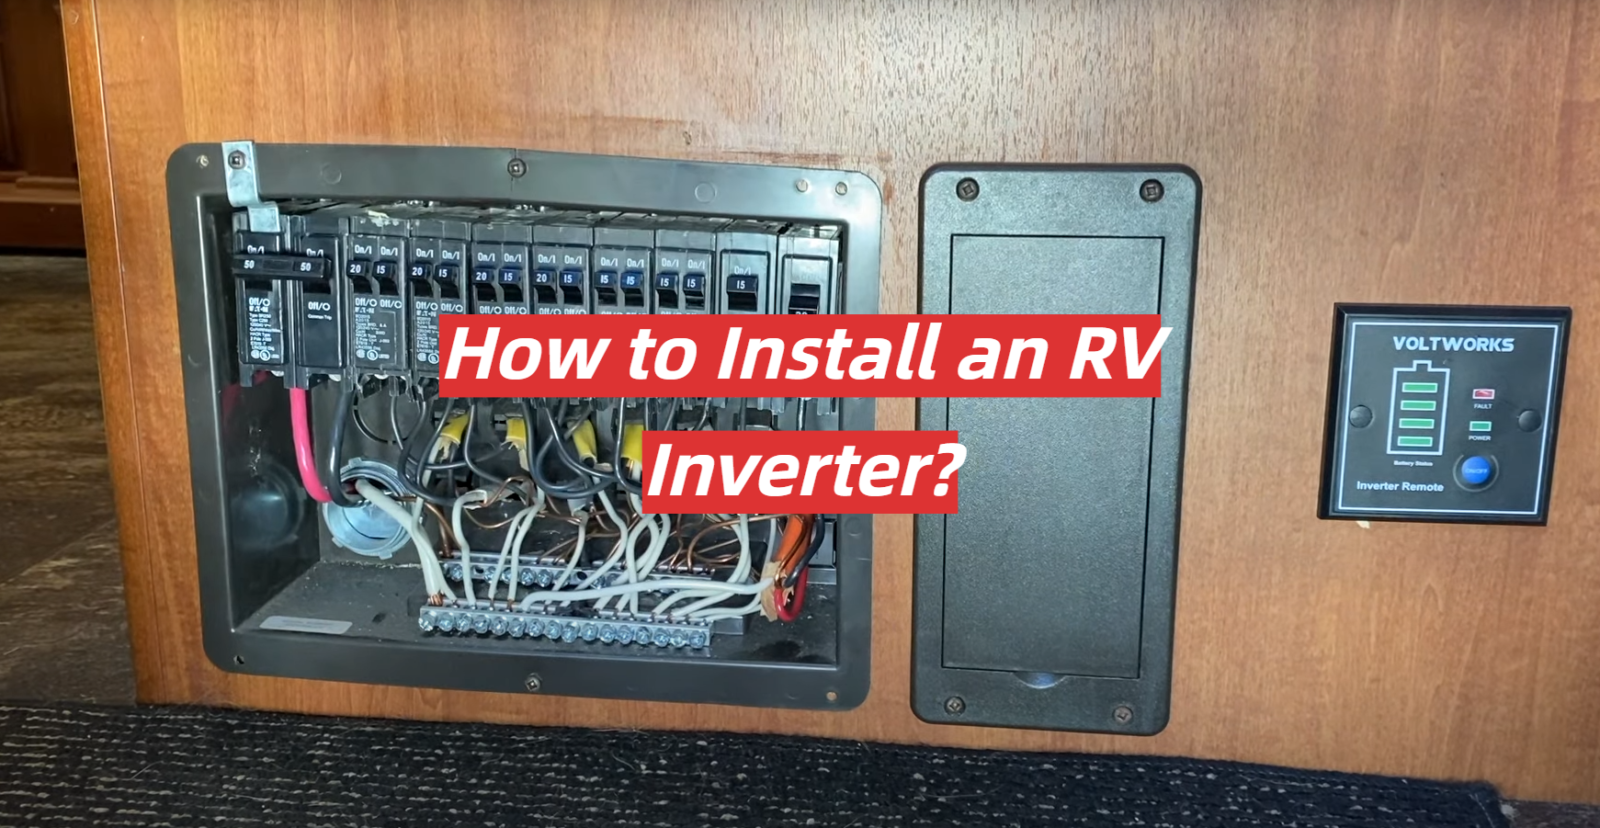
Don’t be intimidated – installing an RV inverter is a breeze with the right guidance! In this article, we will answer your questions about how to set up an RV inverter and provide useful tips for making the process smooth and effortless. We’ll also cover the benefits of having an RV inverter installed in your vehicle.
Table of Contents
Before You Start Your RV Inverter Installation
Before you start the RV inverter installation process, there are a few things to consider.
First, decide which type of inverter you need for your RV.
Generally speaking, PSW is more expensive but provides more reliable power to your RV, while MSW offers an inexpensive solution that may not be as powerful or efficient. Consider all your needs before committing to one option.
Next, ensure that your battery bank is up to the task of powering the inverter. If it’s not sufficient enough in size or age, it might be necessary to upgrade them in order to safely and reliably power the RV inverter.
Finally, check to see if you’ll need an additional transfer switch or a special wiring harness for your RV inverter installation. Some models are plug-and-play, while others require a bit more work.
Make Sure You’ve Bought A Compatible Inverter
Once you have chosen the right inverter for your RV and you’re certain it is compatible with your battery bank and wiring, it’s time to start the installation.
First, ensure that all power sources are completely disconnected from the RV before beginning work. This includes both shore power hookups as well as the batteries themselves. It’s also a good idea to place a sign on the outside of your RV warning anyone not to touch any wires or switch any breakers while you’re working inside.
Read the Manufacturer’s Manual
The next step is to read the manual that comes with your RV inverter. Familiarize yourself with the specifics of the installation process, and if anything is unclear, don’t be afraid to reach out to customer support.
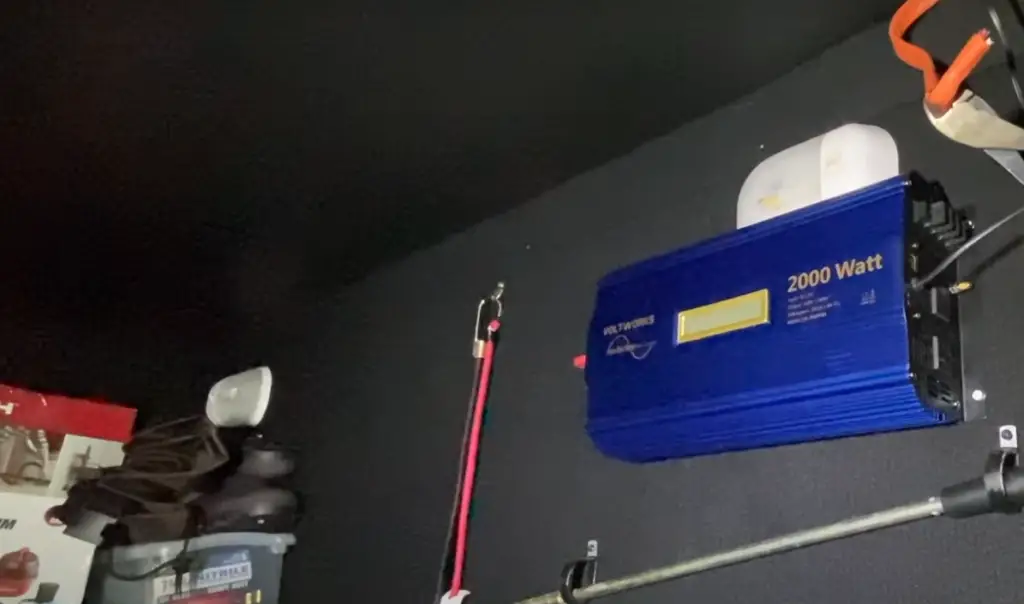
Choose A Location to Install The Inverter
Choose a location that is suitable for installing the inverter. Ideally, this should be close to your battery bank and also near a ventilation system in order to avoid overheating or other issues. Make sure there is enough space for the mounting screws and cables as well.
Grounding An RV Inverter
It’s important to properly ground an RV inverter in order to protect the electronics and yourself from potential electrical danger. The exact process for grounding will depend on the model of the inverter you have, so it’s best to consult your manual or contact a certified electrician if necessary.
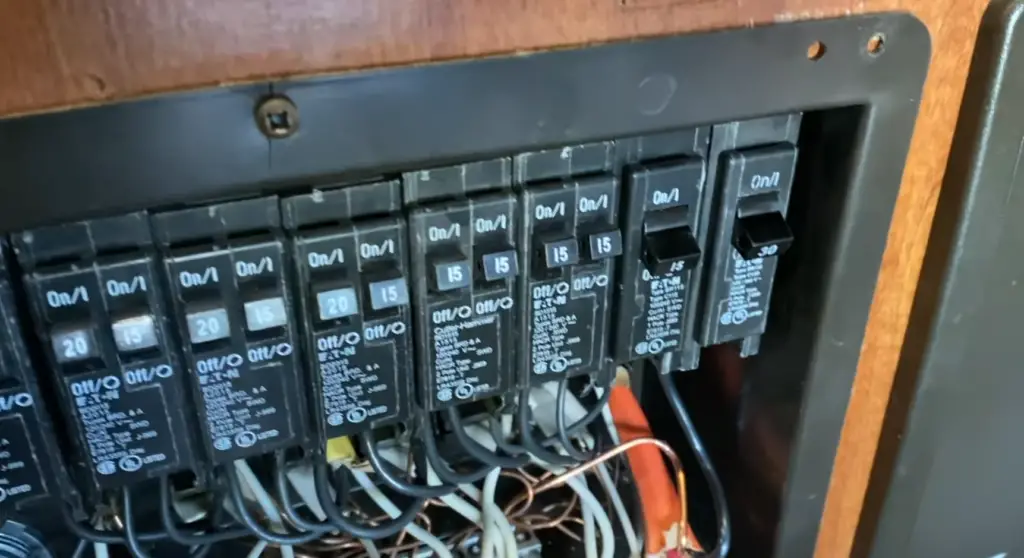
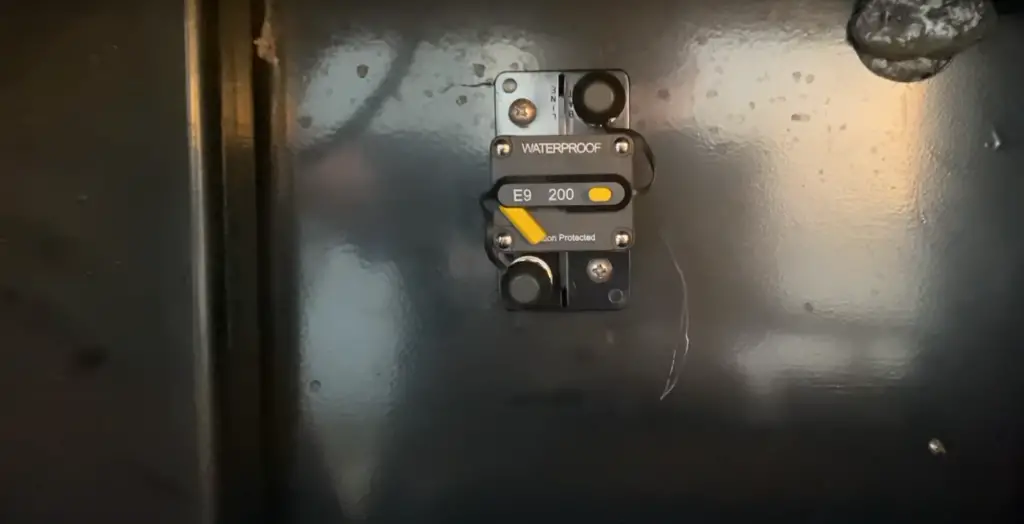
Fuses
Depending on the inverter model you have, there may be specific fuses and circuit breakers that need to be installed. Ensure that all electrical connections are properly secured before moving on to the next step.
Wire Sizes
Finally, it’s important to make sure that you are using the appropriately sized wire. Generally speaking, 8-10 gauge stranded copper wire should be sufficient, but always double check with the manufacturer’s manual or a certified electrician if necessary.
Once everything is properly installed and wired up, turn on the power switch for the inverter and test all of your connections to make sure that everything is in working order. Then, enjoy all the convenience and benefits of having an RV inverter!
Safety Tips
Whether you’re a veteran RV traveler or just getting started, it’s important to take precautions.
It’s also important to be aware of the proper wire gauge for your specific inverter; using wires that are too small could lead to overheating and fire hazard.
Additionally, never attempt to install an inverter near a heat source such as furnaces, stoves, water heaters, or exhaust vents as this can cause damage to both the appliance and your RV. When cutting or drilling holes into walls or flooring you should also be aware of any ventilation ducts that may be running through the area and avoid them as best you can. Finally, it’s always a good idea to wear safety goggles when working with electrical wiring.
Tools & Materials Needed To Install An Inverter In A Camper
Ensure you have the right tools and materials to do the job. Here’s a list of items that may be necessary for the installation:
- Cable & Wire Connectors
- Battery Interconnects
- Safety Equipment – like safety glasses, hearing protection, work gloves and insulated screwdrivers – for safe working conditions
- High quality cable and wires appropriate for your system. Make sure it is marine grade and has adequate current capacity
- Inverter with specific voltage capabilities suitable for your camper (generally 12V or 24V)
- A DC distribution panel designed for use with an inverter. This will help to safely distribute the power from your battery to your inverter
- An AC distribution panel, which will help you keep track of all your wiring connections. It should be compatible with the type of inverter you have chosen
- Surge protection devices (SPDs) – these are important for protecting sensitive electronics like TVs and computers from voltage spikes that can damage them [1]
Be sure to check the user manual for your inverter to make sure it’s properly installed. Once you have all the necessary tools and materials, you’re ready to begin.
RV Inverter Installation Methods
Once you’ve purchased your RV inverter, it’s time to get it installed. Here are two popular methods for installing an RV inverter:
Hardwiring Method – The hardwiring method is the most common option for installation and requires minimal tools. Before starting, make sure to shut off all electricity in your rig and disconnect any batteries that may be involved. This will reduce the risk of electric shock or damage to your components. Once prepped, follow these steps:
- Securely mount the inverter close to where your battery bank is located using bolts or screws (make sure it’s mounted on a flat surface).
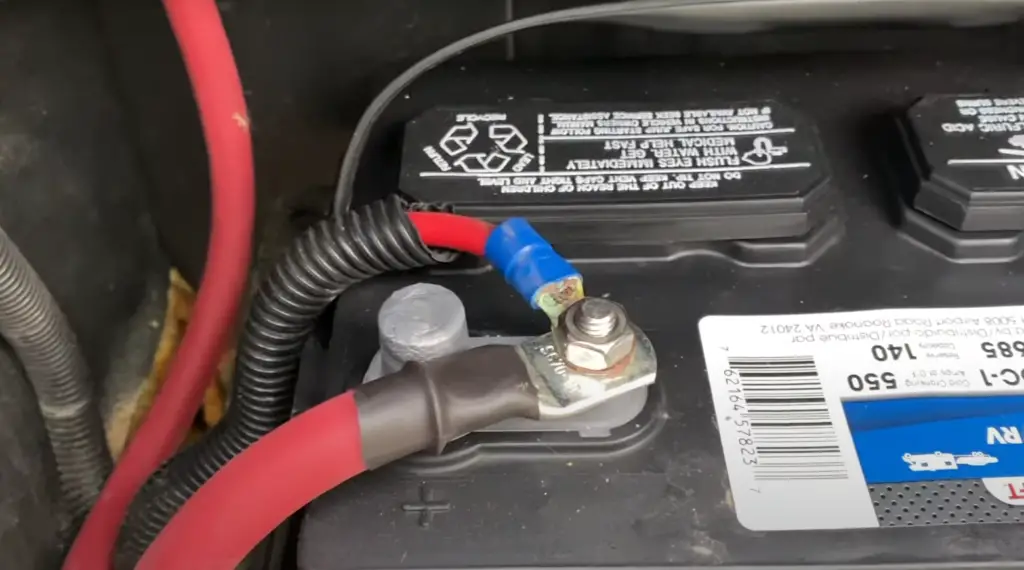
- Connect the positive and negative wires to your RV battery using the appropriate-sized ring terminals.
- Connect the ground wire to a nearby body panel or frame, then use cable clamps to secure each wire in place.
- Plug any required chargers and/or AC outlets into the inverter’s power supply outlets and turn on the switch located near the output side of the unit.
- Turn on all circuits that will be powered by this set up (your lights, TV, etc.) and you’re done!
Plugging Method – The plugging method is a simpler method of installing an RV inverter as it requires no hardwiring whatsoever. You simply plug your RV inverter into a 12-volt cigarette lighter outlet or directly into the battery itself. This method should only be used for smaller inverters, however, as larger units require hardwiring to handle the increased power load. Once plugged in, simply use the same steps listed above for testing and turning on your circuits. [2]
Installing an RV inverter is an easy process that can improve your camping experience by providing you with reliable power when you’re off-the-grid. Keep in mind though that while it may seem simple, following all safety precautions and proper installation methods is essential to ensure safe operation of your new inverter. Happy camping!
Cigarette Lighter Inverter Installation
If you are looking for an easy and inexpensive way to add a power inverter to your RV, then a cigarette lighter inverter may be the perfect option. Designed to plug into your car or truck’s cigarette lighter socket, these portable, lightweight devices can easily provide AC power right inside your RV.
Before beginning the installation of your cigarette lighter inverter in your RV, you will need to check what type of outlet is available. In most cases, the AC outlet should have three holes: one for the ground wire (green or white), one for the neutral wire (black) and one for the hot wire (red). If this isn’t the case then it’s important that you use an appropriate adapter with your cigarette lighter inverter.
Once you have confirmed the type of outlet available, simply plug your cigarette lighter inverter into the wall socket. Then connect the output cables to the appropriate DC battery or solar panel depending on what type of power source you are using. After that, all you need to do is turn on your inverter and it should be ready for use!
Installing a cigarette lighter inverter in your RV can provide you with access to AC power without having to go through the hassle of installing more permanent wiring. Keep in mind though, that these types of inverters may not always be suitable for higher wattage applications such as microwaves or hair dryers so it’s important to read the instructions before purchasing.
Installing an RV inverter does not have to be a daunting task and with the right resources, anyone can easily add power in their RV quickly and safely.
How To Install An RV Inverter
Installing an RV inverter is a great way to bring more power and convenience to your mobile home. An RV inverter provides AC electrical current from batteries, transforming DC voltage into usable AC electricity while on the road.
Before beginning installation, it’s important to familiarize yourself with the process and understand the steps involved in installing an RV inverter. Here are some tips for getting started:
- Make sure that you purchase the right size of RV inverter for your needs. You will need to know how many watts and amps you need in order to choose the right model.
- Disconnect all power sources before beginning installation. This includes any shore power or generator connections that may be present.
- Read all instructions carefully before beginning installation. Make sure that you understand the steps involved, and know how to properly wire your RV inverter into place.
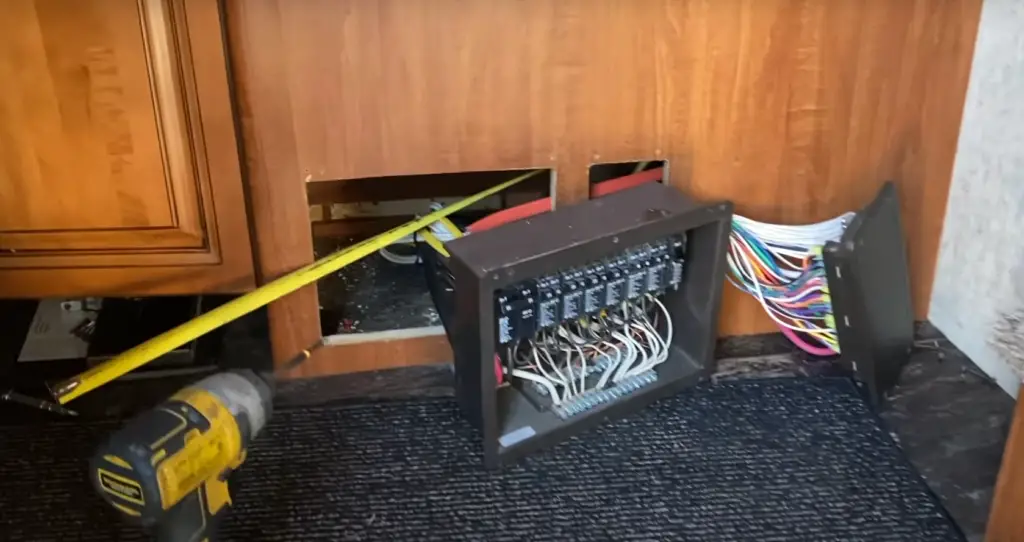
- Prepare the mounting surface for the RV inverter. This may include drilling holes or creating an opening in the side of the RV depending on where you plan to install it.
- Attach the RV inverter to its mounting surface using appropriate hardware or fasteners. Be sure to double-check all connections before powering up the unit for the first time.
- Connect all wires according to instructions and be sure that positive and negative terminals are correctly connected for proper operation of your new RV inverter.
- After all connections are made, turn on the power and test your RV inverter. Make sure that it is functioning properly and supplying the correct amount of power.
Installing an RV inverter can bring more convenience and comfort to life on the road. With a bit of preparation and careful attention to instructions, you should have no problem getting your new unit up and running in no time! So go ahead and start enjoying all the advantages of having an RV inverter today!
Using An Extension Cord With An Inverter
In some cases, you may need to use an extension cord with your RV inverter. This will allow you to plug components into it at a greater distance than the normal range of your RV inverter. When using an extension cord, there are a few things that you should keep in mind:
- Make sure that the gauge of the wire is appropriate for the power requirement of your device or component. For example, if you’re powering something that requires 10 amps of power, then make sure to use a 12-gauge wire instead of 14-gauge wire which would only be able to handle up to 7 amps.
- Choose an extension cord length and type that can withstand outdoor elements and use heavy-duty plugs on both ends. This will help protect your RV inverter, as well as the device or component you’re powering.
- Be sure to inspect all cords before each use and replace any worn or damaged wires immediately.
Using an extension cord can be a great way to get power to more remote areas of your RV, but it is important to do so safely in order to protect both yourself and your equipment.
Connecting An Inverter To AC Receptacles / Sockets
Many RV inverters have the option to connect directly to an AC receptacle or socket. This can be a great way to power devices without having to use an extension cord. But before you begin, here are some things that you should know:
- Make sure that your RV inverter is capable of powering the device or component that you want to connect it to. Some models may not support certain wattages or amperage ratings so make sure to check before connecting any components.
- Install the necessary AC receptacles or sockets in your RV before connecting any components. These should be rated for outdoor use and installed using appropriate hardware and fasteners if needed.
- Connect all wires according to the instructions provided with your RV inverter and test for proper power connections before turning on any devices.
Connecting an RV inverter directly to an AC receptacle can be a great way to quickly get power to important components, as long as it is done correctly.
This will help ensure that you get the most out of your new RV inverter and keep everything running safely!
How To Install The RV Inverter’s Remote Switch?
Once you’ve decided where to install your inverter, it’s time to connect the wiring. Start by connecting a wire from the positive terminal of the RV battery to the positive terminal on the remote switch. Then, use another wire to connect negative terminals together. Now, you can connect the remote switch in parallel with the RV battery and have it close to your inverter for easy access.
To do this, begin at the inverter’s power out connections and run a heavy-duty cable back to your remote switch location. Then, attach one end of this cable securely into its own connection block or directly onto an existing one near your inverter that may already be installed nearby. You’ll need two additional pieces of the same heavy-duty cable to make the final connection from your remote switch location back to the inverter.
Secure one end of these cables into their own connection blocks or directly onto an existing one near your switch location, and then attach the other ends into a quick disconnect block that has been mounted at the power in connections on the inverter. Finally, you can connect your remote switch wiring to this quick disconnect block by running a two-conductor wire from it down to the switch itself. [3]
Don’t forget: once everything is connected properly, use electrical tape to cover any exposed wires or terminals for safety purposes! And remember: when it comes time for maintenance, be sure to always turn off all electricity before starting. Now you can sit back and enjoy the peace of mind that comes with knowing you’ve successfully installed your RV inverter!
FAQ
How do I install an inverter in my RV?
The basic steps for installing an inverter in your RV are as follows:
- Read the instruction manual that comes with the inverter and make sure you understand how it works.
- Make sure to install the inverter in a location that is dry, well-ventilated, and away from direct sunlight to avoid overheating.
- Gather all of the necessary tools and materials and have them on hand before you begin installation. This will include things like wire strippers, heat shrink tubing, electrical tape, etc.
- Carefully measure out the cables needed for the job, being mindful to leave enough slack so they can be connected without putting stress on any of the wires or connections.
- Connect the cables to the inverter and make sure all connections are secure, using electrical tape or heat shrink tubing to protect them from moisture and dust if necessary.
- If your RV has a built-in converter, disconnect it before you install the inverter.
- Attach the inverter securely to a wall or ceiling in your RV with bolts or screws that are rated for outdoor use and suitable for its weight (depending on how heavy the inverter is).
- Double check all of your connections and make sure everything is wired correctly before turning the power back on.
- Follow any additional instructions provided with your inverter before turning it on for final testing.
Can you install an inverter yourself?
Having an inverter installed is a great way to make sure your RV has all the power it needs. However, it isn’t necessarily something you can do yourself.
If you don’t have experience with electrical work, then it’s essential that you find someone qualified and experienced, such as a certified electrician, who can install your inverter correctly and safely. They will understand the local codes and regulations so that everything is up to standard.
It’s important not to take shortcuts when installing an RV inverter as this could result in dangerous electrical problems and even fire hazards. If you’re not sure how to install it safely, then it’s best to hire a professional who can do the job correctly and safely. [4]
If you’re in doubt, give an expert a call and they will be able to advise on the right safety measures for your RV. They may also be able to provide additional advice on things like choosing the right inverter and setting up your system correctly so that it works as efficiently as possible. It pays to get everything done properly from the start!
How is an inverter wired in a RV?
Before beginning the installation, you must know how to wire an inverter in your RV. Generally speaking, it is best to use a separate circuit for the inverter and to ensure that the circuit is fused properly with a low-amp fuse. The positive wire from the battery should be connected directly to the inverter’s input terminals and then routed through a DC disconnect switch before being connected to the load side of the switch; this allows you to easily turn off power when needed. The negative lead from the battery should be connected directly to an appropriate ground point.
Once everything is wired up, double check all connections for any shorts or other issues before testing out your newly installed inverter.
Once everything is in order, turn on the inverter and test to ensure it is working correctly.
Can I plug my RV directly into an inverter?
No, you cannot plug your RV directly into an inverter. An inverter is designed to convert AC power from a standard electrical outlet into DC power that can be used in your RV. To use an inverter, you will need to first connect the input of the inverter to an external power source such as an AC outlet or generator and then connect the output of the inverter to your RV’s 12-volt DC supply or battery bank. This connection allows the inverter to be powered by the external power source, while also providing alternative AC electricity for use in your RV. It is important to note that most inverters are not intended for direct connection to a shore power source, so make sure you consult with a certified electrician for more information. [5]
Useful Video: How to Install an Inverter
Conclusion
Installing an RV inverter isn’t as hard as it seems. With the right tools, knowledge, and preparation, anyone can do it! If you have any doubts about your abilities to install an inverter yourself, consider hiring a professional or reading up on specific details of your system before attempting.
The key is to carefully research the exact components that are compatible with your RV and then make sure everything fits properly. After connecting all the wires and mounting the unit in place, you’ll finally be able to enjoy all the benefits of using an RV inverter. Good luck with your installation process!
References
- https://mowgli-adventures.com/rv-inverter-installation-guide/
- https://www.jdpower.com/rvs/shopping-guides/rv-inverter-installation
- https://www.compactrv.net/installing-an-inverter-remote-switch/
- https://www.genusinnovation.com/blogs/guide-for-installing-an-inverter-at-home
- https://www.quora.com/Can-inverter-batteries-be-charged-by-plugging-the-inverter-directly-into-a-mains-socket-with-the-batteries-connected-to-the-inverter-If-not-why