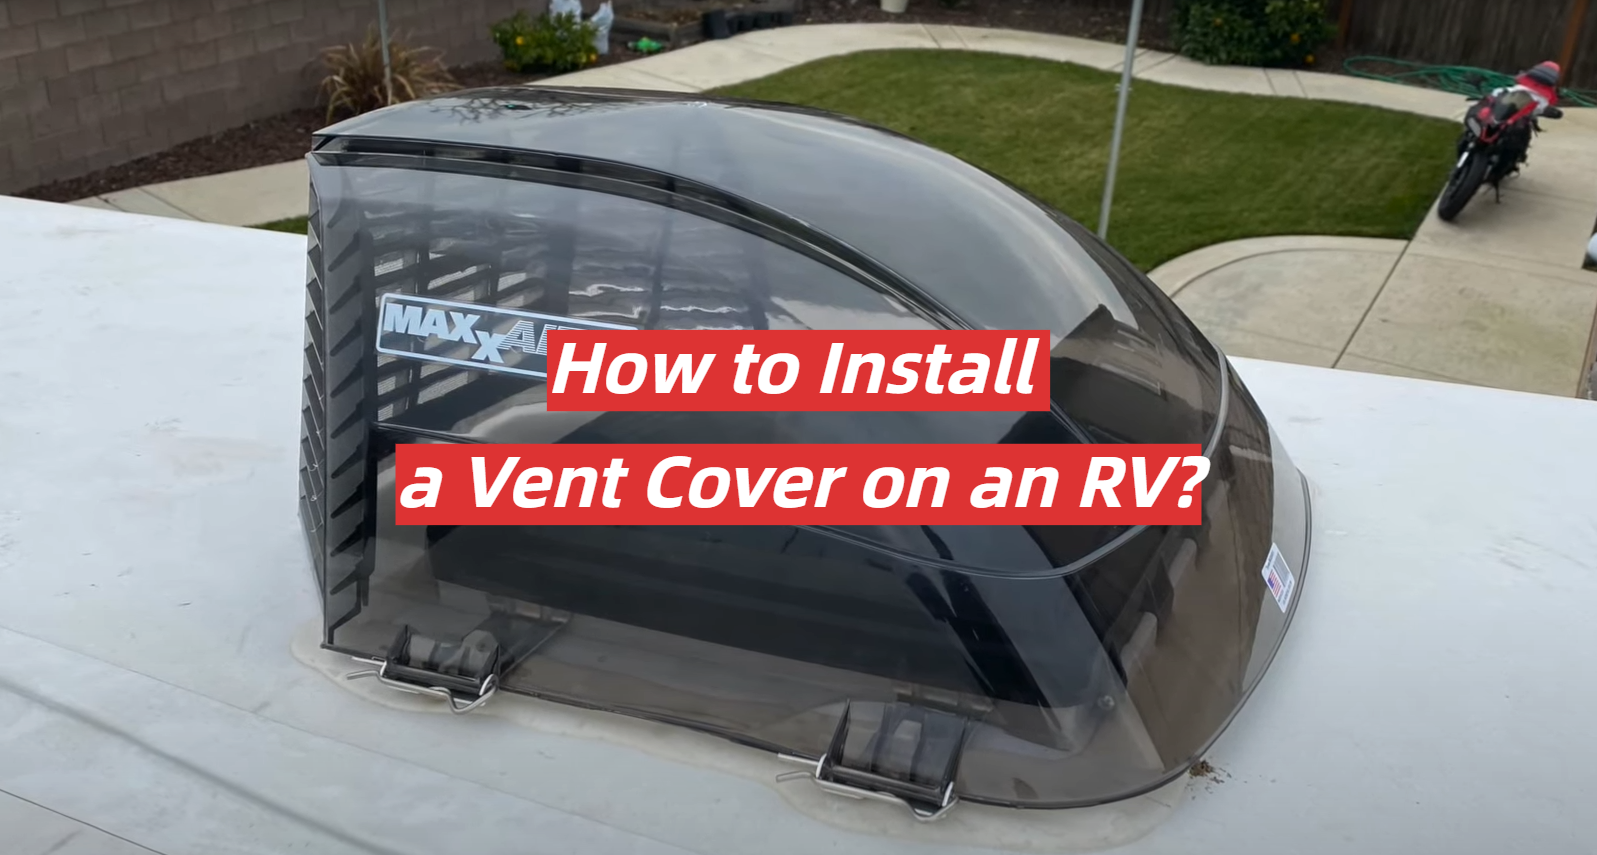
Installing a vent cover on your RV is an important step in protecting your vehicle from the elements. A vent cover will keep out rain, snow, and dirt, and it will also help to keep the interior cooler in the summer and warmer in the winter. In this article, we will provide a guide to installing a vent cover. We will answer some questions about this process, and provide tips that will make the installation process go more smoothly.
Table of Contents
Are RV Vent Covers Worth It?
They can also be used to block out light or keep wildlife out of your RV. If you’re looking for a way to make sure your RV is well-protected, a vent cover is definitely the way to go!
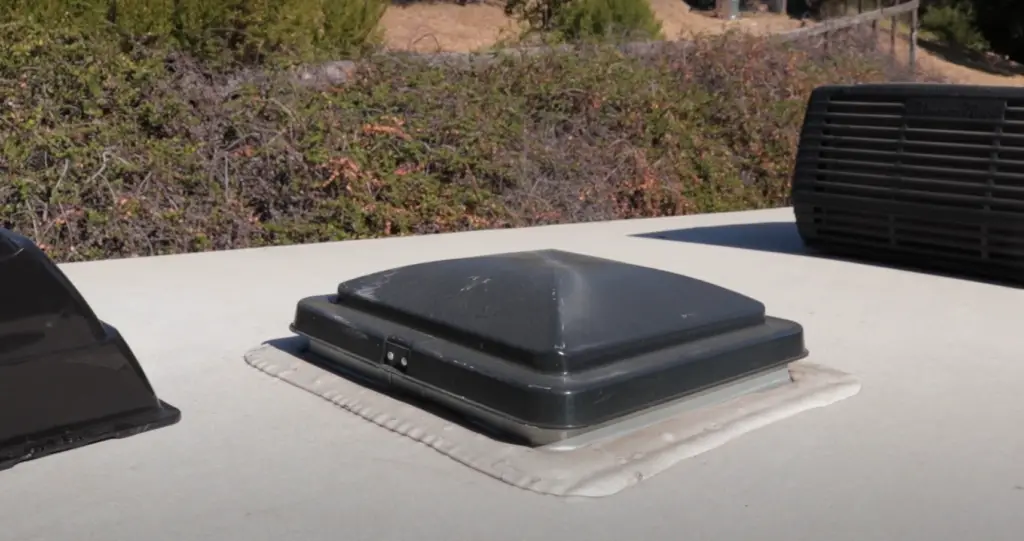
How Do You Cover RV Vents?
The best way for covering RV vents is by installing a vent cover. Vent covers are designed to prevent water and other elements from entering your RV through the roof vent. Installing one is easy and requires only a few steps:
- Measure the opening of the vent to get an idea of what size of cover you need. Typically, you’ll want one slightly larger than the opening to ensure it fits snugly.
- Secure the screws that come with the vent cover into their respective holes on either side of the vent opening. It may help to use a drill for this step if needed for maximum support. If so, ensure to use screws made specifically for metal roofs – those made for asphalt shingles will not work.
- Place the vent cover over the opening and secure it with screws or nails depending on what’s included with your specific product. Make sure to use sealant around the edges of the cover to help prevent leaks from forming in areas where water may collect.
- Once sealed, check that no light can be seen coming through any cracks or openings in the cover. If you do find any, use additional sealant until they are completely covered up and water-tight!
Are All Roof Vents the Same Size?
Roof vents come in a variety of sizes depending on the make and model of an RV. Measure the size of your existing vent to ensure that you are getting the right size. If you can’t get accurate measurements, it may be better to purchase a universal-sized cover designed to fit most RVs.
How Do You Install an RV Vent Cover?
What You’ll Need
If you want to put up a vent cover in your RV, ensure that you have the following supplies with you:
- The vent cover itself
- Screwdriver/screw gun and screws
- A ladder or step stool (if necessary)
- Silicone sealant [1]
Choosing the Right RV Roof Vent
Vent covers come in various sizes and materials, so selecting one that fits securely on your RV is paramount. Vinyl covers are lightweight and cost-efficient while aluminum ones typically provide superior air flow control. Additionally, there are snap-on covers that can be easily removed when needed. No matter which option you choose, ensure the cover fits snugly against the edges of your RV’s vent opening to prevent outside elements from entering your vehicle.
Measure Roof Vent Opening
The measuring helps determine the size of cover you need for your vehicle. Measure the length and width of the opening with a measuring tape or ruler to ensure an accurate fit.
Measure Garnish Size
The garnish is the trim piece that fits around the opening of your RV’s vent. Measure the length and width of your garnish to ensure you select a cover with compatible dimensions.
Select Vent Options
Now it’s time to choose a vent cover. Depending on your needs, there are various options from which you can choose. If you prefer a lightweight cover with easy installation then vinyl covers may be ideal for your RV. On the other hand, if air flow control is important then aluminum covers typically provide superior performance. Once you’ve selected the type of cover that is best suited for your vehicle, make sure to properly measure it against the dimensions of your RV’s vent opening and garnish before making a purchase.
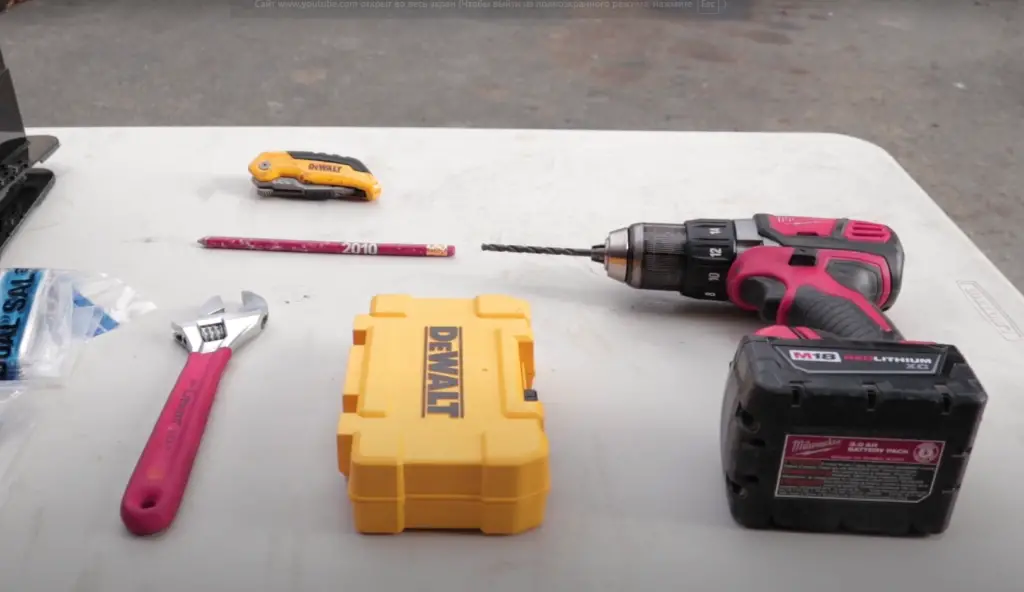
Installing the RV Roof Vent
Once you have chosen and purchased the right size vent cover, it’s time to install it.
First things first – make sure that the surface of your RV’s roof is clean. Any dirt or debris will prevent the sealant from adhering properly which can lead to future problems. If needed, use detergent and water to give the area a good clean before beginning installation.
Next, take some measurements in order to find out the quantity of sealant you will need for proper coverage of the vent cover and its surrounding area on your RV’s roof. Also, if you are using self-tapping screws to secure the vent cover, ensure you know where on your RV’s roof they will need to go.
Once everything is measured and prepared, it’s finally time to install. Start by applying the sealant to the underside of the vent cover as well as the rooftop around the hole for it. Carefully place the vent cover over the hole and press down firmly; check that it is level before continuing. If screws are being used, now is the time to secure them in place with a screwdriver or electric drill.
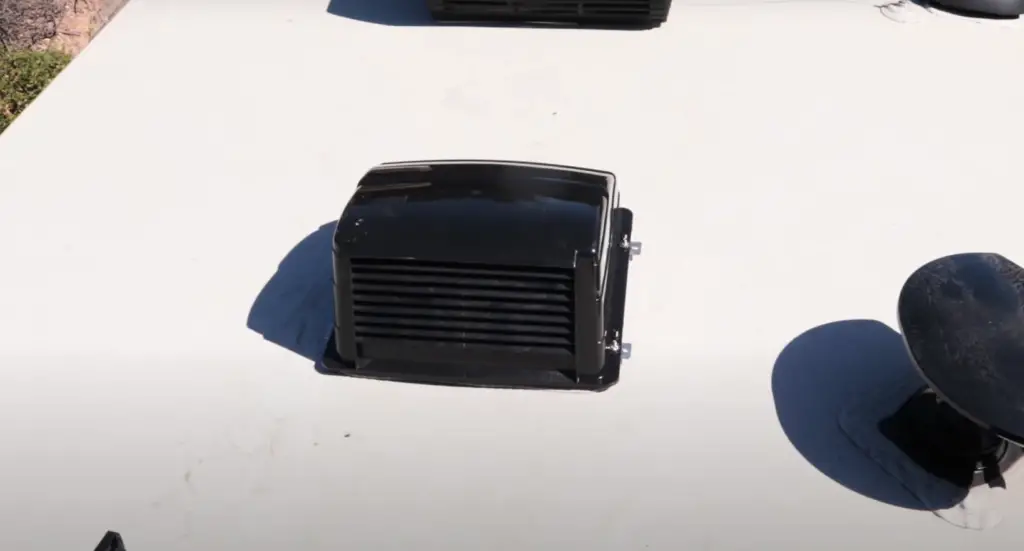
Remove Old Garnish or Cut New Opening
If you opt for the latter, measure twice and mark your lines with masking tape before cutting. This will help ensure the hole is the right size for the vent cover, as well as protect your RV’s surface from damage. Cutting with a jigsaw is the best bet for this task as it will make clean and accurate cuts without ruining the integrity of your RV’s roof.
Remove Putty and Old RV Roof Vent
Carefully scrape up any excess sealant and once all of it has been removed, use a blade screwdriver to loosen the screws holding the cover in place before carefully taking it off.
Remember to take your time and be precise with measurements, as this will ensure that installation goes smoothly and that your RV is kept safe from any potential damage.
Insert and Seal New RV Roof Vent
First, you will need to insert the new vent cover into the hole cut in your RV’s roof.
Next, use sealant to seal the edges. Use a putty knife to smooth out any excess sealant and ensure that it adheres properly. Finally, if you use screws, secure them with a screwdriver or electric drill.
You can now enjoy the benefits of a well-sealed vent cover, protected from the elements and helping to ensure that your RV remains structurally sound.
Insert New Garnish
If the vent cover you purchased came with a garnish or trim, you will need to install it. This is done by placing the garnish over the vent cover and securing it with screws. Make sure that it is aligned properly before firmly pressing down and securing it in place with screws.
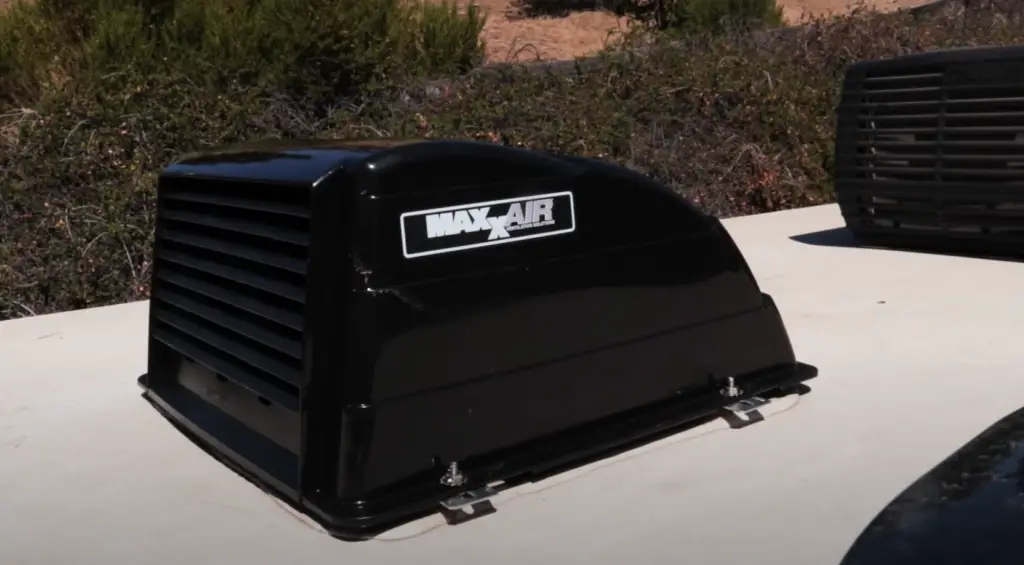
Once installed, apply sealant around all edges of the garnish and smooth out any excess with a putty knife. This extra step will help ensure that your RV’s roof is properly sealed and protected from water damage. [2]
FAQ
How do you install an RV vent cover?
Installing a vent cover is an easy and straightforward undertaking that can be completed within 60 minutes, regardless of skill level. Here’s what you’ll need to do:
- Start by finding the right size of vent cover – you’ll want one that fits properly and securely.
- Next, clean off any dust and dirt from around the vent opening using a rag or paper towel for best results.
- Take the vent cover and position it over the opening making sure it is flush against the roof line and wall of your RV with no gaps between them.
- Secure the vent cover into place by screwing in four screws (or more depending on your type of vent). Be sure that all screws are tightly secured and check around the vent to ensure a tight fit.
- Lastly, apply an RV sealant around the perimeter of your vent cover for extra protection against water leakage and to help keep the cover securely in place. [3]
How do you replace an RV vent cover?
You’ll need some basic tools and materials such as a screwdriver, drill, screws, putty knife and sealant.
First, start by removing the old vent cover. Unscrew any existing screws or nuts that are holding the cover in place. Then use a putty knife to loosen any caulking around the edges of the cover. Once everything is removed from the opening, you can slide out the old vent cover and discard it.
Next, measure your replacement vent cover for accuracy and fitment purposes. Make sure that it’s at least as wide as your opening so that there won’t be any gap when it’s installed.
Now, it’s time to install the new vent cover. Apply a thin layer of sealant around the edges of the opening and then slide in the replacement cover. Ensure that it fits properly and is flush against the wall or roof surface.
Next, use screws or nuts. Drive in one screw at each corner of the vent cover, and then two or three more spaced evenly around its perimeter. Once all of your screws are tightened down, you can go back over them with sealant for extra protection from moisture buildup.
Finally, inspect your work to make sure there aren’t any gaps between the wall/roof and the vent cover itself where air or moisture could enter. If everything looks good, you’re finished!
How do you install a roof vent on an RV?
There are some key steps you should follow to ensure success. The first step is to measure the size of the existing vent or the space for which you’re installing a new vent. This will help you select the correct size of the replacement vent cover.
Next, you’ll need to remove any screws holding the old vent in place and then unscrew and remove it from your RV. With the old vent out of the way, use sealant tape or silicone caulk to create a watertight seal around where your new vent will go. Once that’s done, use screws to secure your new vent cover in place. Be sure to use screws that are strong enough for the job and make sure they’re all tightened securely. [4]
Finally, you’ll need to seal up any gaps or cracks around the vent cover with additional silicone caulk or sealant tape. This will ensure that your new vent cover is watertight and ready for use. Once everything is sealed and secured properly, simply replace the insulation padding under the vent cover if necessary and put back any trim pieces (for aesthetic purposes). With these steps complete, your RV should be good to go with its new roof vent!
Are RV vent covers worth it?
Absolutely! RV vent covers are perfect to protect your vehicle from the elements. Not only do they keep out rain, snow, and dirt, but they also help you maintain consistent temperature levels in your RV by providing insulation against extreme temperatures. They can help reduce condensation inside the vehicle as well, which can cause damage over time. Installing a vent cover is an easy, affordable addition that can have a big payoff when it comes to protecting your RV and keeping it comfortable year-round.
How do RV vent covers work?
They act as a barrier between the inside and outside of your vehicle, blocking out wind, rain, snow, debris, and other unpleasant weather conditions. Installing a vent cover can also help reduce drafts and conserve energy, saving you money in the long run.
Useful Video: Vent Cover, Two Ways to Install
Conclusion
Installing a vent cover on an RV is not hard, it just requires some preparation and the right tools. Be sure to measure your vents to get the correct size of the vent cover you will need, as well as taking note of any obstacles in the way like switches or light fixtures that may be blocking your installation path. Have patience and take your time when installing and you should have no issues getting a snug, secure fit for your new vent cover. Happy camping!
References
- https://www.thervgeeks.com/how-to-install-an-rv-roof-vent-cover/
- https://www.etrailer.com/faq-replace-install-rv-roof-vent.aspx
- https://blog.campingworld.com/rv-basics/how-to-install-an-rv-roof-vent/
- https://nationaltrailerparts.com/2020/09/16/rv-roof-vents-how-to-install-a-roof-vent/

Leave a Reply