Table of Contents
Quick Guide
Step One: Clean out the drain pan. This is usually where all of the water goes when it rains and sometimes leaves a pool of water in your RV. Use a hose to clean this area out as best you can, making sure not to damage any part of your RV or air conditioner while doing so.
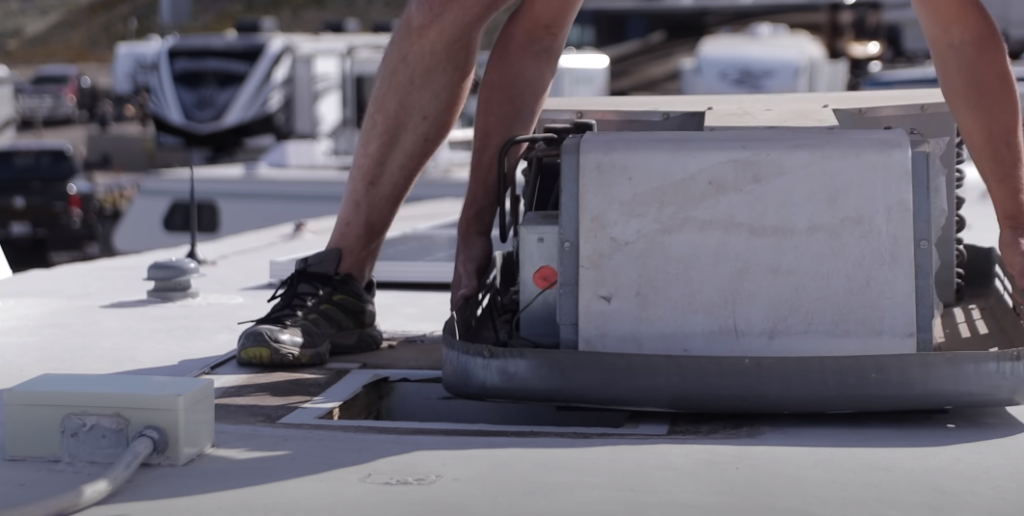
Step Two: Exchange gaskets on parts that may be leaking from inside the unit. These are normally found near joints like elbows or other areas where there might be some sort of sealant used already by manufacturers. If these leaks continue, then more work will need doing, but replacing these gaskets could do them for now with minimal effort required.
Step Three: Check all cracks around vents outside and inside the RV and make sure they are clear of any obstruction. These can come from debris or other things that may be blocking the airflow.
Step Four: Check your vents to see if anything is obstructing them, like leaves or dirt, which could restrict airflow into the system. Remember not to clean with a hose as this could damage delicate parts inside the unit so take care when cleaning these areas out yourself using just water and a rag instead.
Step Five: Check for roof deterioration. If the roof is really bad, this can cause leaks, so make sure that you check and repair any damage.
Step Six: Check for a broken drain valve or other parts of your system which could have been damaged from water intrusion. This will require some more extensive repairs, but if it just needs new gaskets, these can be replaced easily enough to avoid future issues with leaking air conditioners when it rains outside.
On top of fixing them yourself, many companies like Roto-Rooter offer professional services in repairing RV air conditioner leaks when it rains! These guys do all sorts of different things, including plumbing work too, so they’re worth checking out if you need help fast!
How to Inspect RV Roof?
Start by checking the roof for any visible damage such as holes, wear, and tear, or cracks. If you find a defect on your RV’s rooftop, then it should be repaired immediately to avoid further leakages.
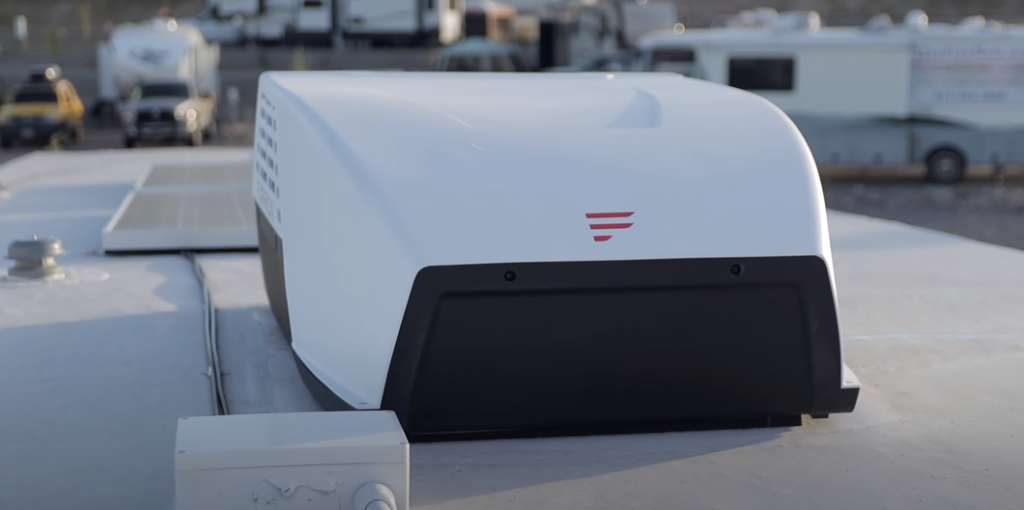
Checking for leaks inside the RV is not that difficult either (but make sure that water does not enter). Just look out for wet spots on carpets or upholstery, foggy windows in the driver area, and the middle console near the passenger seat. Then check underneath cabinets, drawers, or appliances if there are signs of moisture, too – this way, you can take care of minor repairs before they turn into bigger problems with time!
Useful tips to Prevent RV Air Conditioner Leakage
- Close windows and vents to keep moisture out
- Clean the condenser coils with a garden hose or pressure washer once per year for best performance
- Use a window air conditioner with water and moisture protection built-in
- Get an RV A/C cover to keep it dry when not in use
- Check your existing warranty for details on coverage of repairs if you experience leaks during the rain or have any other issues
- Install a drip pan underneath the unit. The condensate will collect there instead of leaking out onto carpeting or other surfaces below the A/C unit, which can lead to mold growth and damage from standing water exposure over time not good!
- Some models come as low-profile units that are designed specifically for outdoor installation; they’re also more affordable than traditional rooftop units, so they may be worth considering if space is tight within your RV’s living quarters
FAQ
What happens when your air conditioner leaks water?
When an air conditioner leaks water, it can cause a variety of problems. It’s important to quickly take care of the leak so that you don’t have mold or damage from standing water buildup on your roof and walls.
The first step is to make sure the drip pan underneath the unit doesn’t need emptying; if there’s just a small amount, then remove as much as possible with an old newspaper or some other absorbent material before continuing. If not, fill up any empty containers in order to catch dripping condensate without making contact with anything else (this includes metal, which could rust).
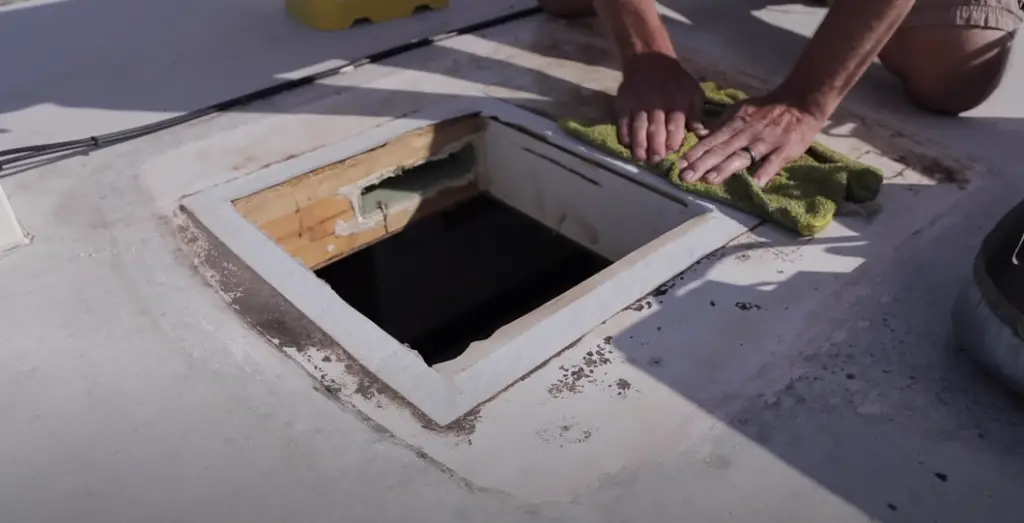
Air conditioning units are often very expensive pieces of equipment when purchased new so having one that has leaked out its coolant should be a top priority. If you have a leak, and it’s not too severe (such as if the coolant is leaking out of the pipe or seal), then there are some repairs that can be done to fix this problem; however, many leaks will require entire replacement of parts and/or refrigerant gas.
When replacing air conditioning units, always make sure you replace indoor coils with ones that match your system type. In addition, installation should only ever happen inside of buildings, never on concrete slabs or in any other area exposed to moisture.
The number one cause for an outdoor unit coil failure is condensation buildup due to exposure to rainwater. When installing an AC outside, install a drip pan underneath it so no standing condensate.
How do you reseal an RV air conditioner?
To reseal the unit, you’ll need to use an RV air conditioner sealant. Spread a thin layer over all of the joint seals and let it dry for at least 24 hours before using your A/C again.
Don’t worry if there are any drips or pooling; once dried, most sealants can be simply wiped away with a clean cloth dipped in water.
Should I turn off my RV air conditioner if it’s leaking?
It’s always best to turn off your A/C if it is leaking, but try and keep the cooling power on. This will help cool down your RV before shutting off the unit completely, as well as any other devices that may have been overheating due to their proximity to the leak.
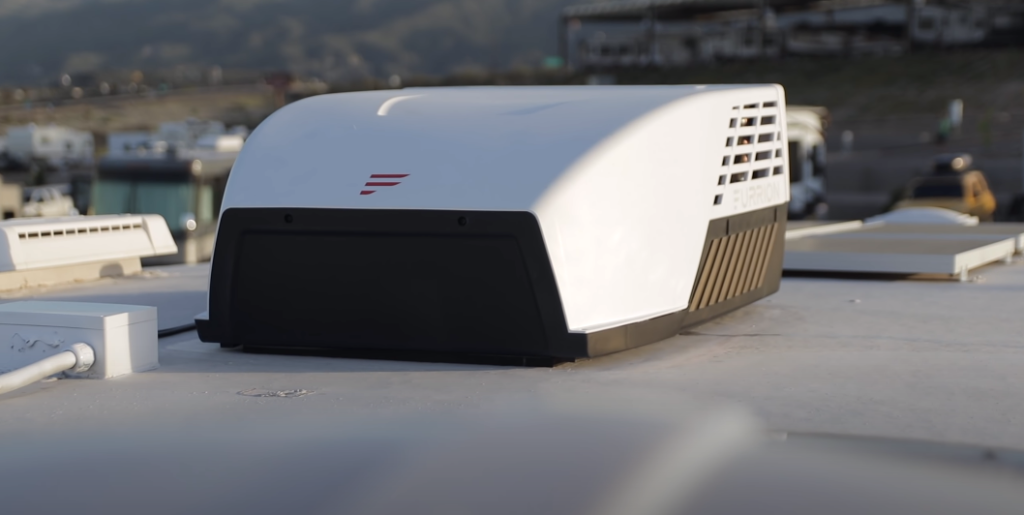
Because a lot can happen in an hour or so, we recommend turning off your air conditioner after about 20-30 minutes (depending on where you are) of pouring water into the leak for this reason.
If you do not want to shut off all of its power, just unplug everything else from inside first, including such components as TVs, laptops, etc. Once these devices are turned fully “off”, they will not be affected by the leak.
How tight should RV AC bolts be?
In brief, you want to tighten the bolts a little bit at a time and measure the acoustics as you go. The goal is to have no rattling or buzzing sound when shaking your RV’s AC unit with its power turned off. A lot of people make this mistake: tightening them all too much right away without measuring first!
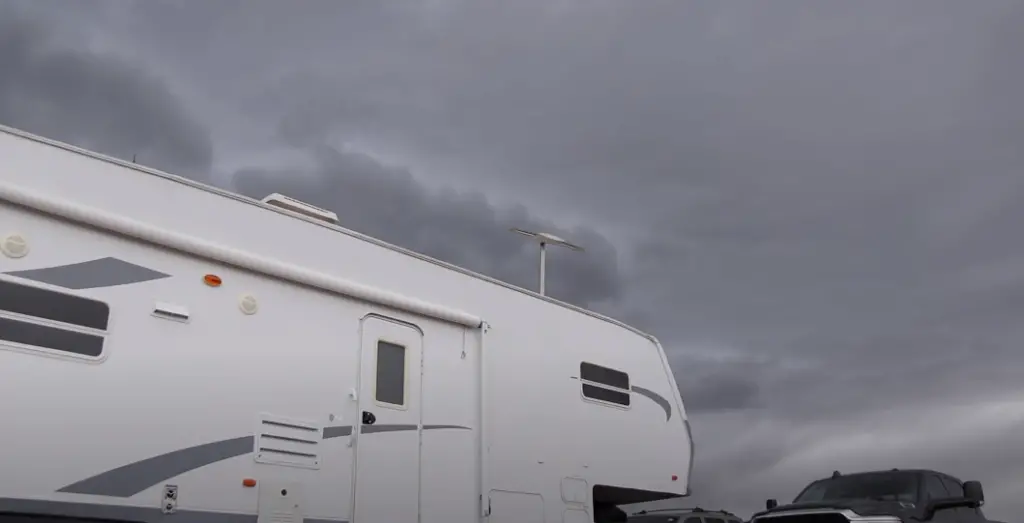
The last thing that would be nice for us as campers in an RV during hot weather season is to waste our energy on excessive noise coming from our air conditioner due to improperly tightened down bolts. However, our units are already tremendously expensive enough- so it doesn’t need any additional (waste) spending money because we were not careful about how tight they should be after installation!
How do you install a Coleman RV air conditioner?
For the most part, Coleman has a fairly simple installation process. You’ll want to remove any debris from around the unit and verify that there’s enough room for it with sufficient clearance on all sides. A few screws will hold your new air conditioner in place atop the metal bracket provided by Coleman. The only thing you need to do is run power into it using the pre-installed wire leads or an extension cord if necessary (Coleman provides one). When installing an extension cord, be sure to use heavy-duty cords so they can withstand anything Mother Nature throws at them! Be extra careful when plugging things in because water likes electricity about as much as people like spiders.
How do you remove an RV air conditioner?
Step-by-Step Instructions:
- Turn the power off and unplug the RV from shore power.
- Remove any debris that may be present on or near your air conditioner’s mounting bracket.
- If applicable, disconnect all wires from the old AC unit, including those leading to an external extension cord.
- Remove the old air conditioner from its mounting bracket.
- Install the new AC unit onto your RV’s roof, following manufacturer instructions for positioning it securely to avoid leaks when it rains.
How do I clean the drain pan on my RV air conditioner?
The drain pan is the metal tray that your RV air conditioner’s condensation drains into and then collects. It can get clogged with leaves, debris, dirt, or other items from the ground outside of your RV. Before you start fixing leaks in an area near it, make sure to clean out any clogs first! To do this:
- Remove the access panel for the fans on top of your unit – remove all screws holding them in place (usually there are four)
- Use a vacuum cleaner attachment to suck up anything inside still
- Spray down with soapy water and scrub away at any residue leftover
- Rinse with water and dry off
- Replace the access panel
How do you know when your RV air conditioner needs to be repaired or replaced?
There are a few signs that you can look for that will let you know when your RV air conditioner might need some attention. If your unit isn’t cooling the RV like it used to, if it’s making strange noises, or if ice is building up on the coils, then it’s time to take a closer look.
If you’re not sure what might be wrong, or if you don’t feel comfortable tackling the problem yourself, then it’s always best to take your RV to a qualified technician. They can quickly diagnose the problem and get your air conditioner running like new again.
Is there a sealant that can be used to temporarily fix an RV air conditioner leak?
There are a few sealants on the market that can be used to temporarily fix an RV air conditioner leak, but it’s important to note that these are only meant as a temporary fix. If you have a leaking air conditioner, it’s best to take your RV to a qualified technician and have them repair or replace the unit. Trying to patch up the problem yourself could result in further damage, and it’s not worth the risk.
Should I take my RV to a mechanic if it leaks during rainstorms?
If you notice that your RV is leaking during rainstorms, then it’s best to take it to a qualified technician and have them take a look. It could be something as simple as a loose sealant that needs to be reapplied, or it could be a more serious problem. Either way, it’s best to let a professional handle it so that you can avoid any further damage.
How can I prevent my RV air conditioner from leaking when it rains?
There are a few things that you can do to help prevent your RV air conditioner from leaking when it rains. First, make sure that the unit is properly sealed and secured. Second, keep the area around the air conditioner clear of debris so that water can drain away from the unit. And finally, if you know that bad weather is on the way, take steps to protect your RV by covering it or parking it in a garage or under a carport.
Where is the drain pan on my RV air conditioner?
The drain pan on your RV air conditioner is located under the unit. It’s important to keep the area around the drain pan clear of debris so that water can properly drain away. If you notice that water is pooling in the drain pan, or if it’s overflowing, then it’s time to take a closer look at your air conditioner and see what might be causing the problem.
How do you test a condensate drain line?
To test your condensate drain line, start by pouring a few gallons of water into the unit. Then, turn on the air conditioner and let it run for a few minutes. After a few minutes have passed, check the drain line to see if any water is draining out. If not, then there might be a blockage somewhere in the line.
Is bleach or vinegar better for AC drain lines?
There’s no need to use bleach or vinegar in your AC drain line – plain water will do the trick. If you notice that water isn’t draining properly, then it’s time to take a closer look at the line and see if there’s a blockage somewhere. Once you find the blockage, you can clear it away and restore proper drainage.
Can I use Flex Seal on my RV roof?
Flex Seal can be used on RV roofs, but it’s important to note that it’s not a permanent solution. If you have a leaking roof, it’s best to take your RV to a qualified technician and have them repair or replace the unit. Trying to patch up the problem yourself could result in further damage, and it’s not worth the risk.
How often should an RV roof be resealed?
It’s generally recommended that you reseal your RV roof every three to five years. However, if you live in an area with extreme weather conditions, then it’s a good idea to have it done more frequently. Resealing your roof will help to prevent leaks and prolong the life of your RV.
There are a few different types of sealants that can be used on an RV roof, but silicone is generally considered to be the best option. It’s important to note that you should only use a sealant that’s specifically designed for RVs – using a regular household sealant could void your warranty.
How much does it cost to seal an RV roof?
The cost of sealing an RV roof will vary depending on the size of the RV and the type of sealant that you use. Generally speaking, you can expect to spend anywhere from $100 to $500 on the project. However, if you have a large RV or if you live in an area with extreme weather conditions, then it could cost even more.
Related Reviews:
- Quietest RV Air Conditioners
- Best Portable Air Conditioners for RV
- Best Generators for RV Air Conditioner
Related Video: How To Fix A Leaking Camper Air Conditioner?
Final Words
There’s no need to worry about living in an RV that is hot! Hopefully, this article has helped you identify what needs fixing with your current cooling system and how to go about repairing it. We hope these tips come in handy next time a downpour or storm is passing through town!



Leave a Reply