Are you a proud owner of an RV? Whether you’re a seasoned road-tripper or new to the world of recreational vehicles, you know that keeping your RV in tip-top shape is crucial for a stress-free adventure. One of the most important maintenance tasks you need to master is blowing out the water lines with an air compressor. Don’t worry, you don’t need to be an expert handyman to tackle this job! This blog post will guide you step-by-step on how to effectively use an air compressor to ensure your RV’s water lines are properly prepared for the upcoming season. So, grab your tool belt and let’s get started on keeping your beloved RV ready to hit the road whenever you desire!
Table of Contents
Why do you need to blow out RV water lines with an air compressor?
Blowing out your RV water lines with an air compressor is an essential step in winterizing and maintaining the plumbing system of your recreational vehicle. By using an air compressor, you can effectively expel any residual water from the pipes, preventing freezing during the cold winter months. This process not only safeguards your plumbing system from potential damage but also helps to remove sediments such as rust or calcium build-up that can accumulate over time. By keeping your pipes clean and clear, you ensure optimal water flow and minimize the risk of clogs or blockages.
In summary, taking the time to blow out your RV water lines using an air compressor offers multiple benefits. It protects your plumbing system from freezing, clears out sediments, and helps detect and fix any leaks. By incorporating this simple yet crucial step into your winterization routine, you can ensure the longevity and efficient operation of your RV’s plumbing system.
Overall, RV maintenance is critical to keeping your recreational vehicle in good shape for years to come. Taking the time to blow out your water lines with an air compressor will not only help to winterize your RV, but it can also help to preserve the plumbing system and detect potential problems before they become more serious. By investing in regular maintenance checks and air compressor blow-outs, you can ensure that your recreational vehicle remains a reliable and enjoyable part of all your adventures [1].
What do you need to blow out your RV water lines?
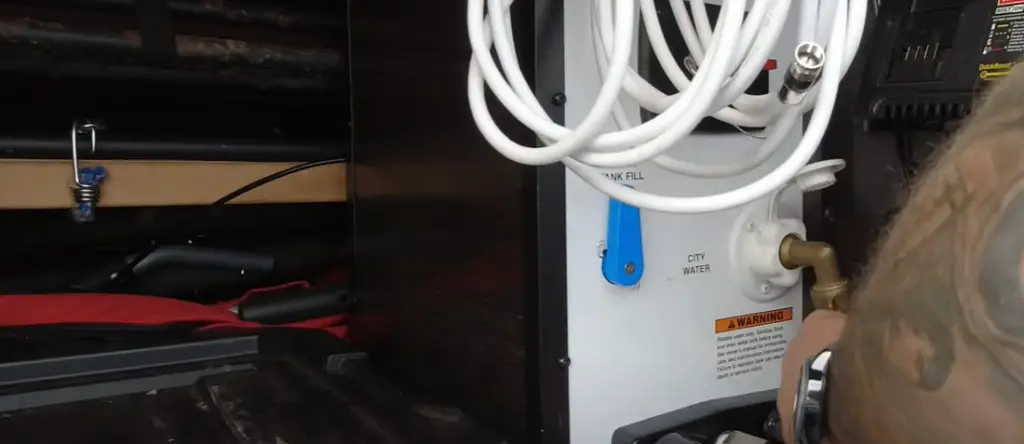
If you want to successfully blow out your RV water lines and ensure they are ready for winter, it is crucial to have the right supplies on hand. You will need an air compressor with a suitable hose and adapter, along with some RV antifreeze.
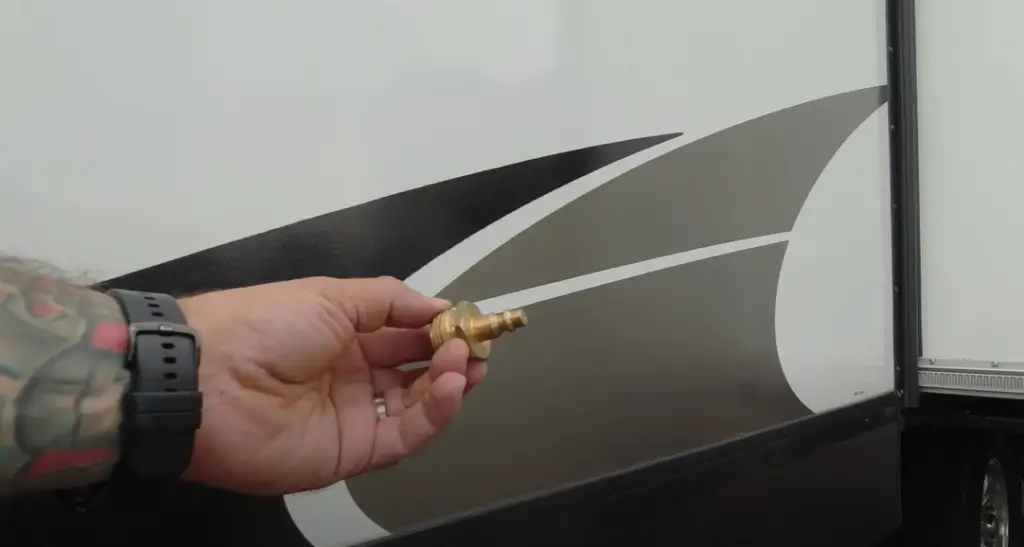
The air compressor is the most important part of this process. It should have enough pressure to effectively blow out all the water lines in your RV, which is usually between 80 and 90 psi. Additionally, you will need an adapter that fits securely onto the air compressor’s output port and can attach to the various water ports on your RV.
with two gallons of fresh water before adding it to each line and port in your RV.You will also want to purchase some RV antifreeze, which is designed to be non-toxic and safe for all types of RV water systems. This will help prevent the pipes from freezing during cold winter months. When blowing out your water lines, it is best to mix a cup of RV antifreeze
The adapter and antifreeze are essential to the maintenance of your RV water lines. Be sure to get the proper supplies before beginning this process, as it will make the job much easier and ensure that all the lines in your RV are properly prepped for winter. With a bit of preparation and attention, you can rest assured that your RV is ready for whatever Mother Nature has in store [2].
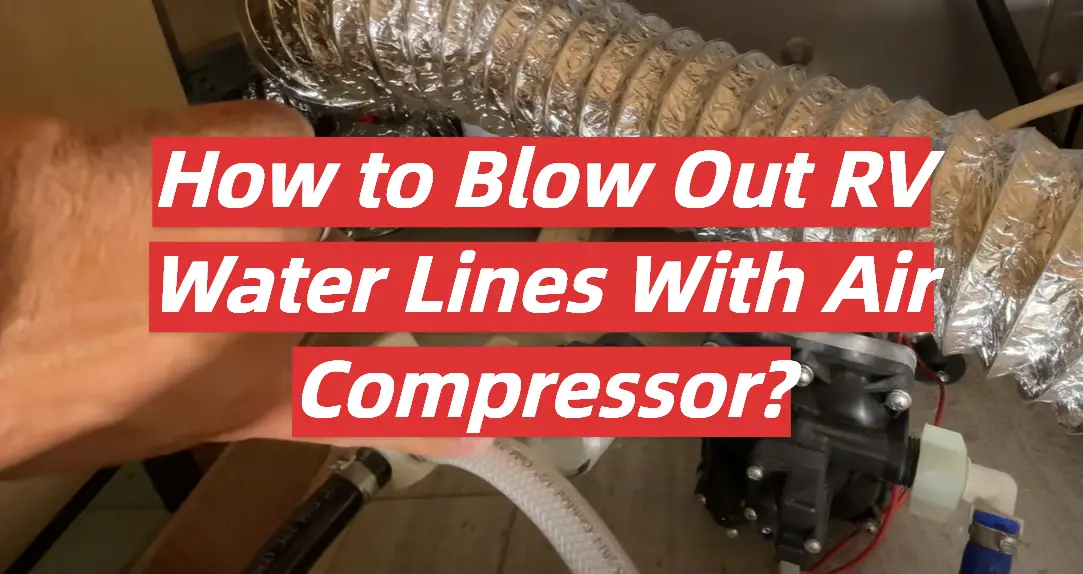
How To Blow Out Water Lines in RV With Air Compressor
Step 1 – Drain The Tanks & Water Lines
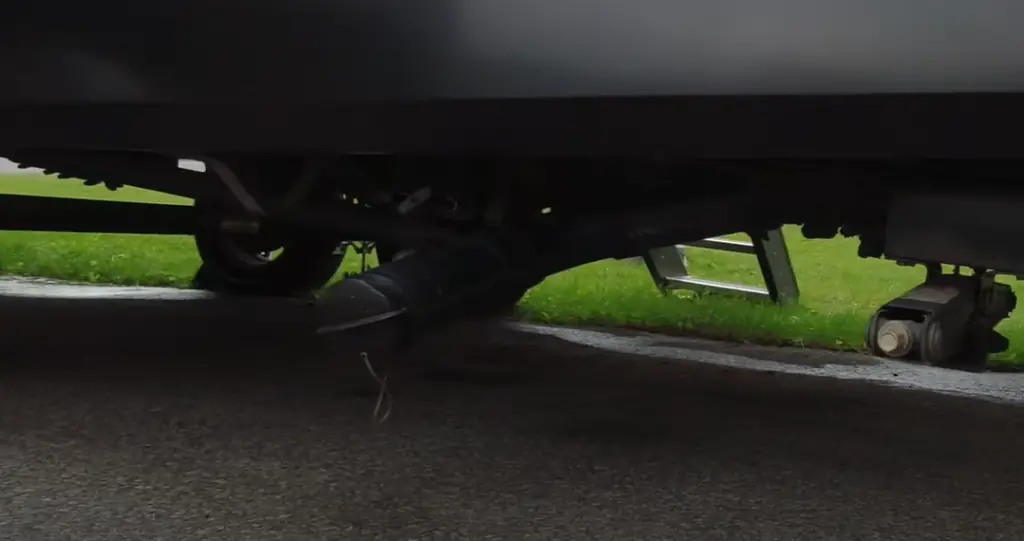
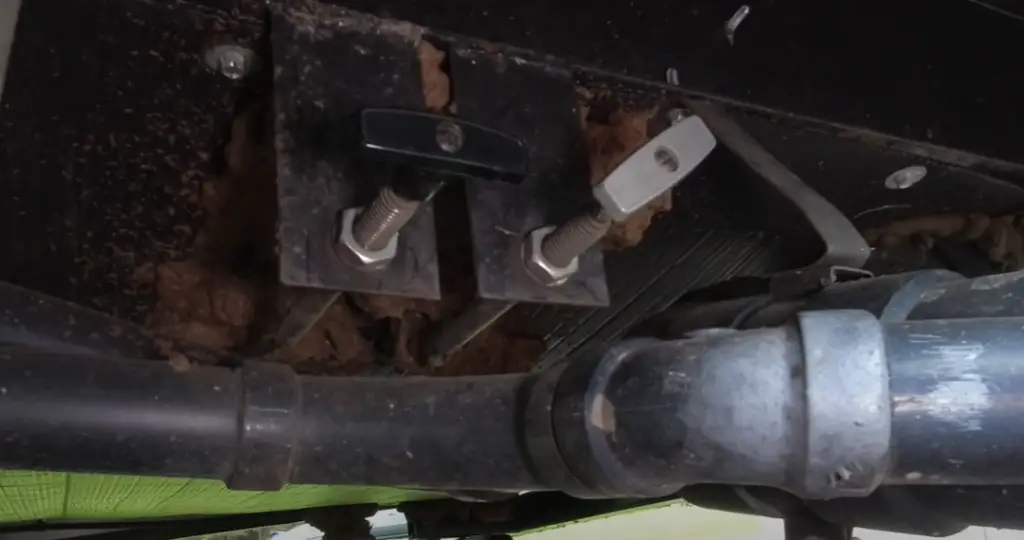
Before you can effectively blow out the water lines in your RV, it is crucial to ensure that all tanks are completely drained and all water lines are emptied. To achieve this, begin by turning off all faucets and thoroughly draining the fresh tanks. Next, open up each drain individually to meticulously remove any remaining water. Taking these meticulous steps will help guarantee that no water is left behind, ensuring a successful blowout of the water lines in your RV.
Step 2 – Setting Up Your Air Compressor
Once you have double-checked that all tanks and water lines are completely drained, it is time to begin setting up your air compressor. To ensure efficient use of the compressor, make sure that there is no excess moisture in the airline. If necessary, you can add a small amount of oil to the air intake to help lubricate the piston assembly. Additionally, be sure to check that the size of the air pressure hose is compatible with your RV’s water lines.
Step 3 – Using The Air Compressor
With the compressor properly setup and ready to go, attach one end of the airline to the RV’s main water outlet. Once connected, bring up the compressor to its maximum PSI and release the air pressure into the water lines of your RV. The pressurized air will force any residual moisture out of the system, ensuring that no remaining water is left behind. Once you are done, disconnect the compressor and turn off all power sources.
Step 4 – Winterizing & Storing Your RV
After blowing out your RV’s water lines, it is crucial to winterize and correctly store your RV. Begin by adding antifreeze to the water lines and all tanks of your RV. This will help protect against any potential damage caused by freezing temperatures during the winter season. Additionally, be sure to disconnect any power sources before storage and double-check that all necessary doors are properly closed and sealed. Follow these steps and your RV will be healthy and safe until the next time it is used [3].
What are some tips for avoiding frozen water lines?
Winter weather can put a chill on your RV travels, especially when it comes to keeping the water lines running. To help you avoid any freezing issues with your RV’s water lines, here are some top tips:
- Insulate Your Water Lines – Adding insulation around the water pipes in your RV is an effective way to keep them from freezing up during cooler temperatures. Use foam insulation that is specifically designed for RV plumbing to ensure the best coverage and protection.
- Drain Your Pipes – Before heading out on a cold-weather adventure, make sure to drain all of your water lines. This will help prevent any water from freezing inside them and causing them to burst.
- Turn Off Your Water Supply – Shut off the water supply to your RV when it’s not in use. This will help ensure that no water is running through the pipes and freezing up while you’re away.
- Install a Heating System – For those who live or travel in colder climates, consider investing in a heating system for your RV. Having an integrated heating system designed specifically for your RV can help keep it warm and prevent the water lines from freezing.
- Keep It Moving – Make sure to drive your RV occasionally during cold weather, even if you’re not headed out on a camping trip. This will help circulate the warm air and keep your RV – and its water lines – from getting too cold.
- Use a Heated Water Hose – Keep your RV’s water lines functioning without any fear of freezing with a heated water hose. These hoses are designed to prevent freezing in cold conditions and can help you stay warm and hydrated no matter how low the temperature dips.
By following these tips, you’ll be able to keep your RV ready for winter weather and avoid any potential problems with frozen water lines. So get out and enjoy your RV all year round!
What are some basic maintenance tips for RVs?
Regular RV maintenance is essential to keep your vehicle running smoothly and safely. Here are a few simple steps that you can take to keep your RV in good condition:
- Check the Tires – Inspect your RV’s tires regularly for signs of wear and tear. Also, make sure to check the tire pressure and adjust accordingly.
- Change the Oil – Follow the manufacturer’s recommendations for when you should change the oil in your RV. This is important for keeping the engine running at its best.
- Inspect Your Lights – Make sure that all of your RV’s lights are in working order. This includes the headlights, taillights, brake lights and turn signals.
- Clean Your Filters – Change your air and fuel filters regularly to ensure your RV is running optimally.
- Grease Moving Parts – Use lubrication on all of the moving parts of your RV, including door hinges and window cranks. This will help them last longer while providing a smoother operation.
- Check the A/C – Make sure to inspect your RV’s air conditioner regularly for any signs of wear or damage. Cleaning the filter can also help ensure optimal performance.
By following these basic maintenance tips, you can keep your RV in top shape and ready to hit the road!
FAQ
Can you blow out water lines with an air compressor?
Yes, you can use an air compressor to blow out water lines to winterize your RV. The process involves filling the system with air pressure and then draining all of the remaining water from the pipes by opening up valves or faucets. This method is often preferable to using antifreeze because it reduces the number of chemicals that are necessary for proper maintenance. It is important to remember that the air pressure should not exceed 50 PSI for the system to remain safe and functioning correctly. Additionally, you may need to use a specialized adapter to attach your compressor hose to the RV water line properly.
What type of maintenance do I need to do on an RV?
RV maintenance requires regular inspections and repairs. You should regularly check the water heater, plumbing, roof seals, tires, lights, appliances, and other components of your RV to ensure that they are in working order. Additionally, you should inspect the exterior for any signs of damage or deterioration. Depending on the age and condition of your RV, you may need to perform more complex repairs such as replacing gaskets, seals, or other components of the RV. Regular maintenance also includes keeping your RV free from debris and clogs by cleaning gutters and drains regularly. Finally, you should always store your RV in a covered garage or shed to protect it from weather damage such as hail storms.
What type of supplies do I need for basic RV maintenance?
For basic RV maintenance, you will need a variety of tools and supplies. This includes an air compressor for winterizing water lines, a pressure washer for cleaning the outside of your RV, a ladder for reaching the roof, detergents or cleaning solutions for removing dirt and debris from surfaces, sealant or caulk for sealing windows and doors, lubricants for maintaining moving parts, and a variety of wrenches and screwdrivers. Additionally, you may need to purchase specialized components such as hoses, gaskets, or other replacement parts. Finally, it is important to keep an RV first aid kit on hand in case of any minor accidents.
Are there any tips for managing RV maintenance?
Yes, there are a few tips for managing RV maintenance. First, make sure you check your RV regularly to identify any potential issues before they become larger problems. Additionally, always use the correct tools and supplies for whatever job you are performing. Finally, keep a logbook of all repairs and maintenance that have been done on the RV so you can easily refer back to them in the future. This will help you stay organized and ensure that all of your repairs and maintenance have been done correctly. Taking care of your RV’s regular maintenance is essential for keeping it running smoothly for years to come.
What should I do if I experience an issue with my RV?
If you experience any issues with your RV, the first thing you should do is contact a qualified technician. They will be able to diagnose the issue and provide professional repairs or advice on how to fix it. Additionally, if the problem is more serious or requires specialized parts or tools, they may need to order them for you. If your RV has been damaged and requires replacement parts, make sure that you purchase genuine parts from the authorized supplier to guarantee their quality. Finally, if you are ever unsure of how to complete a repair or maintenance task on your own, it is best to contact a qualified technician for assistance.
What safety precautions should I take when doing RV maintenance?
Safety should always be your top priority when performing maintenance or repairs on an RV. Be sure to wear protective goggles when using power tools or handling chemicals; avoid standing under or near any elevated surfaces; and always use the correct ladder for reaching higher areas of your RV. Additionally, make sure that you are familiar with all safety instructions related to any tools or materials that you will be using before beginning the task. Finally, never attempt to repair any electrical components of your RV unless you are a trained professional.
Useful Video: RV Winterizing – Blowing Out Plumbing Lines w/ Compressed Air – Complete Walk-Thru
Conclusion Paragraph
To blow out RV water lines with an air compressor, start by turning off the water pump and water heater. Make sure to disconnect any LP tanks before beginning. Then, locate the intake and outlet valves at the bottom of your RV, open them up, and attach an air compressor hose to one of them. After ensuring that all other areas are sealed off tight, switch on the air compressor and watch for bubbles coming from all the outlets. Once all the bubbles are gone, turn off the air compressor and close off the valves.
References:
- https://www.thervgeeks.com/blowing-out-rv-water-lines-vs-antifreeze/
- https://info.topring.com/en/blog/winterizing-rv-how-to-drain-the-water#
- https://www.rvingknowhow.com/blowing-out-rv-water-lines/

Leave a Reply