If you are an avid RV enthusiast, you know how crucial having a fully functional system is to a successful road trip. One of the most important parts of your RV system is the battery disconnect switch. This switch helps ensure that your battery does not drain unnecessarily. However, as is the case with all things mechanical, issues may arise, and it is essential to know what steps to take. This blog post will explore some of the common RV battery disconnect switch problems and what you can do to solve them.
Table of Contents
RV Battery Disconnect Switch: What It Is and How It Works
Are you an RV owner? Are you tired of constantly worrying about your battery draining or dying? If so, you may want to consider investing in a battery disconnect switch for your RV. This handy device allows you to control the flow of electricity to your battery, which can save you a lot of trouble and stress down the line. Let’s discuss what a battery disconnect switch is, how it works, and why it is an essential tool for any RV owner.
A battery disconnect switch is a device that allows a user to turn off the electrical flow to their RV battery. This means that the battery will no longer be able to power any of the appliances or devices in the RV. The switch essentially cuts off all power to the battery, which can help to preserve the battery life and prevent it from draining or dying unnecessarily. There are two main types of battery disconnect switches: manual and automatic. Manual switches require the user to physically turn a knob or switch to turn off the power, while automatic switches shut off power when the engine is turned off. [1]
A battery disconnect switch works by breaking the circuit between the battery and the rest of the electrical system in the RV. When the switch is turned off, it interrupts the flow of electricity to the battery, preventing it from receiving or sending any electrical signals. This means that all of the devices and appliances connected to the battery will be completely shut off. This can be helpful in a number of situations, such as when you need to store your RV for a long period of time or when you need to perform maintenance on the electrical system.
A battery disconnect switch is important for a number of reasons. First and foremost, it can help to preserve the life of your RV battery. By cutting off power to the battery when it is not in use, you can prevent it from draining or dying unnecessarily. This can extend the life of your battery, which can save you money in the long run. Additionally, a battery disconnect switch can help to prevent electrical fires or other hazards. By turning off power to the battery, you can eliminate the risk of electrical sparks or shorts causing damage or harm.
There are a few other things to keep in mind when it comes to battery disconnect switches. First, it is important to choose a high-quality switch that is designed specifically for RVs. This can help to ensure that the switch will work properly and will not cause any damage to your electrical system. Additionally, it is a good idea to test your switch regularly to ensure that it is working properly. Finally, be sure to read the instructions that come with your switch carefully before attempting to install it.
A battery disconnect switch is an essential tool for any RV owner. By allowing you to control the flow of electricity to your battery, this handy device can help to preserve battery life, prevent electrical hazards, and save you from the stress of a dead battery. If you are considering investing in a battery disconnect switch, be sure to choose a high-quality switch designed specifically for RVs and follow the installation instructions carefully. With a battery disconnect switch in place, you can enjoy peace of mind and a longer-lasting battery for your RV adventures.
The Most Common Problems And TOP Solutions
If you have an RV, you know how important it is to have a functioning battery to power all your appliances and electronics. One crucial component is the battery disconnect switch, which allows you to control the power supply to your RV. But what happens when you encounter problems with this switch? Don’t worry; it’s a common occurrence for many RV owners, and here, we’ll discuss the most common issues with RV battery disconnect switches and offer top solutions. So, let’s get started!
- Faulty Wiring
Faulty wiring is one of the leading causes of problems with RV battery disconnect switches. If the wiring is loose or damaged, it can cause the switch to malfunction, making it difficult to operate. If you suspect this is the issue, check the wiring around the switch, and make sure everything is tightly connected, secure, and free from damage. You may need to call an RV professional to fix the wiring for you.
- Dead Batteries
If your RV battery is not working or is completely dead, it will not respond to your switch attempts and may even refuse to charge. Ensure that your battery is charged, connected correctly, and in good condition. It may be necessary to replace your battery entirely if it is too old or has reached the end of its useful life. [2]
- Dirty Battery Terminals
Another common problem with RV battery disconnect switches is dirty battery terminals. Corrosion on the battery terminals can reduce the power supply and even cause the battery to die. Perform regular maintenance on your battery, cleaning the terminals and replacing any damaged cables.
- Rust and Corrosion
Rust and corrosion on the battery disconnect switch, or other parts of your RV, can affect its performance and compromise the safety of your RV’s electrical system. If you notice a rusted or corroded switch, clean it with a wire brush and apply a corrosion inhibitor to help prevent future problems.
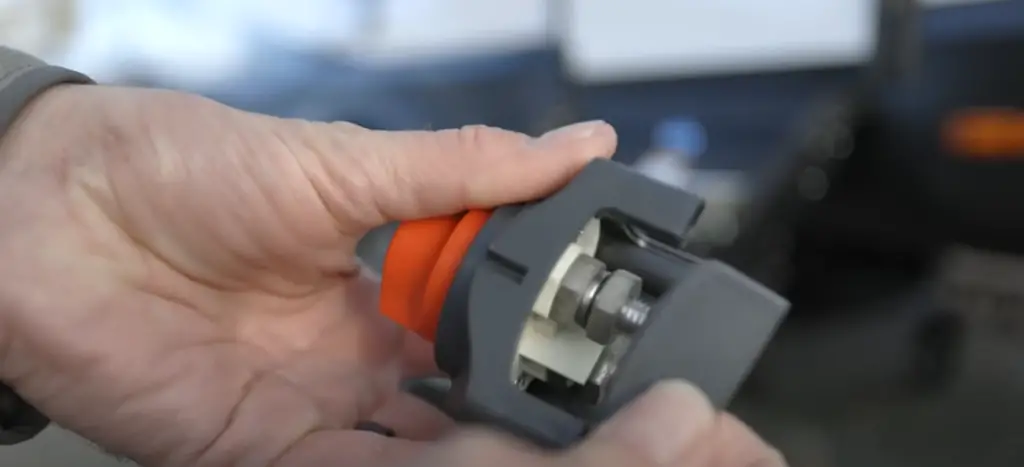
- Worn Out or Broken Switch
If none of the above solutions works, it’s possible that your battery disconnect switch may be worn out or broken. This can happen over time due to aging or overuse. If this is the case, you will need to replace the switch entirely. Ensure that the new switch is compatible with your RV’s electrical system and voltage requirements.
Owning an RV is an exciting experience, but it comes with its fair share of maintenance and troubleshooting responsibilities, especially for battery systems. In this blog post, we’ve outlined some of the most common problems that RV owners may encounter with battery disconnect switches and suggested solutions. If you experience any of these problems, don’t panic, but instead try troubleshooting and contacting a professional for assistance when needed. With these tips in hand, you can ensure that your RV battery system runs smoothly, allowing you to fully enjoy your time on the road.
RV Battery Disconnect Switch: How to Test
If you own an RV, it is crucial to have a properly functioning battery disconnect switch. It is often neglected by RV owners, which can lead to unexpected breakdowns and repairs. A battery disconnect switch is responsible for disconnecting the battery array when you are planning to store your RV for a long duration. It helps keep your RV battery from dying and prolongs its lifespan. It is important to know how to check your RV battery disconnect switch, so you can avoid unnecessary repairs and costs.
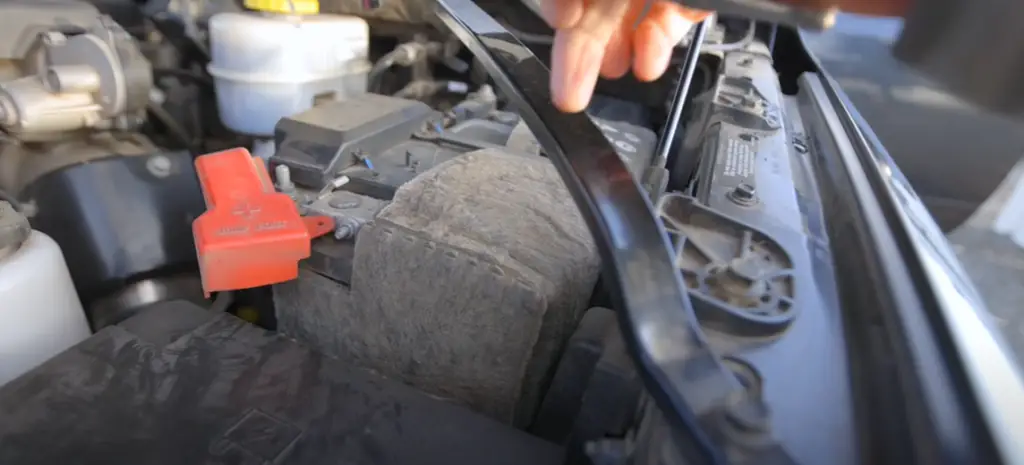
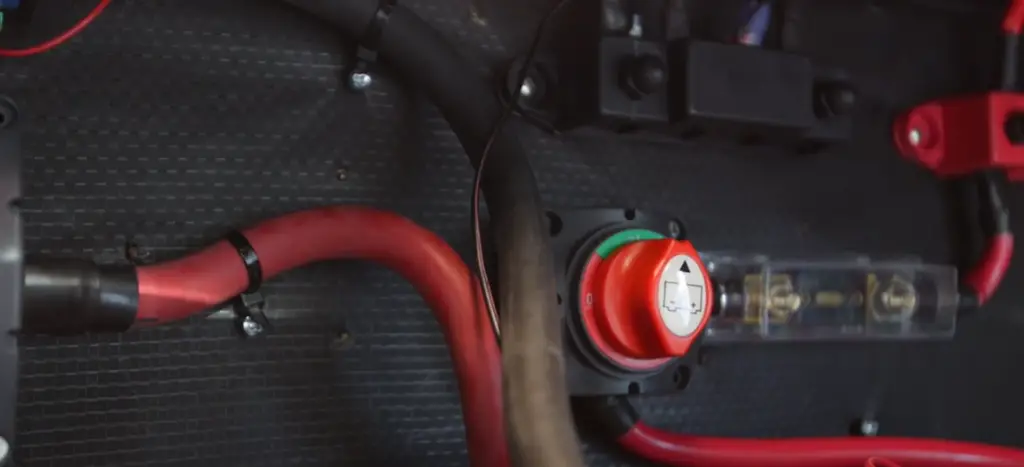
Step 1: Locate the Disconnect Switch
Before testing, you need to know the location of your RV battery disconnect switch. The disconnect switch is usually located near the battery, inside the RV, or nearby the control panel. It is often easy to spot since it is a lever or a switch that you can flip back and forth. Once you have found it, ensure that it is off, and then proceed to the next step.
Step 2: Check the Voltage Reading
You need to check the voltage reading on your RV battery disconnect switch. Firstly, turn on all the electrical appliances in your RV and switch off your disconnect switch. After this, go to the battery and take a voltage reading using a multimeter. If you get a voltage reading resembling the total voltage of your batteries, it is an indicator that your RV battery disconnect switch is working correctly. If the voltage reading is low, you will need to continue troubleshooting.
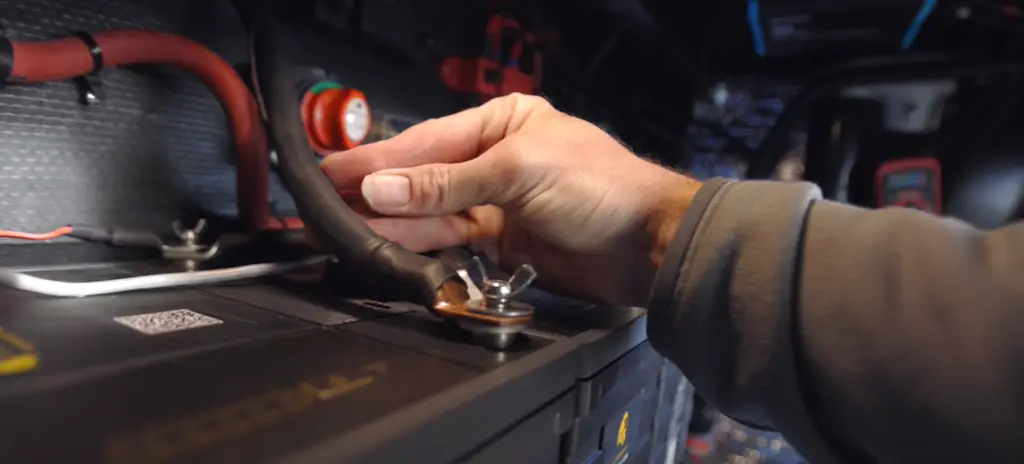
Step 3: Check the Connections
Another common issue leading to a failed RV battery disconnect switch is loose or corroded connections. So, perform an inspection of the connections: both the leads and the terminals. Ensure everything is tight and has no corrosion. Remember, corrosion can lead to electrical resistance, which might turn into a safety issue.
Step 4: Test Continuity of Your Disconnect Switch
Once you have checked the connections and everything is in place, it’s time to test the continuity of your RV battery disconnect switch. Continuity testing is a process of ensuring electricity flows unhindered when connected to two points. You will require a Digital Multimeter (DMM) and two probes to test for continuity. Using the DMM, connect a probe on each side of the terminal on your RV battery disconnect switch. If the result shows no continuity, then consider repairing or replacing the switch.
Step 5: Reconnect and Test
After the test, reconnect the battery and start your RV. Once it is running, switch off the RV battery disconnect and observe what happens. Your RV should maintain its life when the switch is off, and when you flip the switch again, it should restart.
In conclusion, ensuring that your RV battery disconnect switch is working properly is crucial as it helps keep your battery life prolonged. Any issues with the switch can cause serious problems, as we have seen in this guide. So, it is recommended that you check it regularly or have it tested during regular maintenance. With this guide, we hope you now understand how to test your RV battery disconnect switch, and we hope it helps you in the long run. Happy RVing!
Maintenance of RV Battery Disconnect Switch
One of the most important steps in maintaining your battery disconnect switch is keeping it clean and free of corrosion. Over time, dirt, grime, and other contaminants can accumulate on both the switch and its wiring connections, leading to electrical resistance, poor connectivity, and potential hazards. To avoid these issues, use a soft brush or cloth to clean your switch on a regular basis, and apply a specialized corrosion inhibitor or dielectric grease to the switch and its wiring connections.
Aside from keeping it clean, it’s also important to check your battery disconnect switch and its wiring connections on a regular basis. This can help you identify any signs of wear and tear, loose connections, or other issues that could affect the performance of your switch. Inspect both the switch itself and its wiring connections, looking for signs of damage, corrosion, or other abnormalities. If you spot any issues, it’s important to address them immediately to prevent further damage or hazards. [3]
To keep your battery disconnect switch in top condition, it’s also important to carry out routine maintenance and testing. This can include checking that the switch is functioning properly, inspecting and cleaning connections, checking battery levels and performance, and carrying out any necessary repairs or replacements. To ensure that your switch operates properly, always follow the manufacturer’s instructions for maintenance and testing, and consider having a professional RV technician carry out regular inspections.
Maintaining your RV battery disconnect switch is an important part of keeping your electrical system and batteries in top condition. By understanding the basics of your switch, keeping it clean and corrosion-free, inspecting and testing it on a regular basis, and replacing it if necessary, you can help extend your RV’s lifespan and prevent costly repairs. If you have any doubts or concerns about your battery disconnect switch or electrical system, be sure to consult your RV’s owner’s manual or seek professional advice.
FAQ
What is the purpose of a battery disconnect?
A battery disconnect basically cuts off the power supply from your RV battery, which is especially helpful when storing your RV for an extended period of time or when doing electrical work on your vehicle. This ensures that your battery isn’t constantly charged and drained, which could cause it to wear out faster or even explode.
How do I know if my RV battery is bad?
There are a few tell-tale signs that your RV battery might need to be replaced. These include slow cranking when trying to start your engine, dimming or flickering lights, and a sulfurous smell coming from the battery. You can also use a multimeter to check the voltage and see if it falls below a certain range.
What is the first thing to do to disconnect a battery?
Before disconnecting your battery, make sure that all of the electrical components in your RV are switched off and that the battery is fully charged. Then, locate the battery disconnect switch, which is typically located near the battery or in the RV’s electrical control center. Flip the switch to “off” and wait a few minutes before proceeding.
What is the function of the disconnect button?
The disconnect button is the switch that cuts off power to your RV’s electrical system. It’s usually a simple on/off switch that physically disconnects the battery from the rest of the electrical system. It’s important to use the disconnect button correctly to prevent damage to your RV or electrical system.
Useful Video: Why I Removed The RV Battery Disconnect.
Conclusions
In conclusion, understanding RV battery disconnect switch problems and their solutions is essential for any RV owner. When faced with any electrical system problems, it is always advisable to seek professional help to avoid further damage. Proper maintenance and routine checks of your system can also help prevent various RV battery disconnect switch problems. Remember, having a fully functional switch is crucial to cutting off all power draining from your vehicle when not in use.
References:
- https://www.thervgeeks.com/rv-battery-disconnect-switch/
- https://rvgoer.com/rv-battery-disconnect-switch-problems/
- https://www.bravabatteries.com/how-to-maintenance-my-rv-battery-healthy/