Are you planning to take your RV for a road trip and wondering how to repair any body damage on the vehicle? If so, you have come to the right place! Here is the ultimate guide to repairing RV body damage, so you can get your RV ready for the road again with ease. From understanding the basics of RV body repair and damage evaluation to detailing all the necessary steps involved in restoring your RV’s shape and structure, this guide will help you through every step of the way. So, don’t wait any longer – get started on giving your RV a new lease on life!
Table of Contents
Types of RV Bodies
RVs come in a variety of shapes and sizes, but all of them share several key components. The most common type of RV body is the Class A motorhome, which is built entirely on its chassis and has a large cab-over section for storage or additional sleeping space. Other popular types include Class B and C motorhomes, fifth-wheel trailers, camper vans, and travel trailers. Each type of RV offers different features that make it a great option for different needs and lifestyles.
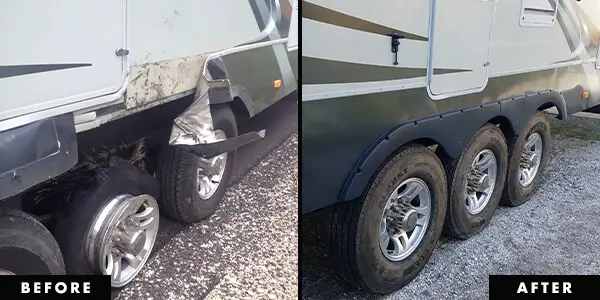
Class A motorhomes are the largest type of recreational vehicle. They offer plenty of space for large families or groups, with all the comforts of home. Class B and C motorhomes are smaller in size but have the same amenities as their larger cousins. Fifth-wheel trailers are a great option for those who want to camp but don’t need a full-sized RV. They typically hitch up in the bed of a pickup truck and offer plenty of storage space and amenities.
Camper vans are perfect for those looking to explore on their own or with family members. These vehicles offer great fuel efficiency and maneuverability, while still having all the comforts of a larger RV. Travel trailers are an economical option for those who don’t want to tow a large vehicle with them. They are often lightweight and come in many sizes to fit any family’s needs.
Possible damages to RV Bodies
RV bodies are typically made of sturdy materials, but they can still suffer from wear and tear over time. It is important to inspect your RV periodically to check for any signs of damage or corrosion. Common problems include rusting on the exterior, water damage, and worn-out fabrics and upholstery inside.
Leaks in windows or doors can cause a lot of damage to your RV. Be sure to check for any moisture or discoloration on the outside and inside of your RV, as this can indicate a leak somewhere. If there is a water leak, it needs to be fixed as soon as possible before more serious damage occurs.
The tires on your RV are another area that should be inspected regularly. Tires can wear out from regular use and should be replaced when necessary. It is also important to check the condition of the rims, as well as any other attachments such as brakes or shocks.
It is also important to inspect the roof of your RV for any signs of damage. Inspecting the roof for discoloration, cracks, or holes will help you identify any potential problems before they become bigger issues. If there is significant damage to the roof, it may be necessary to replace it entirely.
Finally, regular maintenance and cleaning of your RV will help keep it in great condition for many years to come. Cleaning away dirt, debris, and other residue will help maintain its appearance and protect it from further damage. Regular maintenance will also help you identify any potential problems and address them quickly [2].
Step-by-Step to Repair RV Fiberglass Exterior Damage
What to prepare before repairing
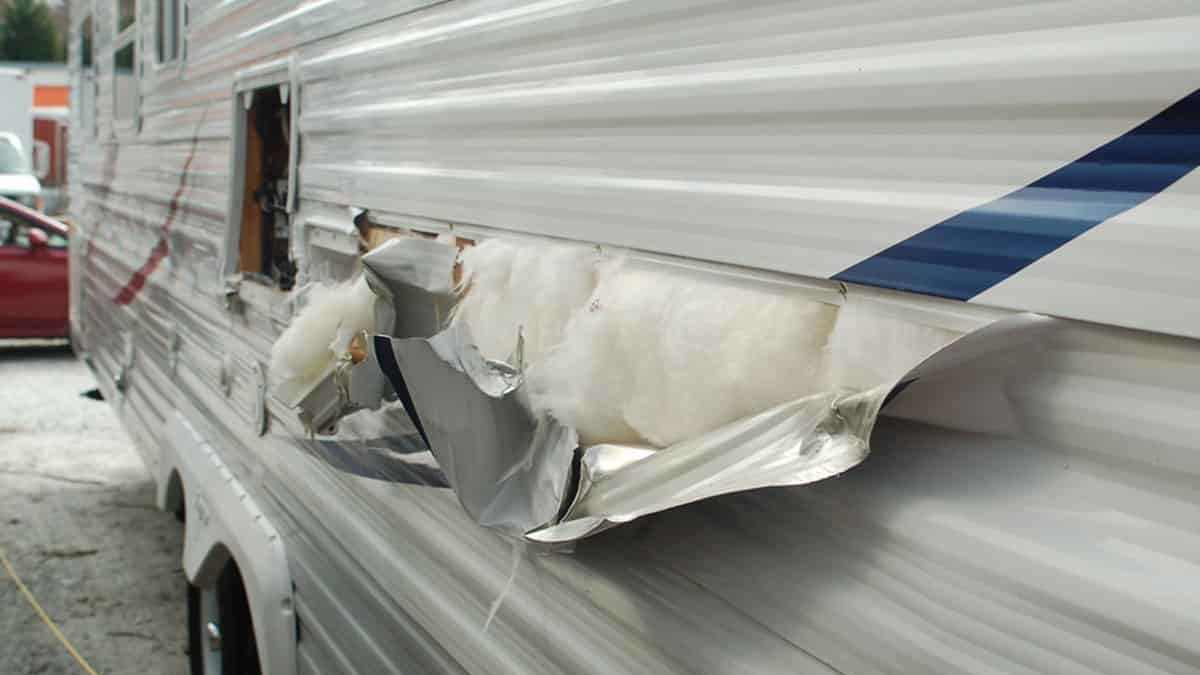
Before you begin working on your RV fiberglass exterior, it is important to get the right tools and materials to ensure a successful repair. The following items should be gathered before you begin:
- Fine-grit sandpaper
- Fiberglass resin
- Paintbrush or roller
- Masking tape or newspaper
- Plastic spreader
- Resin hardener
- Gloves and protective eyewear
Step 1: Identify the cause of the damage and the damaged area/s
The first step to repairing any damage on the fiberglass exterior of your RV is to identify the cause and exact location of the damage. This will help you determine what type of repair will be needed as well as how much material and time will be required.
Step 2: Sand down the rough edges and clean the area
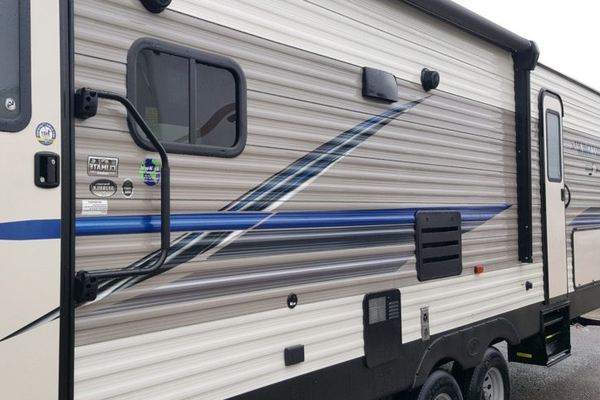
Once you have identified the damaged area, the next step is to sand down any rough edges and clean the area. Use fine-grit sandpaper to sand down any uneven or jagged areas. Once the area is smooth, use a damp rag to clean it off and remove any debris.
Step 3: Apply fiberglass resin
Now that you have a smooth surface to work with, it’s time to start applying the fiberglass resin. Put on your gloves and protective eyewear before beginning this step. Start by mixing equal parts of the fiberglass resin and hardener in a disposable container. Use a paint brush or roller to apply the mixture onto the damaged area. Make sure to spread it evenly across the entire area.
Step 4: Allow the resin to dry and cure
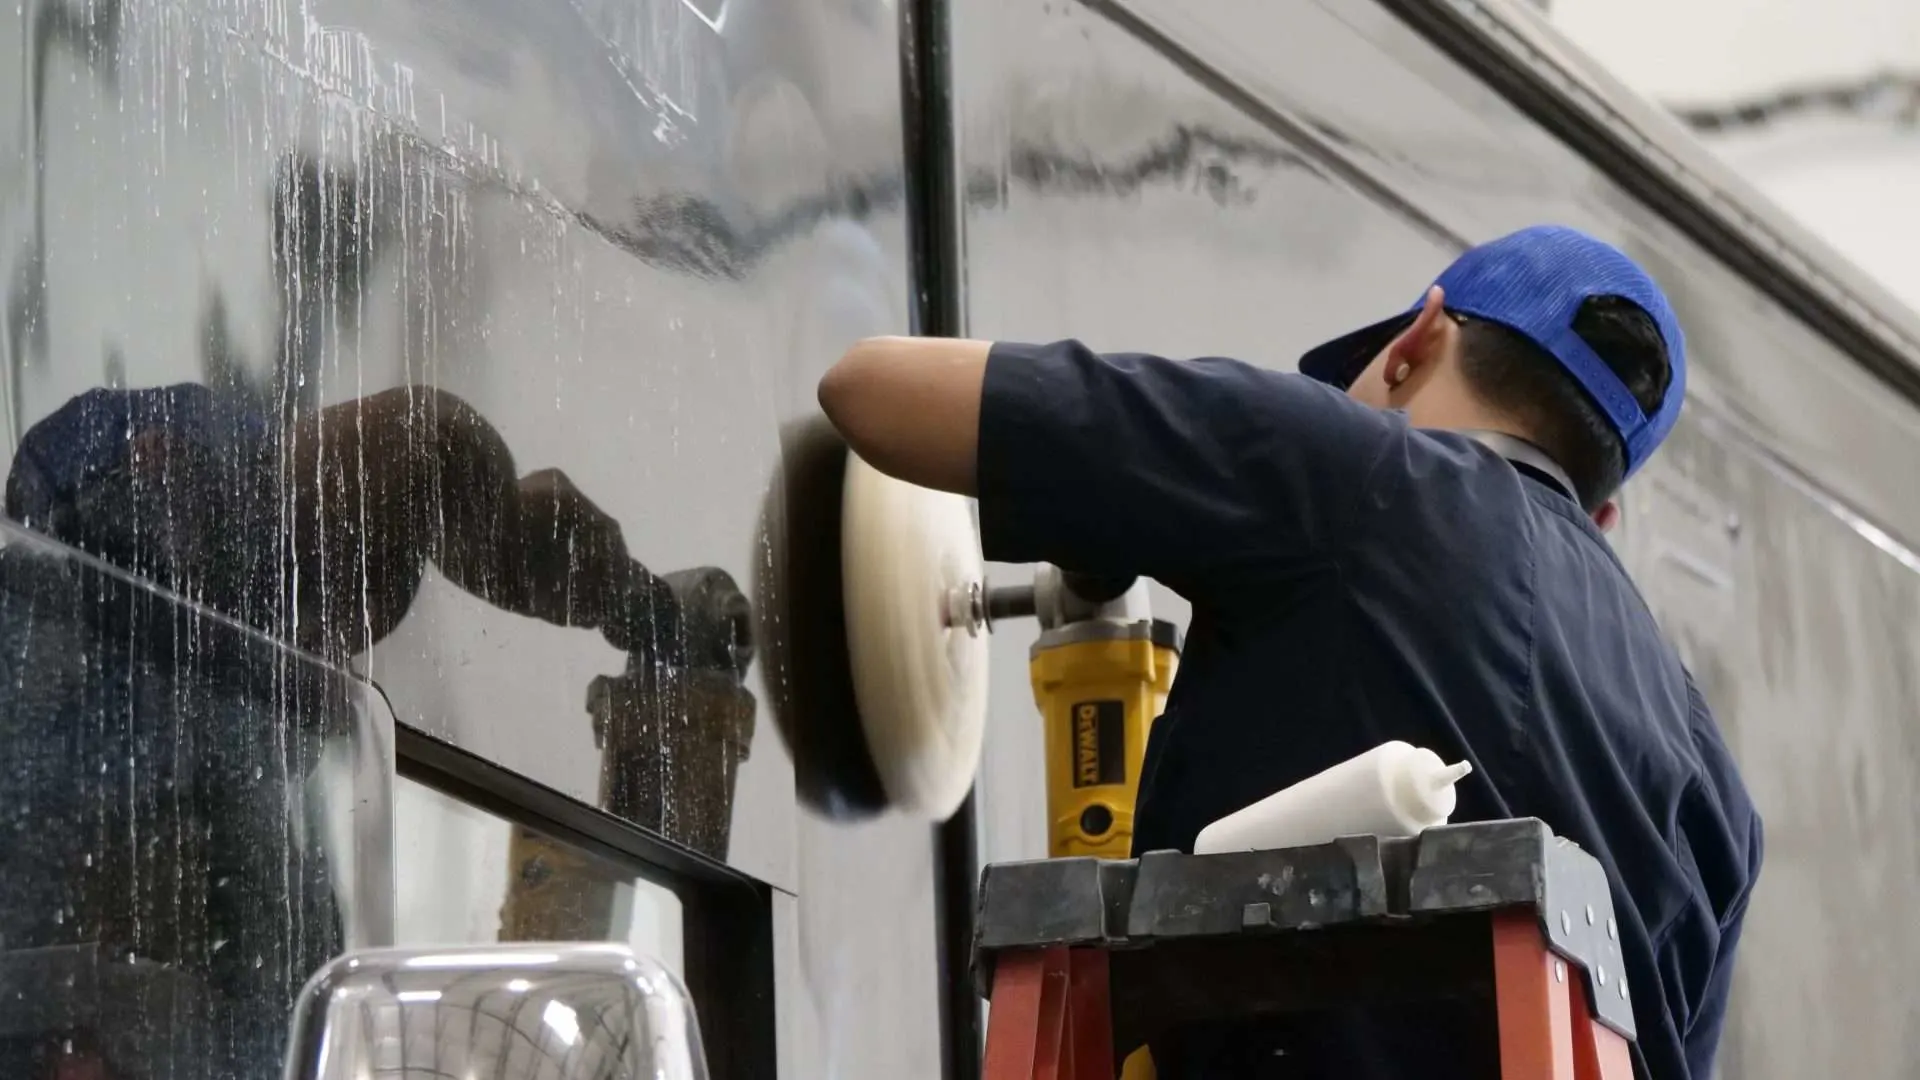
Once you have applied the resin, it is important to let it dry and cure completely before moving on to the next step. This can take anywhere from 24-72 hours depending on temperature and humidity levels. Once it has dried, use a plastic spreader or putty knife to remove any excess resin.
Step 5: Paint the area to match the rest of your RV
The final step is to paint the repaired area to match the rest of your RV’s exterior. Use a matching paint and apply it with a brush or roller. Make sure to cover the whole area completely for an even finish. Let the paint dry before taking your RV on the road again.
It is also important to inspect any seals, trim pieces, and caulking around your windows and doors periodically. Make sure everything is in good condition so no leaks occur and damage is minimized. It is also important to make sure that all vents, windows, and doors are properly sealed during travel, as this will help keep water out of your RV. Additionally, regular cleaning and waxing of the outside of your rig will help protect it from further corrosion or damage due to UV rays and other elements [3].
How to maintain an RV body properly?
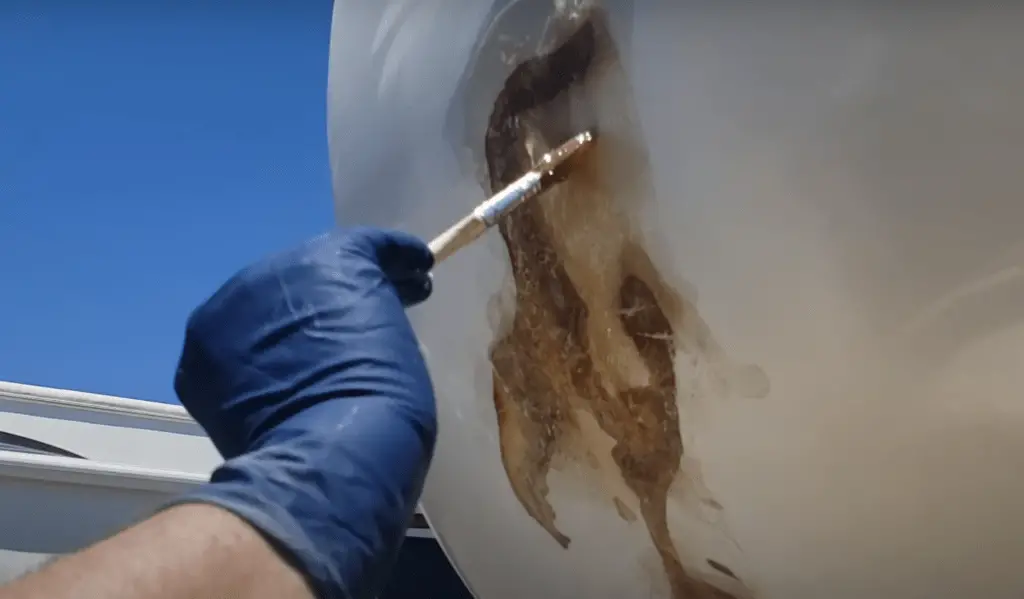
Maintaining an RV body is key to keeping your recreational vehicle looking great and running smoothly. You should check the RV regularly for any damage or wear and tear, especially after a long journey. Here are some tips on how to maintain an RV body properly:
- Clean the exterior of the RV at least once every three months with soap, water, and a soft brush.
- Wax the exterior of the RV every 6 months with a quality wax specifically made for RVs to help protect it from water, sand, dirt, and other elements.
- Check all windows for any cracks or chips and make sure they are properly sealed and caulked. Replace any broken or cracked windows with new ones as soon as possible.
- Inspect the roof of your RV for any missing or loose shingles, and reseal them if necessary.
- Test all smoke detectors and carbon monoxide monitors in your RV to ensure they are working properly.
- Apply a rust inhibitor to any exposed metal parts on the RV body every 6 months to prevent rust buildup.
- Check all lights, including headlamps and brake lights, to make sure they are functioning properly.
- Ensure all rubber gaskets and seals around windows and doors are in good condition. Replace any worn-out or brittle gaskets or seals with new ones as soon as possible.
- Inspect the RV frame for any signs of wear and tear such as cracks, rust, or corrosion. Make sure to repair any damage as soon as possible.
- Test all doors and latches to make sure they are in good working order. If necessary, tighten the hinges and/or replace any worn-out hardware.
- Inspect the undercarriage of your RV for any signs of wear and tear such as cracks, rust, or corrosion. Make sure to repair any damage as soon as possible.
- Check the tires on your RV for proper inflation and make sure their treads are not worn down. Replace tires if necessary, or rotate them every 6 months to ensure even wear and tear.
- Perform regular maintenance on your RV engine, such as oil changes and tune-ups. This will help keep your RV running smoothly and prevent any major issues from arising.
- Lastly, make sure to inspect all fluids in the RV such as motor oil, transmission fluid, coolant, brake fluid, and power steering fluid regularly. Replace or top off any low fluids to keep your RV running properly.
By following these tips on how to maintain an RV body properly, you can keep your recreational vehicle looking great and running smoothly for years to come. It is also important to remember that proper maintenance of an RV body requires regular preventative care and attention. Make sure to inspect your RV regularly for any signs of damage or wear and tear, and always repair or replace any faulty parts as soon as possible [4].
FAQ
How do you fix fiberglass on an RV?
Fiberglass on an RV can be fixed with a few simple steps. First, you’ll need to clean the area where the fiberglass is damaged and then use a high-grade marine epoxy adhesive or filler to make repairs. Make sure that the product used is compatible with the material that your RV is made of before applying it. Then, carefully apply the product to the damaged area, using a putty knife or other suitable tool. Allow the epoxy to cure and then sand it down so that it is flush with the surface of your RV. Finally, use a buffing wheel to finish off the repair for a smooth and seamless look.
How do you winterize an RV?
Winterizing an RV is an important step for ensuring it stays in good condition throughout the cold season. To winterize your RV, you’ll need to start by draining all of the tanks, such as the freshwater tank and black water tank. Then, flush out the lines to remove any remaining debris or buildup. Next, add antifreeze to all of the valves and systems that need it, like the water heater and sink drains. Finally, cover up any exposed areas of your RV with an appropriate covering to protect it from the elements.
What are some tips for maintaining an RV body?
Maintaining the body of your RV is a key part of keeping it in good condition. One important tip is to regularly inspect and clean it, as well as any sealants or caulking used on the exterior walls and roof. You should also use high-grade wax on the body once or twice each year to protect against oxidation and fading from UV rays.
How do you repair RV fiberglass delamination?
Repairing RV fiberglass delamination is possible with the right materials and tools. First, you’ll need to clean the area where the damage has occurred, then use a saw or grinder to cut away any defects. Next, apply a high-grade marine epoxy adhesive or filler to fill in any gaps and restore the strength of the material. After it has cured, use a sanding block or orbital sander to smooth out any rough areas and make the repair look seamless. Finally, use a buffing wheel to finish off the surface for a professional-looking result.
What are some tips for RV storage maintenance?
RV storage maintenance is important for ensuring your vehicle stays in good condition when it’s not being used. Some tips include covering the RV with a tarp or specialized cover to protect it from the elements, cleaning out any debris that may have accumulated over time, and checking all of the tires for signs of wear and tear. Additionally, it’s important to regularly check systems such as your brakes, propane tanks, and electrical wiring to make sure everything is in working order. Finally, be sure to winterize your RV before storing it for longer periods of time.
What kind of maintenance should I do on my RV generator?
Your RV generator will require regular maintenance and care in order to remain reliable and safe for use. Some key steps include checking the oil level regularly as well as regularly changing the oil and spark plugs. Additionally, it is important to check all of the hoses and wiring for signs of deterioration or damage. Finally, you should inspect your generator’s air filter every few months depending on how often you use it, as well as perform a basic tune-up after 500 hours of operation. Doing these steps will help ensure that your RV generator stays in good working order.
How do I prevent rust on my RV?
Rust can be a major issue for RV owners, as it can cause damage and reduce the lifespan of your vehicle. To prevent rust from accumulating, you should regularly clean and wax the body of your RV to protect it against oxidation. Additionally, you should inspect any exposed metal components, such as screws and rivets, for signs of corrosion. If you find any rust, you should immediately take measures to remove it with an appropriate product. Finally, make sure that all seams and joints are sealed properly so that moisture doesn’t get in and cause damage.
How do you repair RV fiberglass siding?
Repairing RV fiberglass siding is relatively straightforward and can be done with a few tools. First, you’ll need to clean the area where the damage has occurred and then use a putty knife or other suitable tool to apply an appropriate marine-grade epoxy filler over the affected area. Make sure that the product used is compatible with your RV’s material before applying it. Next, use a sanding block or orbital sander to smooth out any rough areas and make the repair look seamless. Finally, use a buffing wheel to finish off the surface for a professional-looking result.
Useful Video: DIY: How to Repair RV Auto Body Damage
Conclusion Paragraph
To repair RV body damage, you need a combination of materials, tools, and skills. Fiberglass is the most common material used for RV body repairs, however, other options such as aluminum sheeting or composite materials can be used. Tools are necessary to make precise cuts and repairs. The proper measurements must also be taken to ensure that the repair job is done correctly and efficiently. Finally, skill is required for the repair job to be done properly and with care. The combination of materials, tools, and skills will ensure that you have a successful RV body repair.
References:
- https://rvsnappad.com/blogs/news/the-different-types-of-recreational-vehicles
- https://leisurecw.com/how-to/tips-for-rv-owners-after-a-collision/
- https://www.doityourselfrv.com/rv-fiberglass-exterior-damage/
- https://www.citationrv.ca/–rv-maintenance-tips

Leave a Reply