If you are an RV owner, there are few things more annoying than a malfunctioning air conditioner. But if you’ve ever tried to remove the cover from your AC unit to make repairs, then you know exactly how daunting the task can be! Removing the cover of a recreational vehicle air conditioner is no easy feat, but it doesn’t have to be necessarily hard either. This article is here to show you how simple removing and replacing your RV AC cover can be with just a few basic tools and patience – so don’t sweat it and follow this step-by-step guide!
Table of Contents
What is an RV Air Conditioner Cover?
An RV air conditioner cover is a protective cover that fits over the exterior of an RV air conditioner to protect it from the elements. It can be made from a variety of materials, such as heavy-duty vinyl, canvas, or thick plastic. The covers often come with straps and buckles that secure them tightly to the RV’s roof. The covers can be removed and stored away when not in use, allowing for easy access to the air conditioner.
RV air conditioner covers also help keep out dirt, dust, and other debris from entering the air conditioner. This helps to reduce the amount of maintenance required and can extend the life of your air conditioner.
Finally, an RV air conditioner cover is an important part of energy conservation. By helping to keep the interior of the RV cooler, the cover helps reduce strain on the air conditioner and can help save money on electricity costs. It is important to make sure the cover fits snugly against your RV’s roof to maximize its effectiveness.
What to do before removing the RV AC cover?
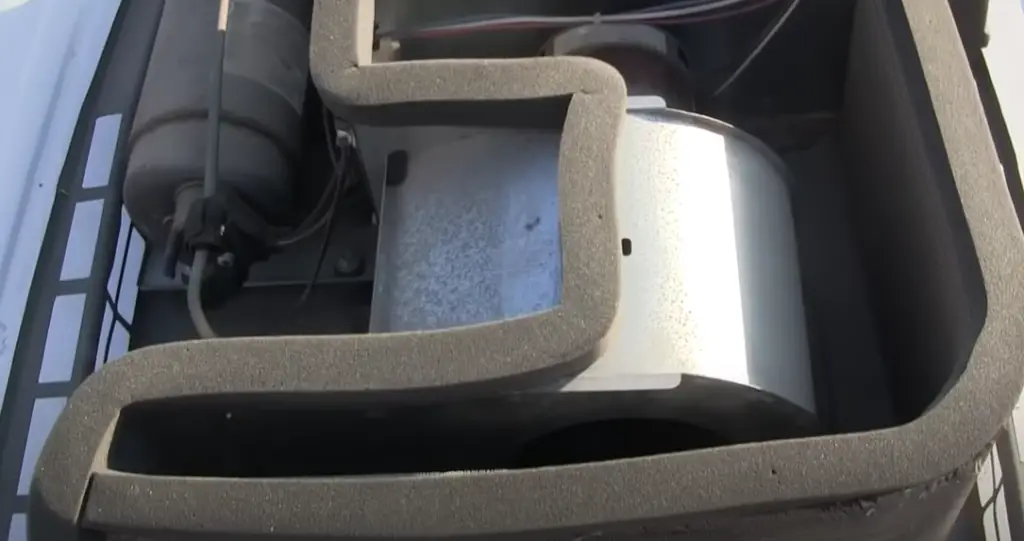
Before removing the RV AC cover, it is important to make sure that all power sources are disconnected. This includes both the battery and any shore power connections. It is also important to ensure that the area around the unit is clear of debris or other items that could interfere with the safe removal of the cover. Additionally, it may be wise to use a step ladder when attempting to reach the top of the unit to reduce the risk of injury.
After all power sources have been disconnected, it is important to use caution when removing the cover by lifting it straight up without bending or twisting. This can help prevent damage to any wiring or connections underneath the unit. Once removed, be sure to inspect the inside of the AC and clean out any debris or dust that may have built up over time. This can help maintain the efficiency of the unit and extend its life. Finally, when replacing the cover, make sure to securely fasten it back into place to avoid any potential issues related to improper sealing.
In addition to cleaning and inspecting the RV AC unit before removing the cover, it is also important to inspect the ducts that connect to it. Check for any blockages, such as leaves or other debris, and remove them as needed. Also, look for any signs of cracks or damage in the ducts and repair them with appropriate materials before continuing. Taking the time to ensure that everything is in working order can help prevent costly repairs down the road due to improper maintenance.
How to remove the RV AC cover?
Step 1: Locate Slots in the Cover
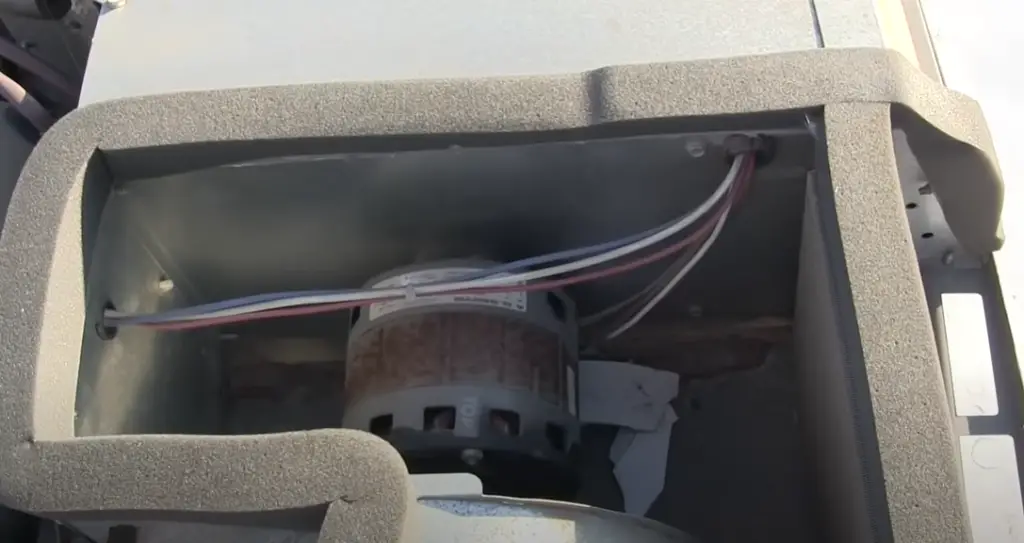
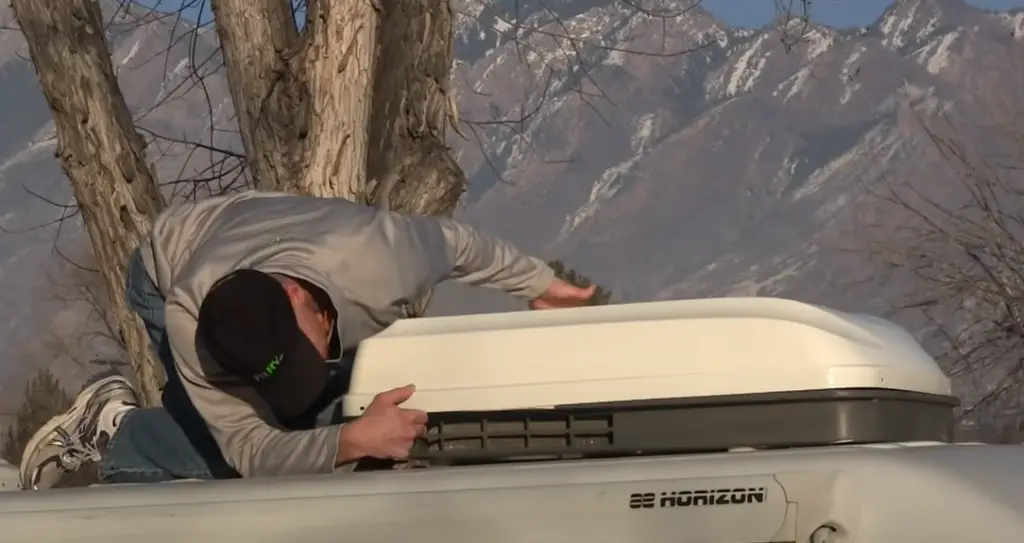
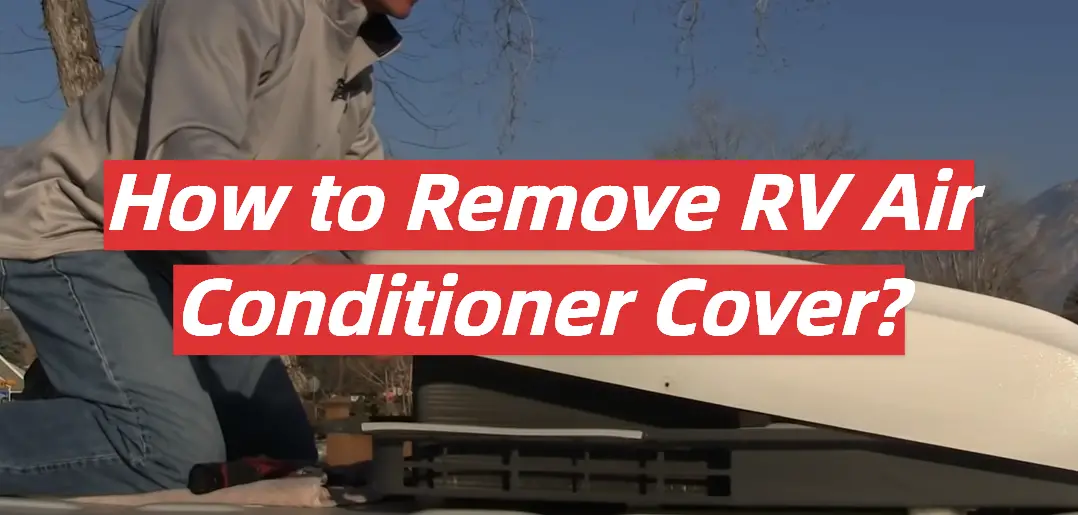
Before attempting to remove the RV AC cover, it’s important to first locate the slots that are conveniently positioned on either side of it. These slots, which can be easily spotted near the top and bottom edges of the cover, serve as convenient access points for a hassle-free removal process. By identifying and utilizing these slots, you can ensure a smooth and efficient experience when it comes to taking off the cover.
Step 2: Use A Flat Head Screwdriver
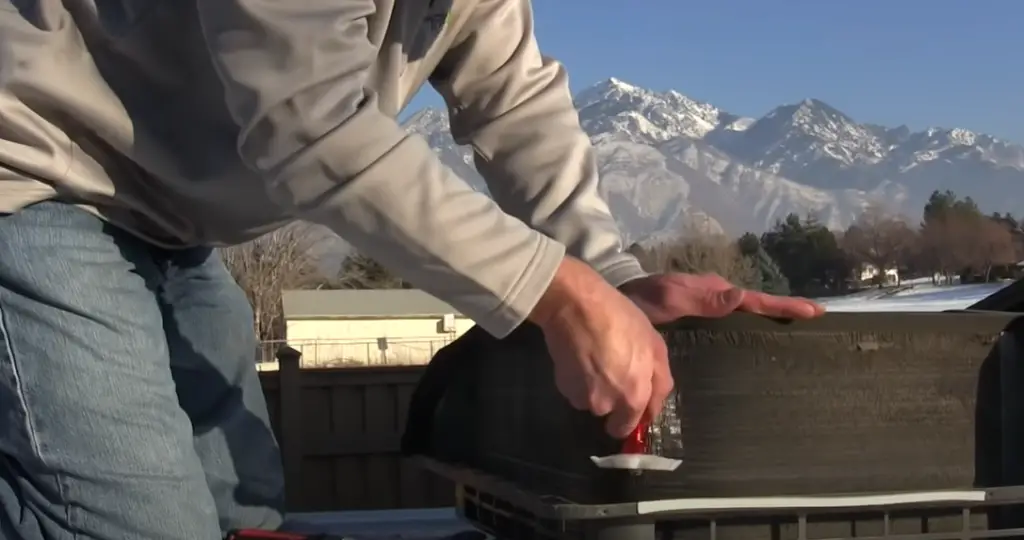
After locating the slots, the next step in removing your RV AC cover is to use a flathead screwdriver. This tool will come in handy when trying to pry open the covers and loosen their grip on the unit. Gently insert the blade of the screwdriver into each slot before gently pushing down and releasing any tension from the cover’s hold.
Step 3: Slide Out Cover
Once the tension has been released, you should be able to slide out the cover from its current position. Make sure to move slowly and carefully, as any forceful movements could cause damage to your RV AC unit. By taking the proper precautions, you can ensure that your unit remains undamaged while enjoying the newfound convenience of a removable cover.
Step 4: Slide Cover Back In
Once you are finished using or inspecting your RV AC unit, it’s important to slide the cover back in place. This process should be completed with equal care and diligence as when you originally removed the cover -so make sure to take your time and not force anything into position. Depending on how tight of a fit you require, you may need to utilize the flathead screwdriver once again to make sure everything is securely in place [2].
How to clean an RV AC unit?
The first step in cleaning an RV AC unit is to turn off the power supply, and then remove the filter from the air conditioner. Before disposing of the filter, make sure to vacuum any dust or debris that has accumulated on it. After that, you’ll need to use a damp cloth or soft-bristled brush to gently scrub off any dirt or grime that may have stuck to the filter. Once the filter has been cleaned, you can reinstall it in your air conditioner.
The next step is to use a vacuum cleaner with a long hose attachment to reach deep into the AC unit and remove any dust, dirt or other debris that may be present. You’ll want to make sure you get rid of any dust bunnies that may be stuck in the vents. Once satisfied with the amount of debris that has been removed, you can replace the filter before turning the power back on.
Finally, if you want to keep your AC unit in peak condition for years to come, it’s a good idea to have it serviced regularly by an experienced technician. Doing this will help to ensure that all components are working correctly and that the unit is running efficiently. Additionally, regular maintenance can help identify any potential problems before they become too severe and require expensive repairs. Following these steps should keep your RV’s air conditioner in good condition for years to come [3]!
How to use and maintain an RV AC?
RV ACs require regular maintenance to ensure optimal performance and a longer lifespan. Here are some tips on how to maintain your RV AC:
- Clean the exterior of your AC unit regularly. This will remove any dirt, dust or debris that could compromise its effectiveness.
- Check for signs of wear and tear and replace any worn-out parts promptly.
- Perform scheduled maintenance according to the manufacturer’s instructions. This will help keep your AC running at its best.
- Have an HVAC professional inspect and service your RV AC unit every six months to one year. An experienced technician can identify any issues that may be present and suggest ways to improve performance or prevent future problems.
- Make sure the air filter is changed regularly. This will help improve air quality and reduce the risk of respiratory illnesses.
- Inspect the ducts and vents for signs of damage or blockage, which can impede airflow.
- Test your RV AC unit periodically to make sure it’s working properly.
- Check all the wiring for signs of fraying or corrosion. If you find any, have an electrician replace it.
- Keep the RV AC condenser coils and evaporator coils clean to maintain good airflow and ensure efficient operation.
- Make sure your RV AC unit has sufficient insulation to prevent heat loss during cold weather.
- Check your AC for any gas or oil leaks and have them repaired immediately by a qualified technician if necessary.
- When storing your RV, remove the AC unit from the roof and store it in a cool, dry place. This will help protect it from prolonged exposure to the elements.
By following these simple maintenance tips, you can ensure that your RV AC unit continues to run smoothly and efficiently for years to come.
Troubleshooting Common RV AC Issues
If you notice any signs of trouble with your RV AC unit, it’s important to address them immediately. Here are a few common problems and their solutions:
- If the AC is not cooling properly, check the thermostat settings and make sure they are set correctly. It’s also possible that the condenser coils or evaporator coils need to be cleaned.
- If the AC unit is leaking water, check for clogged condensate drain lines or a broken seal around the window or door where the unit is installed.
- If there is an unusual noise coming from the AC, it could indicate an issue with the fan motor or compressor. Have a qualified technician inspect and repair them as soon as possible.
- If the unit is not turning on, it could be due to a tripped circuit breaker or blown fuse. Check and replace them if necessary.
If you’re unable to fix the issue yourself, contact a professional for assistance. They will be able to diagnose and repair any problems quickly and effectively so that your RV AC can continue running safely and efficiently.
FAQ
How do you remove the inside cover of a Dometic air conditioner?
Removing the inside cover of a Dometic air conditioner is relatively simple. First, locate the two screws located on either side of the lower front panel and unscrew them to remove it. Once this is done, unplug any electrical connections that may be present. Finally, use a flathead screwdriver or other similar tool to carefully pry off the inside cover from the metal frame. Be sure to handle it with care, since this process may damage the parts if done incorrectly. Afterward, you can now replace the inside cover, secure any necessary screws and electrical connections, and enjoy your new air conditioner!
How do you remove an RV air conditioner filter?
Removing an RV air conditioner filter is a fairly easy process. First, locate the small access panel on the side of the air conditioning unit and open it. Inside, you should find two screws that hold in the filter housing. Unscrew these and then pull out the filter. You may need to use a flathead screwdriver to help loosen it from the housing. Once it’s out, clean the filter using warm water and a mild detergent. Allow it to dry completely before putting it back in place and making sure that all connections are secure. Finally, close up the access panel and you’re all set!
How do you maintain an RV air conditioner?
Maintaining an RV air conditioner is easy and important for keeping your unit running in optimal condition. First, make sure to keep the filter clean as this can improve efficiency and prevent the buildup of dust or other debris. Additionally, check the refrigerant levels regularly and have any necessary repairs done immediately. It’s also a good idea to give the exterior of the unit a regular cleaning with a damp cloth to keep dust and dirt from collecting. Finally, be sure to inspect the electrical connections for any signs of wear or fraying before use. By following these basic guidelines, you can ensure that your RV air conditioner is running well and providing you with cool air for years to come!
How often should I clean my RV AC unit?
Your RV AC unit should be cleaned at least once a year, but depending on the environment it is used in, more frequent cleanings may be necessary. If you live in an area with high levels of dust or other airborne particles, such as near construction sites or farms, then you may need to clean your unit more often. Additionally, if you see any dust or dirt accumulating on the exterior of your unit, it’s important to clean it off as soon as possible. By following these guidelines, you can ensure that your RV AC unit is running at its peak efficiency and providing cool air all summer long!
How do I winterize my RV air conditioner?
Winterizing an RV air conditioner is important to prevent it from sustaining any damage or corrosion caused by the cold weather. First, make sure to completely shut off all power to the unit and disconnect any electrical connections. Then, clean off any dirt or debris on the exterior of the unit with a damp cloth before covering it with an RV cover for added protection. Additionally, if possible, add antifreeze to the unit’s drain system to keep any remaining moisture from freezing over. Finally, store the RV cover and antifreeze in a safe place until next summer rolls around! Following these steps will help ensure that your RV air conditioner is ready for use come springtime.
Do Dometic air conditioners require regular servicing?
Yes, Dometic air conditioners should be serviced regularly to ensure optimal performance and efficiency. This includes checking the refrigerant levels, cleaning or replacing any filters as needed, inspecting the electrical connections for any signs of wear or fraying, and ensuring that all parts are in proper working order. Additionally, it’s a good idea to have a professional technician inspect your air conditioner at least once a year to make sure everything is in good condition. By following these guidelines, you can ensure that your Dometic air conditioner is running well and providing cool air all summer long!
What should I do if my RV AC unit isn’t cooling?
If your RV AC unit isn’t cooling properly, there are a few steps you can take to try and fix the issue. First, check the thermostat settings and make sure they’re properly adjusted. If the problem persists, inspect the condenser coils for any signs of dirt or debris buildup as this can significantly reduce efficiency. Additionally, check all electrical connections to ensure they’re secure and not frayed or loose. Finally, if the issue still hasn’t been solved, it may be best to call a professional technician as they can diagnose and repair any deeper issues that may be causing the problem. By following these steps, you can help your RV AC unit stay cool all summer long!
Useful Video: DIY RV Air Conditioner Shroud Replacement
Conclusion Paragraph
To remove an RV air conditioner cover, make sure to use a sturdy ladder and be aware of your own safety. Wear protective gear such as gloves and goggles while performing the task. When removing the cover, gently pry it off the RV using a flathead screwdriver. Make sure to keep all screws in a safe place and store them separately so that they don’t get lost or damaged. After removal, use a microfiber cloth to clean the RV, and make sure to remove any dust or debris from the air conditioner before replacing the cover. With proper safety measures in place and caution exercised, removing an RV air conditioner cover should be a quick and easy process.
References:
- https://www.adcoprod.com/ac-covers
- https://www.rvcampgear.com/how-to-remove-rv-ac-cover/
- https://www.haltermansrv.com/blog/how-to-clean-rv-air-conditioner–47988

Leave a Reply